52 Forms of Fungi || #6

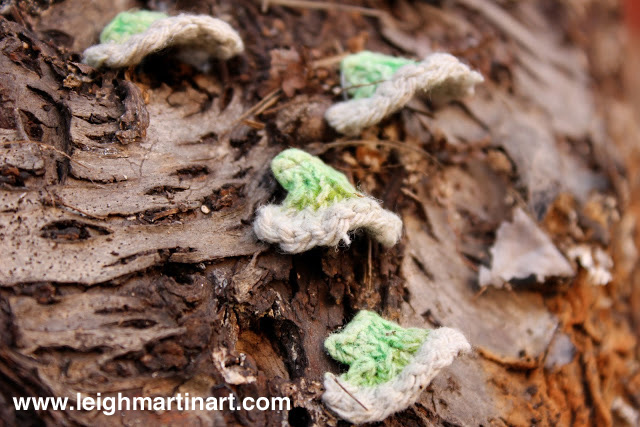
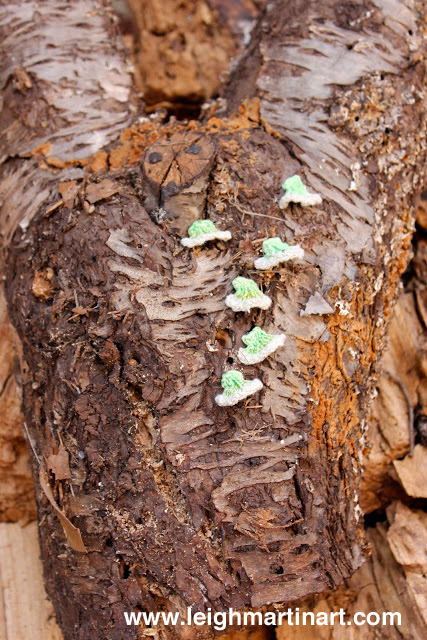
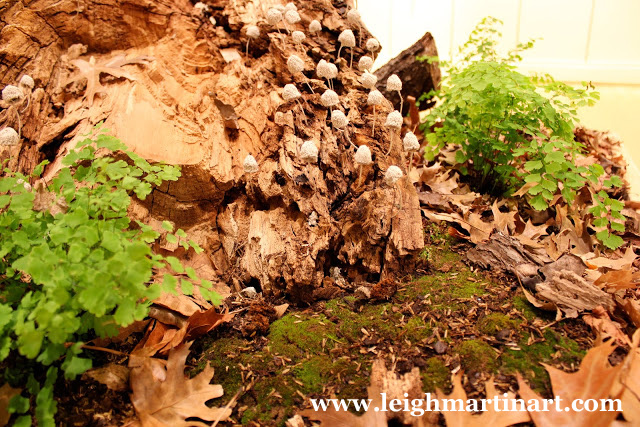
 These little guys were inspired by some tiny forms that stick out in my mind as one of the most  memorable things I saw in nature on our Arkansas camping trip last summer.  They were incredible!  I'm experimenting a little bit with Jacquard dyes that you just paint on to the fabric.  It doesn't work quite as well with knits as I had hoped, but I'll keep working with it.  More to come!
green-fungi1
IMG_2542

Off the Needles || Palladio

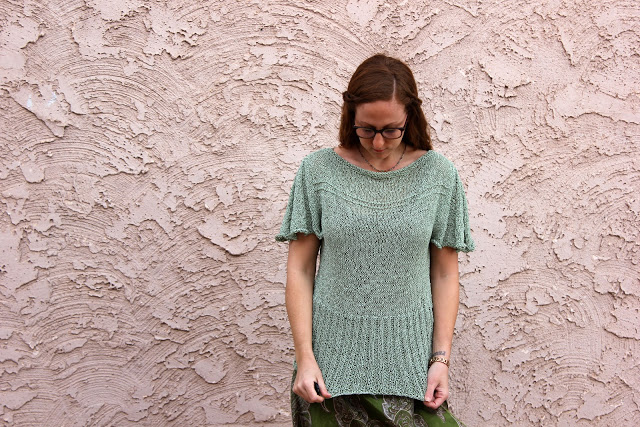
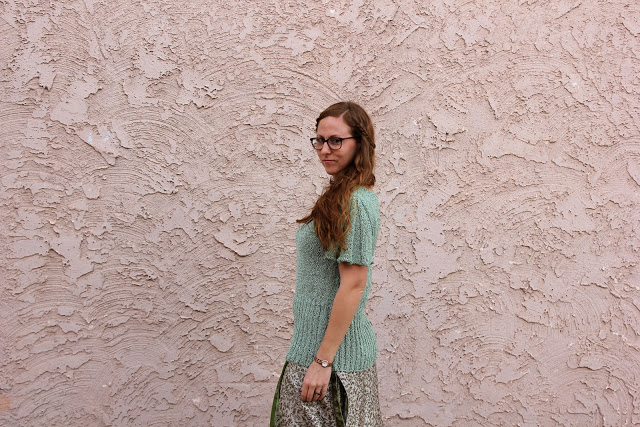
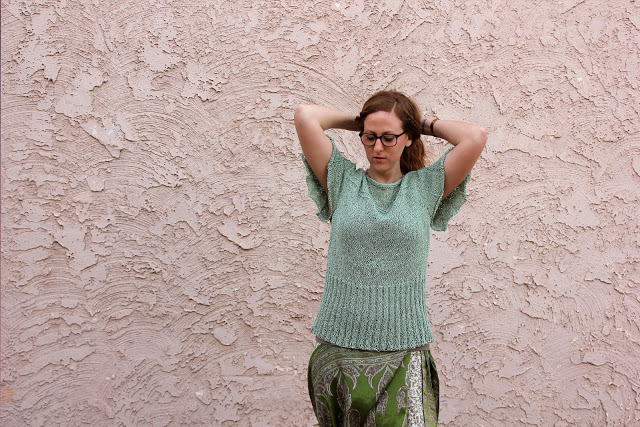
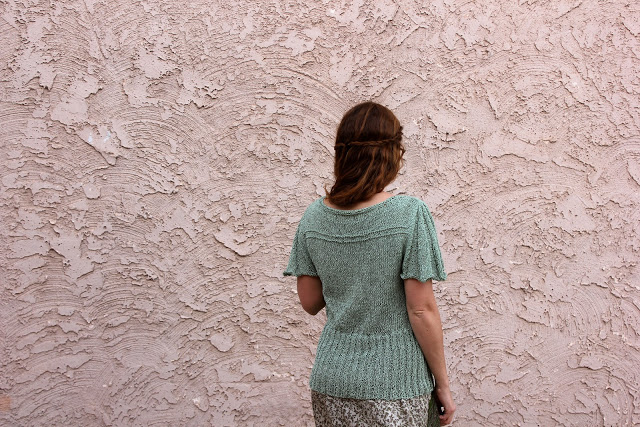
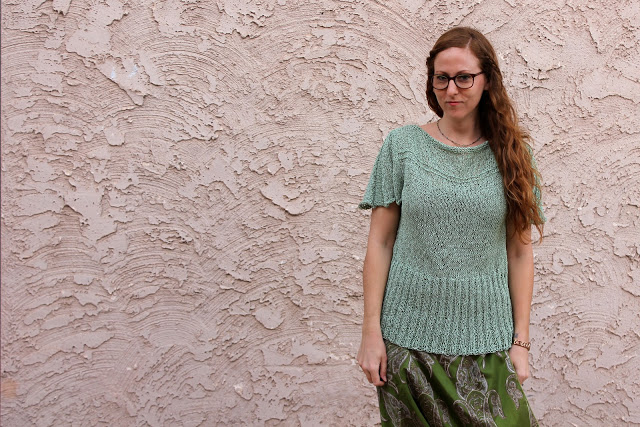
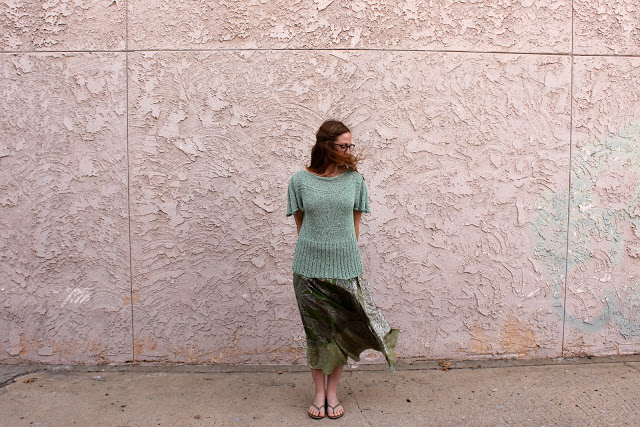
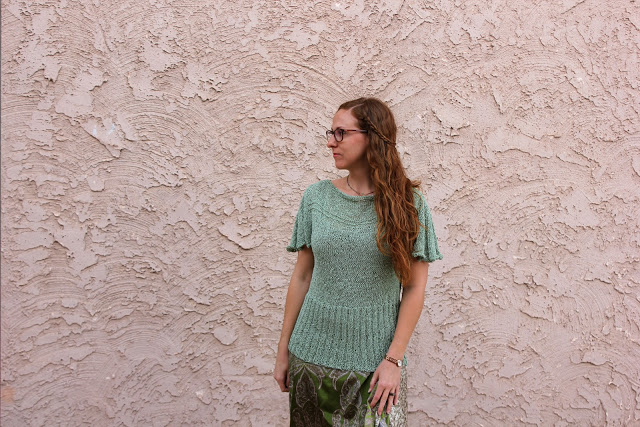
I figured I should post a finished object so I can prove that I have in fact been knitting all these winter months... Really, I have.  Fingering weight sweaters just take such a dang long time!

Palladio is a beautifully romantic boatneck top with high waisted ribbing and lovely fluttering sleeves.  It knits up pretty quickly, and if you're looking for a project to work on this spring for light, summer wear, I highly recommend it!  I finished this top a few months back, but there are only so many photo shoots I can get myself to do in the cold so I opted to wait a little while to show it off.  In actuality, I think one of my last photo sessions - the flu ridden snow flurries one - had something to do with that.  I'm hoping to get a lot of wear out of this beauty this year and there are several other patterns in the same booklet that I would also love to make.  Berroco Captiva is a luxurious, beautiful yarn.


52 Forms of Fungi || #5

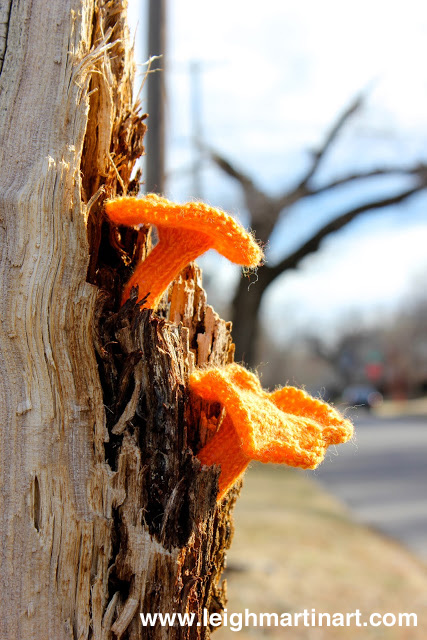
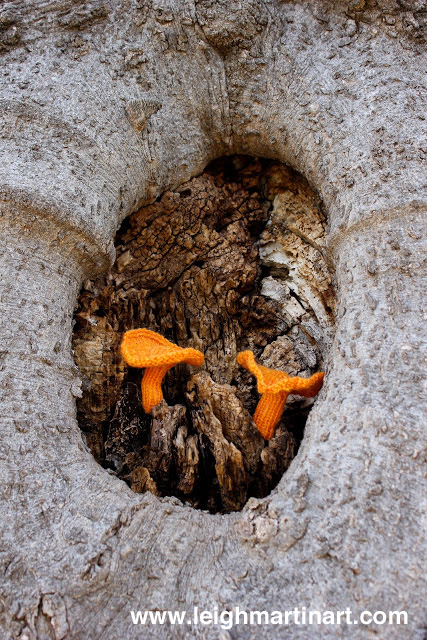
Lately, I've been experimenting with a species commonly referred to as "Jack-O-Lantern fungus", and decided to use it for my 52 Forms of Fungi project.  Folk stories say that the mushroom's gills glow in the dark, hence the name.  Some sources tout this as a load of bull, but if you've witnessed this yourself I'd be interested to hear about it... These knitted forms do not glow in the dark, to clarify; I just thought that was a fascinating tidbit.
If you're familiar with Jack O Lantern mushrooms, these may not look quite right because they are normally found in clumps of many mushrooms.  As per my guidelines for this project, I'm only doing individuals but I AM working on several more of these for a project in the near future.
Check out more of my 52 Forms of Fungi posts
IMG_2429
IMG_2432
IMG_2437

Decomposition: Colony III

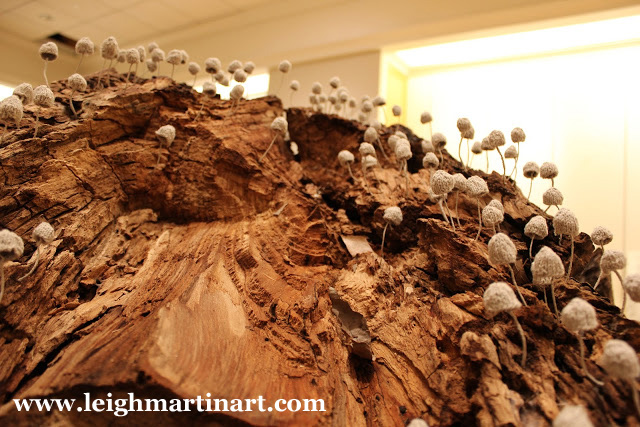
This past week was a bit of a blur getting ready for my first gallery exhibition, but I am very honored to have been awarded Curator's Choice for my "Decomposition: Colony III" installation at Momentum: Art Doesn't Stand Still in Oklahoma City this year!  There were so many outstanding pieces and talented artists in the exhibition, and I feel very grateful to have shown my work alongside them.  I am even more overwhelmed, grateful, and encouraged to the curators for this event, PLUG Projects from Kansas City.  This has been a very humbling, inspiring and motivational experience, an opportunity that I owe Oklahoma Visual Arts Coalition a lot for making possible as well.  While my drive to make art is still going strong because I simply enjoy what I do so much, it was encouraging to see the response to my work by peers and other artists.  I've made some great contacts and am seeing what a great, welcoming, art community is here in OKC.  Now I know for sure that I can't let my visions falter and go unrealized.
Aside from the enjoyment that came from nerding out over wood decay, moss, plants, and assembling all of my other materials, I think my favorite part of the exhibition was watching people observe my piece.  While I avoided hovering nearby because it made me nervous, it was fantastic to see people crouching down to look at the knitted mushroom caps up close, and further inspecting the other components of the installation - the exact response that I was hoping for.  I'm excited to continue on to the next phase (possibly two) of this series which will hopefully come to fruition in the next month or so (installation plans are already slated for April).
Thank you for all the support and kind comments.  I've checked off a major bucket list item here and can't wait to see what comes along next.
If you are unfamiliar with the Decomposition Series, you can see previous installations at the links below:


IMG_2384


Decomposition-Colony-III-25


Decomposition-Colony-III-15


Decomposition-Colony-III-24


IMG_2356


IMG_2380


IMG_2267


Decomposition-Colony-III-17


IMG_2385

Momentum OKC Starts Tonight

 After several hours of assembly, my installation is complete and the exhibition begins this evening!  The photos in this post are some behind the scenes shots - they don't show the final product though, so I hope you can come and see it in person.  If not, I will post photos next week of the installation in full.  Thanks for the encouraging response to this news via this blog and Instagram; your support means a lot to me!

BIG THING #1 aka Off the Needles || Foundation

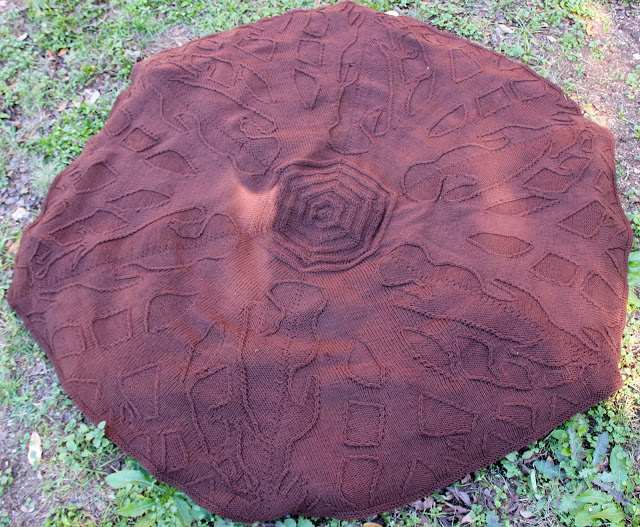
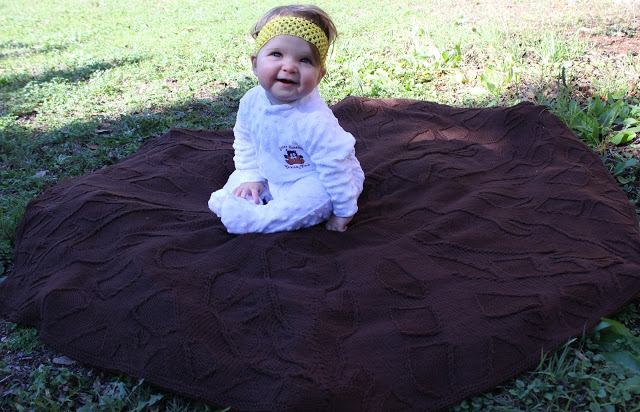
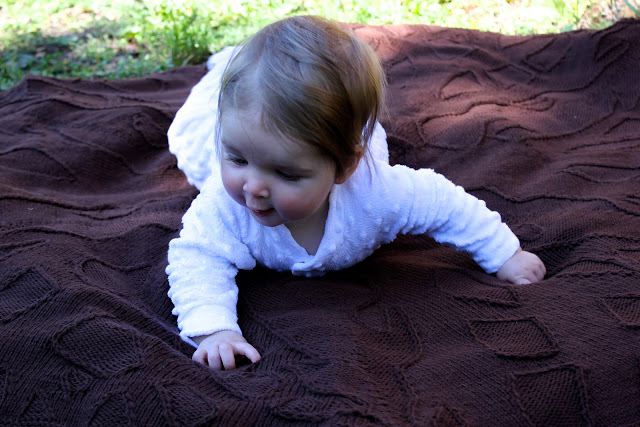
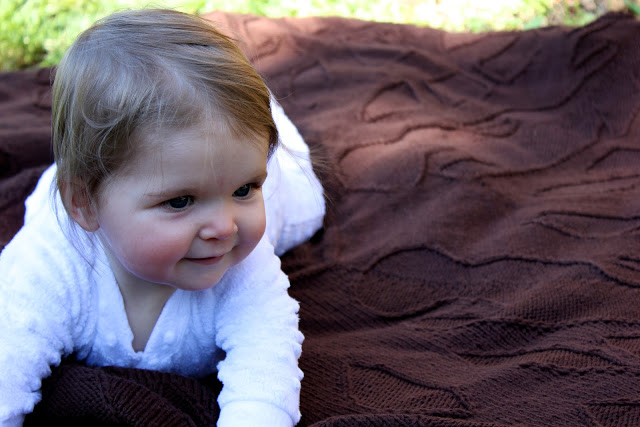
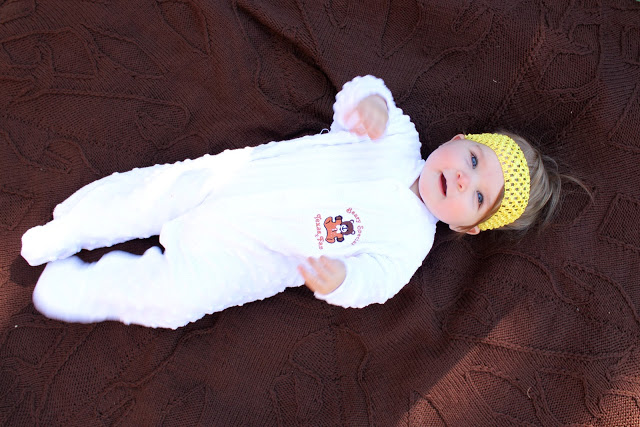
Remember the "big things that are happening" that I vaguely mentioned a few days ago?  Well, this is the first one.  Last year one of my very dearest friends, Emily, and her husband had a baby and I knew I needed to make something extra special to commemorate this event.  Thus, "Foundation" was born.  Little Beatriz (pictured below - how adorable is this sweet little girl?!?!) was born in mid summer, so I was obviously running a little bit behind on this project but it was way worth it.
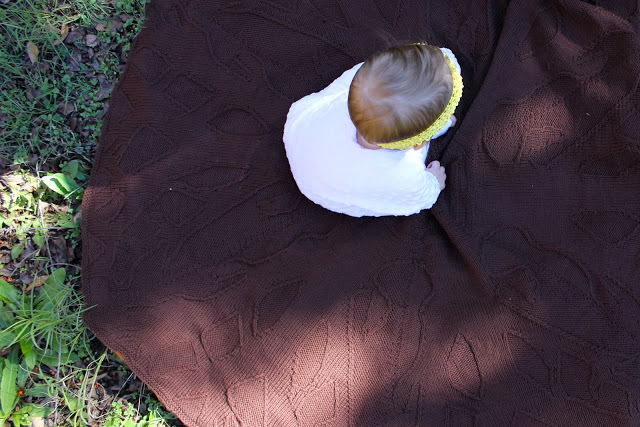
A tree's root system is the foundation of the organism - it provides anchorage for the tree's weight, it absorbs the minerals and moisture necessary for metabolic processes, it exchanges gases that are crucial for tree survival and it stores sugars that provide energy to fuel the tree.  Without this foundation, the tree would be nothing.  This blanket that I designed symbolizes that support structure of Beatriz' family.  The growth rings in the center represent the five years her parents built their relationship before bringing her into the world.  I hope it is a piece that she will cherish for years to come, if not at least to keep around because it's a dang soft (and warm) blanket to snuggle beneath. :)
The blanket is made from Knit Picks Swish Worsted.  It incorporates a chart of 6 identical sections knitted in the round.  I plan to publish the pattern eventually, although it will require a little bit of tweaking.  I am going to adapt it with 8 sections to make the growth rings a little rounder - they turned out a little too geometric.
Regardless, it feels so good to finish this project!  I don't even know how many hours of work went into this - weekends and weekends!  Since it was knit in the round, I couldn't really see how it was progressing because it was bunched up at the needles the whole time.  I designed the chart as I went, since I could see the last several rows I had knitted the whole way through to gauge how the pattern was turning out.  Once I started to bind off, the finished product took my breath away.  I will work on trying to make this available soon!


On My Needles || Walpole

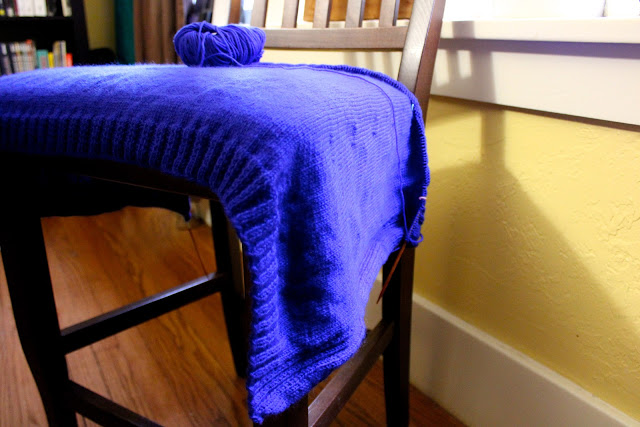
It feels like so long since I last made one of these posts, almost to the point that you probably think I haven't been knitting anything other than fungi and heart motif hats, eh?  Well, that's not exactly the case.  I did finish another lingering project recently that I have yet to get photos of, and the rest of my time has been spent on this fingering weight beauty... Hannah Fettig's Walpole.  I've sung of my love for the Knitbot patterns before, and this time is no different.  My only complaint is how slow going the piece is because of the tiny gauge.  BUT, it's oh so soft, and the yarn looks gorgeous and I can already tell that this is another sweater I am going to love to wear.
My yarn choice for Walpole is Knit Picks Capretta, an utterly luscious merino yarn with a hint of cashmere... the first time I've made something for myself with a remotely fancy fiber such as cashmere.  I know it's only 10%, but I don't care!  It's SO soft!  Did I mention that?  SOFT.  I can't wait to finish this cardigan.  I just completed the waist decreases this week, so I'm hoping to get to some sleeves in the near future.  Have you tried out any Hannah Fettig patterns?  Which one is your favorite?


Free Pattern || Big Heart Beanie

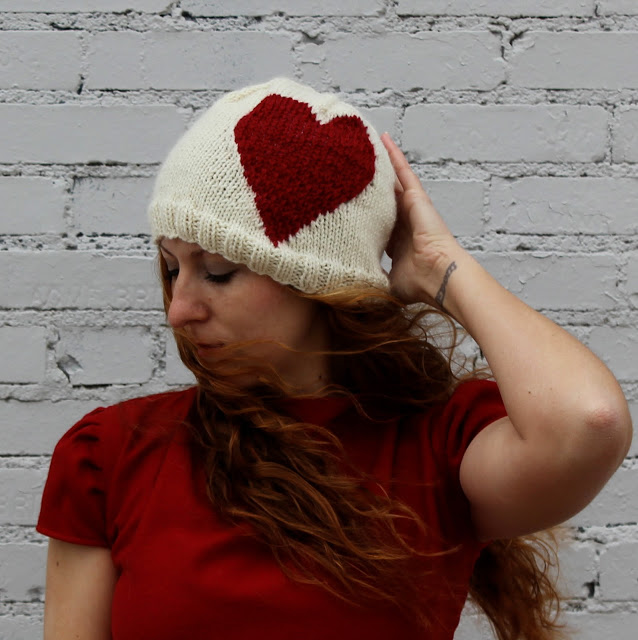
Love is in the air, but truth be told that even if it wasn't hearts seem to be making a comeback in the accessories/fashion world...  At least that's what the Blogosphere tells me.
J and I aren't huge Valentine's Day people, although our 7 year anniversary of when we first fell for each other falls during this week.  We always celebrate in some way or another.  Early dating stages around Valentine's Day make for an AWKWARD "day of love"--- Do you get them a gift?  Will it seem too serious too soon?  Will they be offended if you don't give them something?  Fortunately, neither of us ever really put too much weight on the holiday, so that first Valentine's Day went pretty smoothly for us.  Now we just pick a day during the week to go out for a nice dinner (any excuse to eat great food is enough for us -- we picked sushi this year!) and chat in disbelief at how long ago we found each other.  Just about a quarter of my life ago.  Madness.  But it makes me so thankful for him.
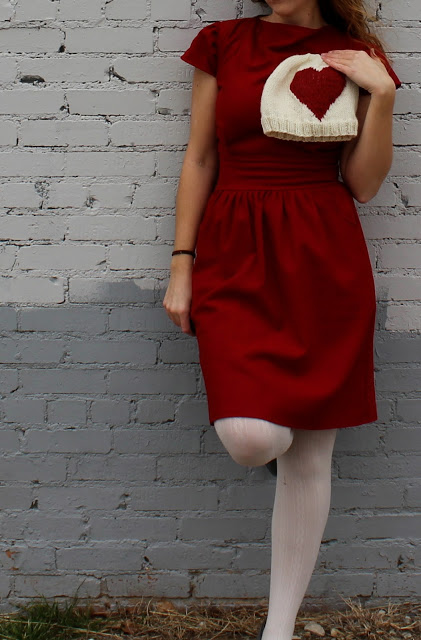
This beanie is an homage to all of the big hearts I've seen floating around the web lately on garments and accessories.  It's a super quick knit using worsted weight yarn -- the yarns listed in the pattern are the two types I had in my stash and used to make the hat pictured.  The heart may be appropriate for the season, but it's also on trend enough that it could be worn on into spring too.  Happy Love Day!
Download the Big Heart Beanie as a PDF through my Ravelry store.


52 Forms of Fungi || #3

This form of fungi is a polypore known as Ganoderma lucidum.  Presence of these conks around the base of a tree suggest internal decay, the extent of which should be investigated further to determine degree of risk for failure.  So while they are beautiful, they're not such a great sign... However, they have been shown to have healing properties and are produced for herbal supplements.
The fruiting bodies themselves vary greatly in color and shape.  For this piece I went with the more brightly colored variation, but you will likely see more variations throughout this project.  I've been working on multiple forms of Ganoderma over the past few months, tweaking the pattern and colorwork and trying to come up with a result that I'm happy with.  This one is getting there, but I still have some work to do.
By the way, if you ever see these conks in the woods you can break them off and bring them home for decor.  The tissue is very woody and will not get smooshy or oozy or anything like that - I've got two on my fireplace mantel that I've had since 2007!

IMG_1809


IMG_1811


IMG_1814


IMG_1818

52 Forms of Fungi || #2

I had a question from Misti recently about whether I record the patterns for these pieces that I'm working on as I go.  The answer is YES, I write them down in case the result is something that I really like and want to duplicate.  For instance, I am already in the process of making more of the forms depicted in this post for a larger installation.  If any of the pieces have potential to be incorporated into the Decomposition series, I've gotta have some record of what I did!  In any case...

52 Forms of Fungi #2!

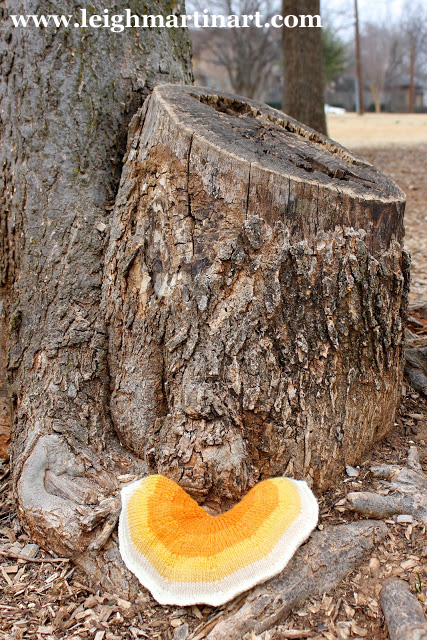
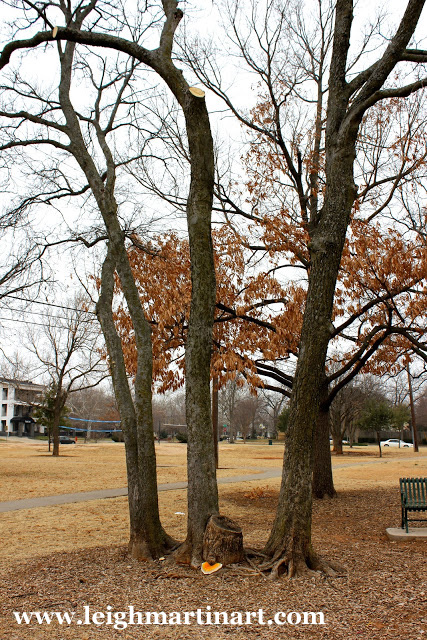
This polypore was inspired by some conks I saw out in a natural area recently.  The ones I looked at were white in color, but I was purchasing yarn recently and this shade of Knit Picks Palette, called "Pennyroyal", grasped my attention and I knew I had to do something with it.  A project idea came to mind and this is the first piece for that project.  I've been using the Palette yarn A LOT lately, and it's quickly becoming a favorite for these types of projects... so many great colors!

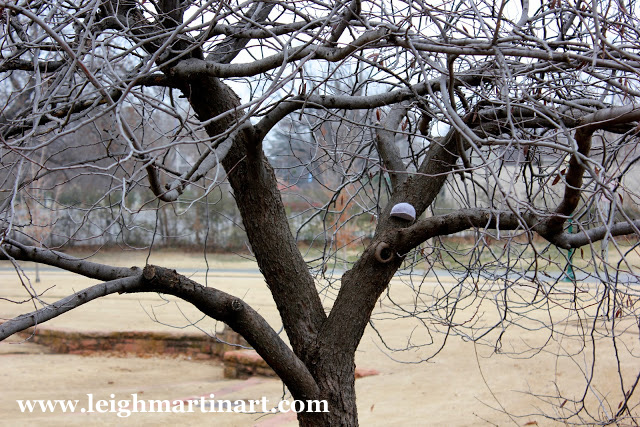
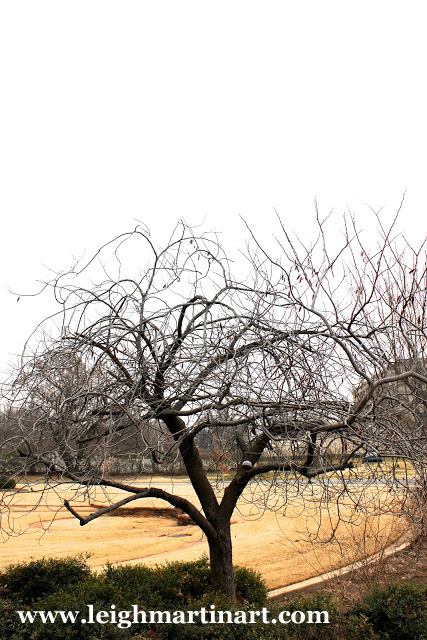
This is the first "fungi" that I've attached only temporarily to a living tree, so it was fun trying out a way to do that (which worked pretty well).  On that note, no trees were harmed during the installation of this fungi!  Although, there was a power-walker who kept circling the nearby trail and was giving me some really funny looks.  It made me giggle to myself a little bit... I can already tell that this project is going to be a lot of fun!  Are you ready for more?

View more posts about the 52 Forms of Fungi project.

IMG_1833

IMG_1834


IMG_1827


IMG_1840

Tutorial || Silver Knitted Mushroom Necklace

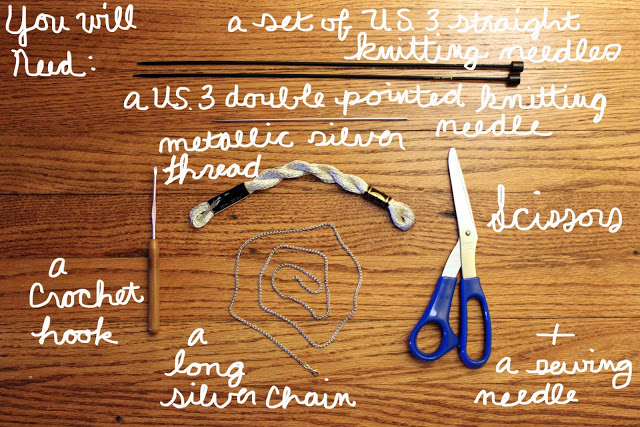
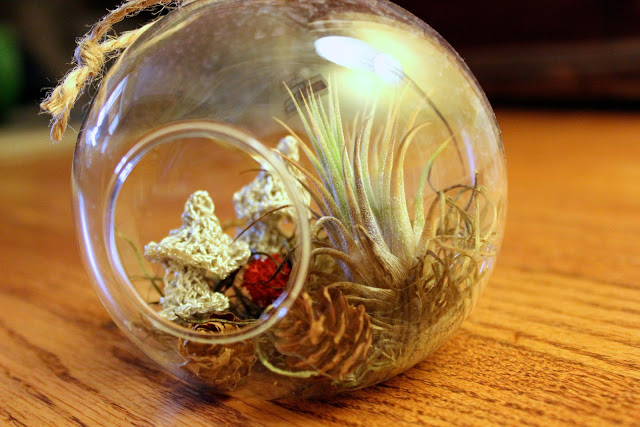
 Those little silver 'shrooms from last week's 52 Forms of Fungi post are too cute not to find a use for, so today I wanted to share how you can make your own and WEAR them on a chain as a cute little accessory.  Note:  You will need to know some basic knitting and crochet skills here.
Knitted mushroom stalk pattern:
cast on 20 stitches with straight needles
Row 1: knit two stitches together to end of row
Row 2: purl to end of row
Rows 3 & 4: repeat rows 1 & 2
Row 5: knit to end of row
Row 6: purl to end of row
Rows 7-10: repeat rows 5 & 6 twice
Cut yarn and place all stitches on the double pointed needle.  Set aside to start on the mushroom cap pattern.
Knitted mushroom cap pattern (front half):
cast on 20 stitches with straight needles
Rows 1-4: same as mushroom stalk pattern
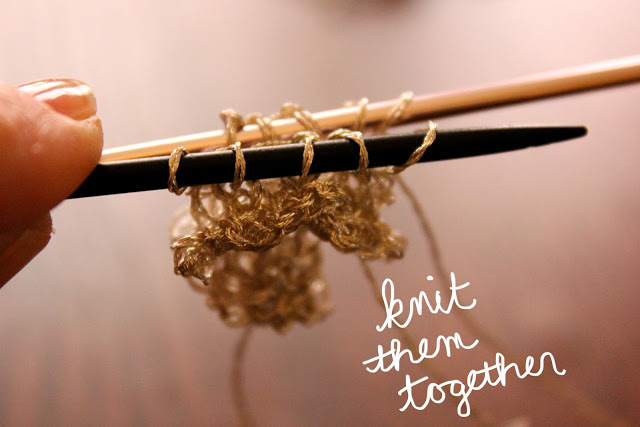
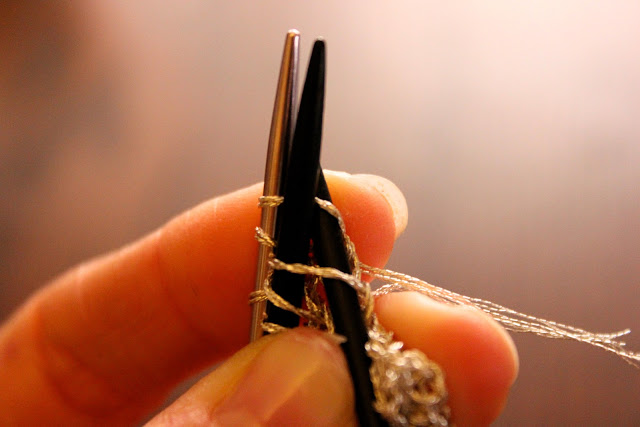
Row 5: place double pointed needle behind the straight needle with the stitches on it.  The right (knit) side should be facing the same direction.  Knit the first stitch of the front needle together with the first stitch from the second needle.  Repeat until all stitches have been knitted.
Row 6: pur to end of row
Row 7: slip slip knit, knit 1, knit two stitches together
Row 8: purl 3 stitches together
cut yarn with a 6 inch tail, pull through the last stitch and tighten.
Knitted mushroom cap pattern (back half):
cast on 20 stitches with straight needles
Rows 1-4: same as mushroom cap front half pattern
Row 5: knit to end of row
Row 6: purl to end of row
Row 7 to end: same as mushroom cap front half pattern
Finishing:
Sew the right and left sides of the stalk together so that the knitted (right) side is facing out.  You now have a cylindrical stem.  Put the two mushroom cap halves back to back so the knitted (right) side is facing out.  Sew the sides together up to the top, leaving the bottom open.  Weave in all ends using a sewing needle.
Making necklace pendants out of the mushrooms:
Make a slip knot and put it on the crochet hook.  Make a single crochet stitch through the top of a mushroom and make a chain the length that you would like it to hang.  Chain an additional 6 or 7 stitches and then make a single crochet stitch back through the top of your desired length.  Cut thread and pull the end tight through the remaining stitch.  Weave in the end.  Do this with each of the mushrooms (however many you want to use) at varying lengths (or however you would like to wear them) and then thread the necklace chain through the little loop you made at the top of each crochet chain.

52 Forms of Fungi || #1

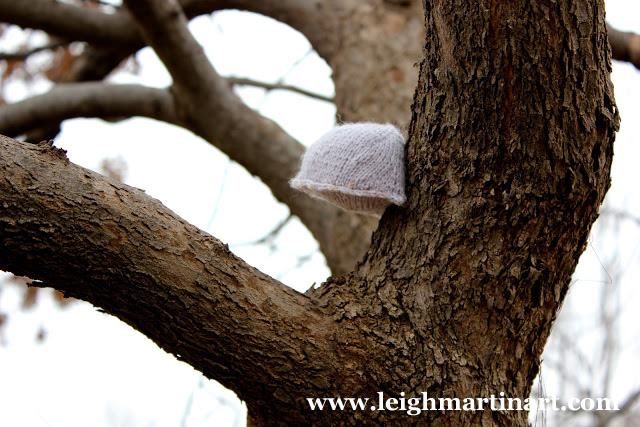
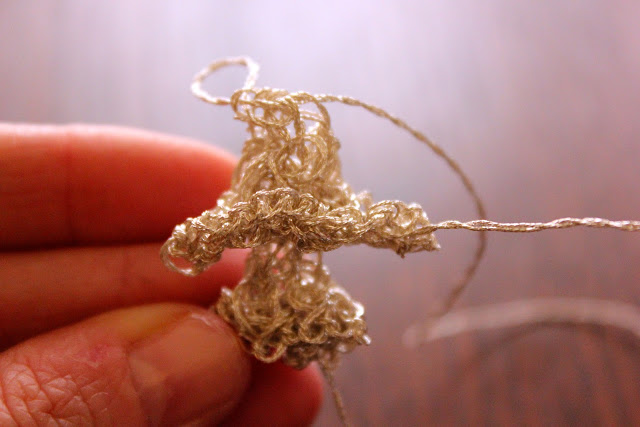
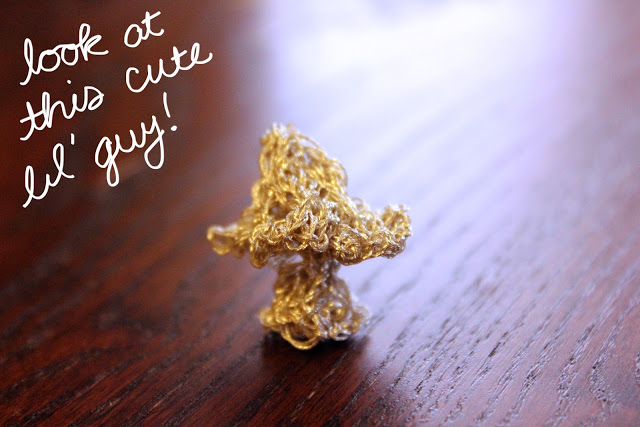
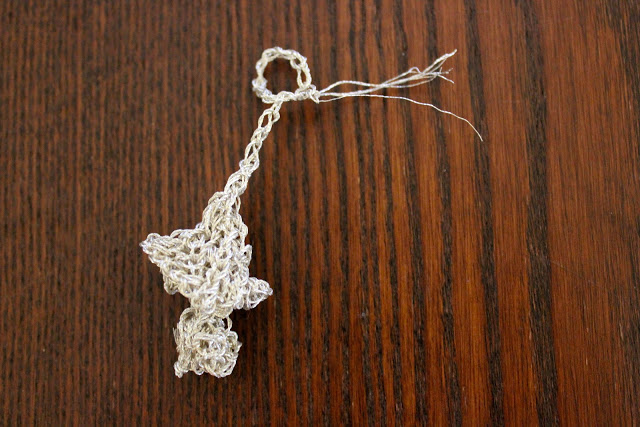
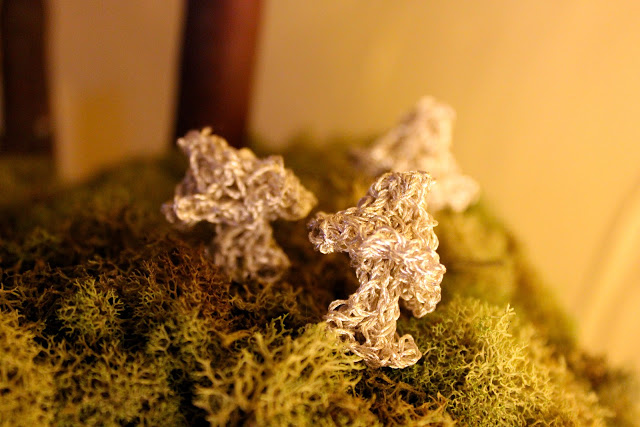
This first installment of the 52 Forms of Fungi project makes me realized that I should add one more parameter to the guidelines: the fungi may or may not be fictional.  I bought this silver embroidery thread quite a while ago with the intent of knitting some little mushrooms with it for another project that you'll see very soon.
Let's be honest, it's highly unlikely that metallic, silver fungi exists anywhere in nature other than maybe Rivendell (which is totally a real place..... totally..), but nonetheless, isn't it just so dang pretty?  These little pieces were the perfect start to this fun project, and I'm looking forward to sharing more!


Off the Needles || Big Herringbone Cowl

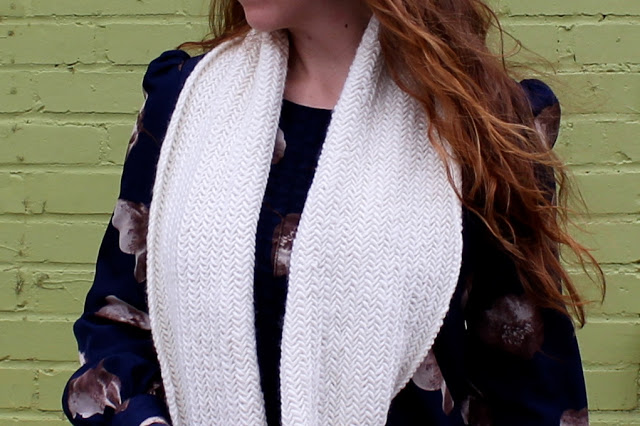
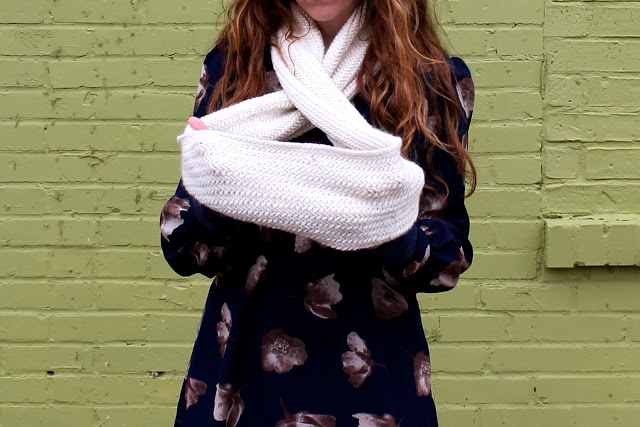
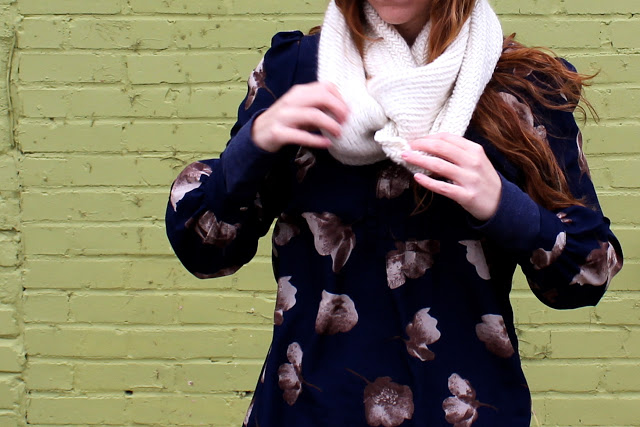
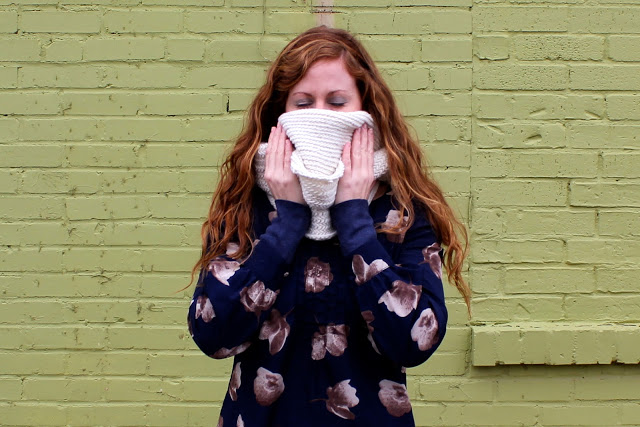
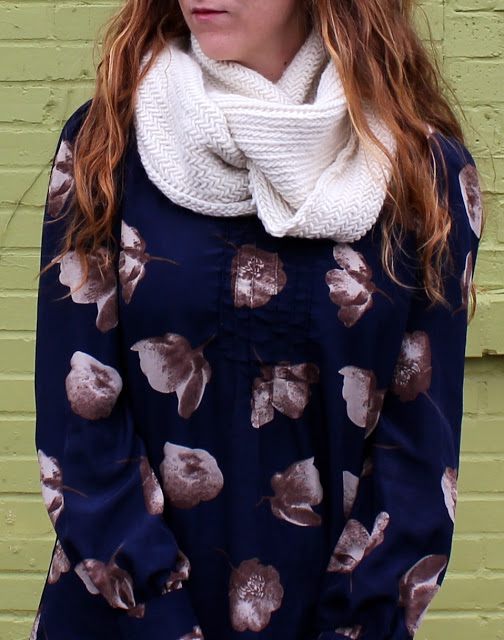
This project came about spontaneously - while I've been eyeing the pattern for quite some time, it wasn't very high on my queue until I came by some incredibly soft yarn by chance.  When I was planning out Replier, I ordered some Malabrigo Worsted yarn, only to discover that it was backordered.  In a panic, I ordered the Quince and Co. yarn instead because I knew I was running short on time for Christmas knitting.  Lo and behold, the Malabrigo Worsted yarn arrives during the week after Christmas, and I now have this luscious wool with which to make something of my own choosing.  Something not a gift.  Something self indulgent.  The Purl Soho Big Herringbone Cowl instantly came to mind, and I cast on just a week and a half later.

I've always been curious about this stitch, because just at a glance it looks really complicated.... but it's not at all.  Basically, you are knitting two stitches together all the way across.  Instead of dropping both of those stitches off the needles after knitting together, you only drop the one closest to the end.  Essentially, every stitch gets knitted into twice.  Each row alternates knitting through the front or back loop to create the opposite slants.  In a nutshell, the pattern is very easy, but just takes twice as long as a normal cowl of its size due knitting each stitch twice.

I guess I finished it just in time too, because I came down with this nasty cold over the weekend and laid around with this cozy cowl around my neck.  Even if it couldn't do anything for my symptoms, at least it lifted my spirits, right?  Good thing I got the photos in before I really got knocked down - I sort of have sick eyes there, but a few hours later they were watering so much they were nearly swollen shut!  I hope this post finds you in better health than me!


52 Forms of Fungi || Intro

(photo: Stacks, from the Decomposition series)
It's no secret that I have an affinity for fungi, and that I am also a slightly obsessed knitter.  I've decided to challenge myself this year (because after all, what is the New Year for if not for challenges) to take my favorite combo (knitting and fungi) to the next level by knitting 52 different forms of fungi in 2013. That's one form of fungi per week, if you do the math, but for the sake of giving myself a little flexibility during the busy times we will just say that the "one per week" has a December 31st deadline.  The above photo is not my first week's fungi - if you've been following the blog for a few months you will recognize this as an image of my Stacks installation from the Decomposition series.  I do have a few parameters that I will follow for this initiative:
1. These will not be all out installations, but merely one or two pieces of varied types of fungi.  Some of them may turn into phases of the Decomposition series, but they don't HAVE to.
2. I may or may not identify the type of fungus - sometimes it's difficult to key out the species and while tree ID is my thing I'm a little new in my interest in mycology.  Some of the pieces may just be inspired by a mushroom/polypore I saw somewhere, whether in the wild or in a book or on the internet.
3. These do not have to be native to my locality.  Because really, who other than a fungi specialist will know the difference!?  I say this biting my tongue a little bit, because I myself am a stickler for making things look "realistic", if by realistic you mean calling out the discrepancies in rock climbing technique in movies like The Descent.  Yeah.  We won't go there, but the focus here is on the forms themselves, not the culture of them.
Those are my main rules, so let's see where this takes us, shall we?  I have a couple of other challenges that I may touch on later (I'm an ambitious one), but I'll save those updates for when I actually have something to update on.  I would like to post some minor goals each month rather than my big year long bucket list (which I did write), and then post again once I accomplish them.  Alas, more to come in the future.  You'll want to stick around.  Will I succeed?  Will I fail?  Will my husband cry out in frustration because we can't ever watch movies with subtitles?  You'll have to wait and find out...


Knit Hacker

This morning I woke up to the pleasant surprise of having my fiber series "Decomposition" posted on the Knit Hacker blog.  It's exciting and humbling to see people picking up on my work and I am immersed in gratitude for this kind of support - the support of my readers, friends, and family.  I am grateful for the abundant visions that bounce around in my head and the ability to act on them.  Do what you feel you are meant to do, friends, and you will be content.

Off the Needles || Replier

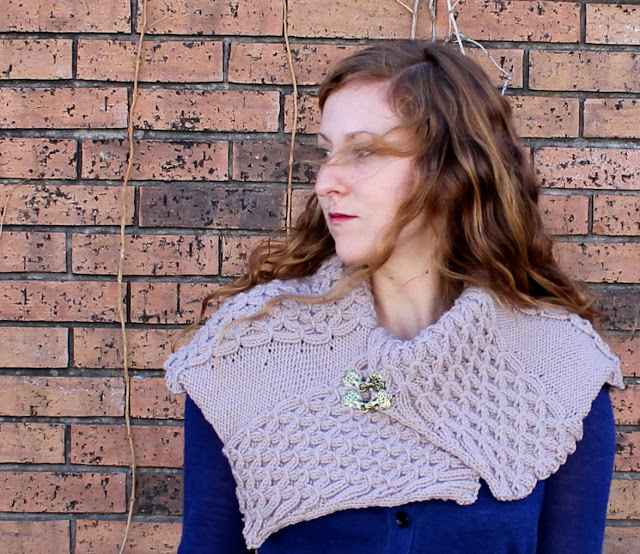
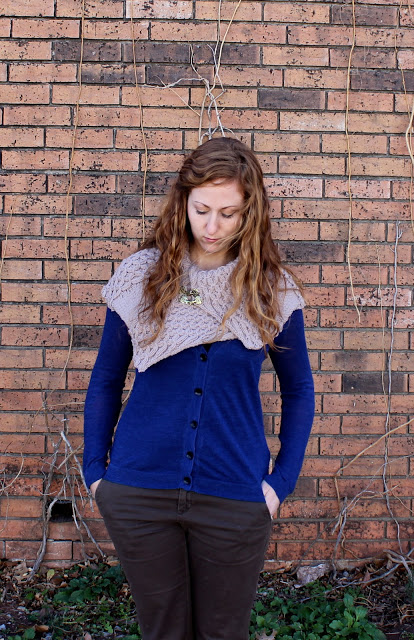
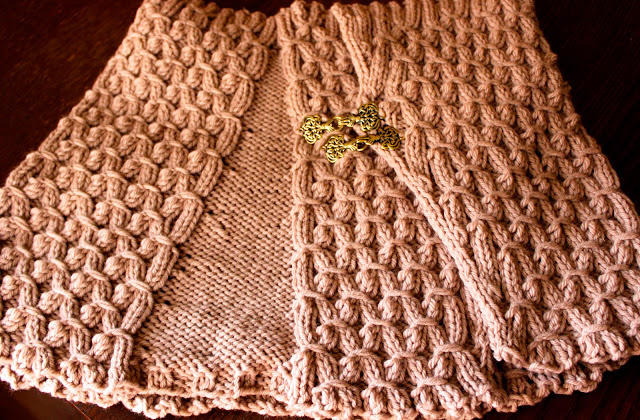
I didn't have an On the Needles post for this piece, because it kinda came together in the frenzy of December's Christmas knitting.  I used Quince and Co. Lark yarn in Chanterelle.  I've been wanting to use Quince for something since I found out about them last year, and I fell in love with this colorway as soon as I saw it.  The bottom photos turned out a little more brownish than the yarn actually looks, and I would say it is closer to the photos of me wearing the piece above.  It's a somewhat grayish tan.  Beautiful.
The pattern is Replier by Pam Powers, which was just released a few days before I cast it on.  I came across the pattern page around Thanksgiving, which was posted prior to the pattern becoming available.  It struck me as a very elegant alternative to a scarf, and I knew it would be a perfect gift for my very stylish grandmother.  I wasn't sure if I would get any photos of her in it, so I tried it on and got some self portraits in it just in case - and then proceeded to wear it around for another hour or two because it was so pretty and warm and comfortable---I mean, because I wanted to make sure that the clasps would stay closed.  In any case she loved it, so my work here is done.
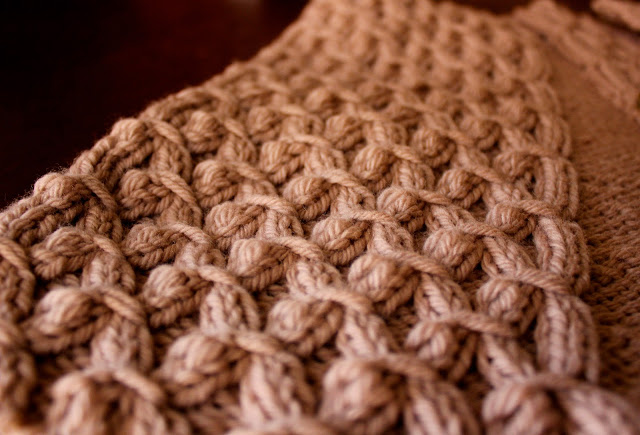
The pattern was pretty simple, but I wasn't crazy about the way it was written out.  The short row section was a little confusing, because the designer wrote in a lot of repeats but some instructions were not very clear.  Then in the main pattern section a couple of lines required you to repeat a previous line that was several rows above.  It is my thinking that writing "repeat row X" instead of writing out a stitch pattern is done to make the pattern easier to read for the knitter... but when you have to find a different line and then jump back and forth, I think this only creates more difficulty for the knitter in following the pattern.  I would much rather just have that line written out again.  The only thing I can think of is that the designer was trying to make everything fit onto a certain number of pages so she had to cut out some text.  Since it's a brand new pattern there are obviously no corrections yet and the kinks must be worked out.  All in all it was a quick knit and the end result is gorgeous.  This is the first thing I've knitted using the smocking stitch, and I love the way it looks - an interesting variation on cables.

Off the Needles || Daybreak Shawl Part I

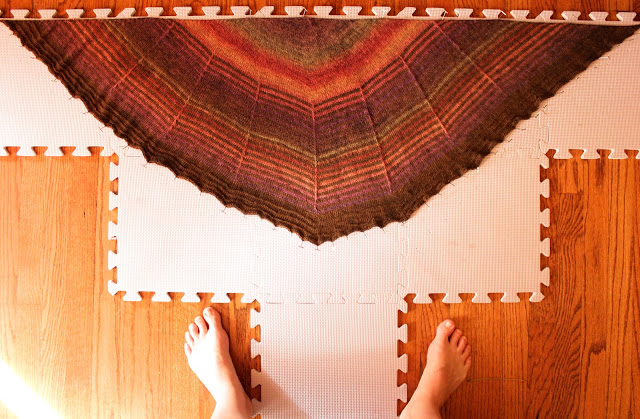
I cast off this shawl a few weeks ago, and then it took a couple of weeks to finally block it... and another couple of weeks to get photos of the finished product (post coming soon).  The pattern is Daybreak Shawl by Stephen West, and I used Knit Picks Chroma yarn in Bittersweet Heather and Orchard.  Only one skein of each was required, which made for an inexpensive but beautiful knit.  I fell in love with the colors as they laid out in the pattern and the medium size is just right for a nice scarf that won't fall off of your shoulders constantly like some of the other triangular shawls that I've made in the past.
One thing that I would do over if I could would be to purchase some blocking wires.  As you can see in the bottom photo I had pretty close spacing with my pins but the scalloped edge couldn't really be avoided.  I'll just have to say that it was on purpose.  :)  Photos of how it looks in wear are coming soon!

Off the Needles || Ishbel Shawl

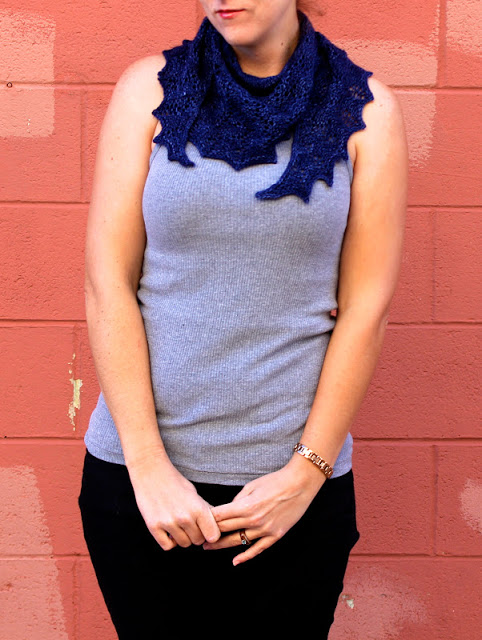
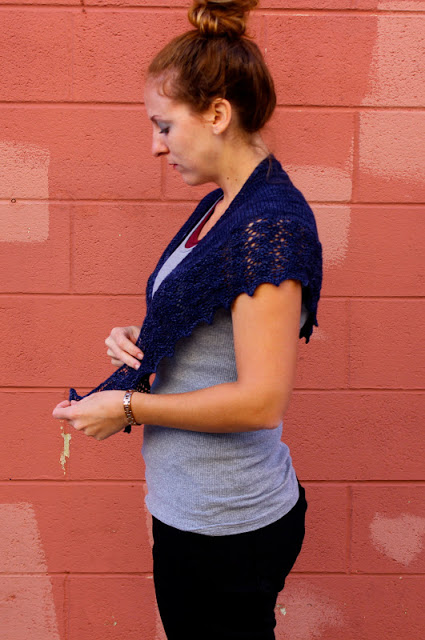
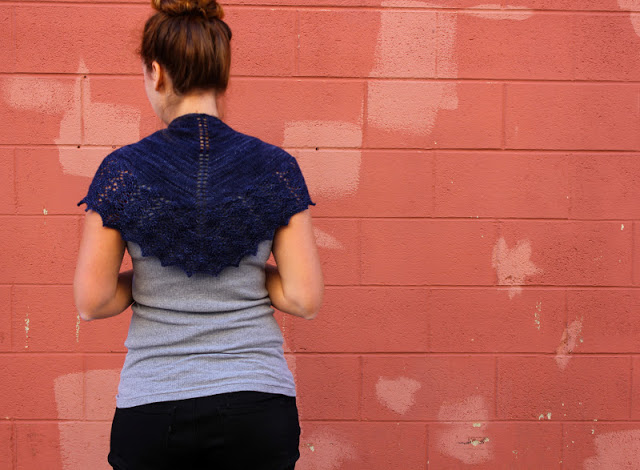
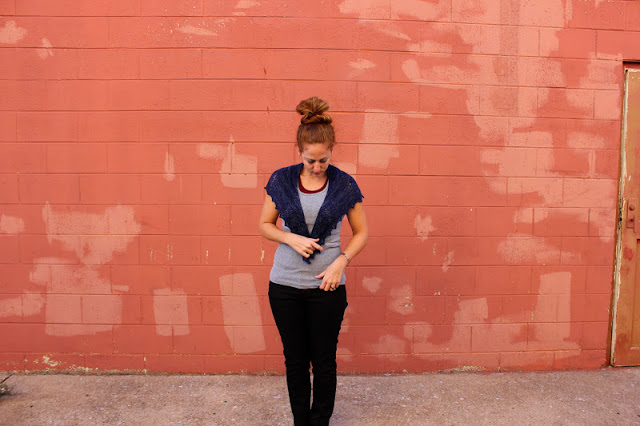
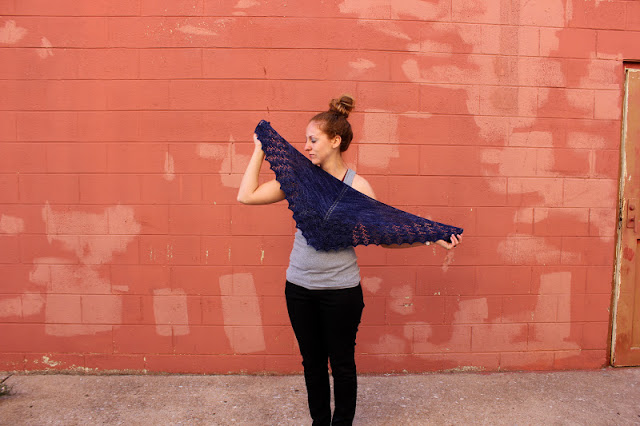
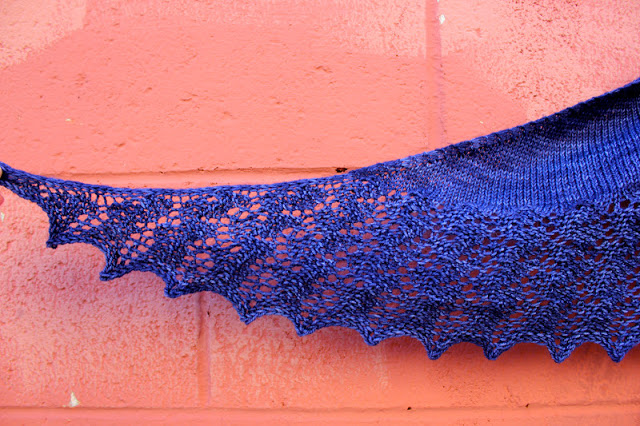
Admittedly, I finished this shawl WEEKS ago.  In fact, I've finished two more since then (hey there, Christmas knitting).  However, as I've moaned about before, I feel like an idiot running around with my camera and tripod in hand in public places taking self portraits.  Plus things have been really busy lately.  Seriously, it's a little pathetic.  Sooo... I got up early on Saturday morning and managed to find a nice secluded spot by an abandoned building on a street that no one seems to drive down that early in the day.  That sounds a little rapey, doesn't it?  Well, no one was there and the area surrounding the building was very open so I would have seen someone if they tried to sneak up on me.  In any case, I finally got some photos of my Ishbel, so now I can start wearing it!  Yes!  I should also note that it was about 45 degrees outside, but I felt that wearing it with a long sleeved shirt would look frumpy and would not complement the lace.  So there you go, I shot photos of myself in public wearing practically nothing on a super cold Saturday morning JUST FOR YOU!  I hope you enjoy them.  The Ishbel shawl is a design by Ysolda Teague.  Additional project details may be found on my Ishbel - On My Needles post.


On My Needles || Daybreak Shawl
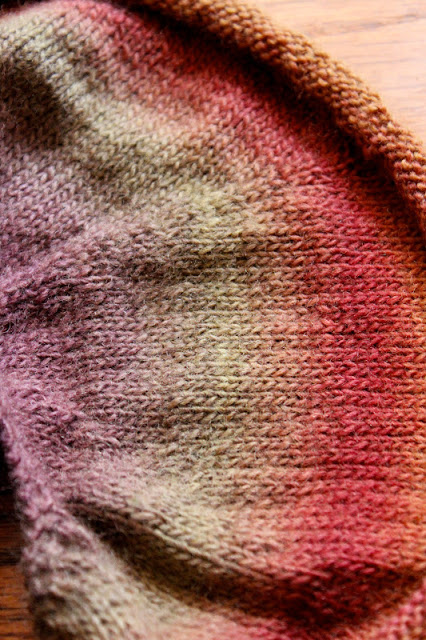
This pattern wasn't really on my radar until one of my Instagram friends posted about a knit-along set up by another Instagram and Ravelry user.  Instagram is one of my favorite smart phone applications, because it allows you to share a moment, something from your view, in a visual way.  It does not include the snark, negativity, controversy and triviality that I have experienced with Facebook.  I think oftentimes, our thoughts and experiences are best shared without words.  Instagram allows you to see these experiences through another person's perspective.  Additionally, there are some very beautiful images shared with interesting content and beautiful composition.  I'm definitely hooked on it, and if you would like to follow me my IG username is Bromeleighad, the same as my blog title.
Back to the knit-along, the person who set it up also created a Ravelry group entitled Instagram-Along-Ers, so we can also share our projects at that venue.  I have never participated in a Ravelry knit-along before, but I like this group because you also see people's photos of their progress on a day to day basis, rather than just the end product.  I have so many other projects going that I just made it into the second section of the shawl, but I can already tell that it is going to get a lot of wear!
The pattern is Daybreak by Stephen West.  I chose to make the medium size, and I am using Knit Picks Chroma fingering sock yarn, in the Bittersweet Heather and Orchard colorways.  The yarn is incredibly soft and the color changes are gorgeous, as you can see above.  I will definitely be using it again, possibly for socks next time.  Hopefully I can get this finished in the next few weeks to show you the finished product.