Weekend Workspace || 6-30-13

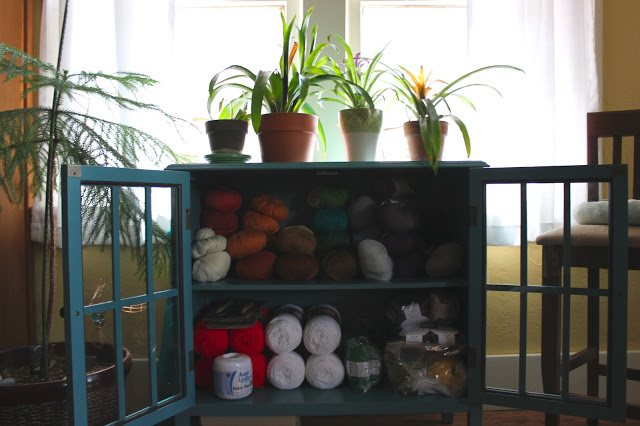
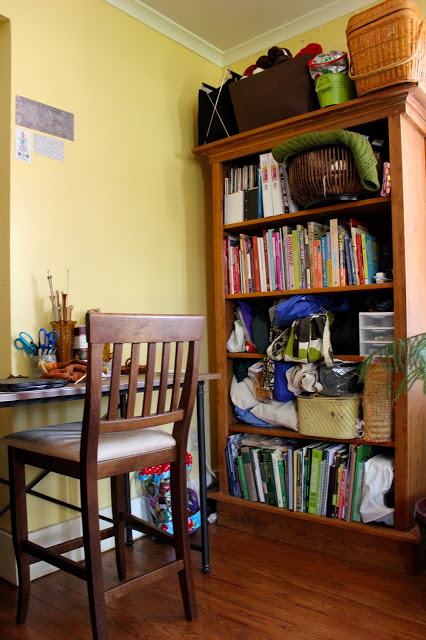
Today the "weekend workspace" phrase is more fitting than it's ever been, because I've been building a home workspace!  Up until now I've had a bookshelf and have worked at our dining table or the couch... but last weekend we pretty much rearranged the entire house so half of the front room could be a dedicated space for me to work in.  My bookshelf has pretty much remained the same, but I have added another cabinet for yarn storage, and a desk (!!) where my yarn swift can remain set up at all times and I can sit and work on project/pattern development.  I also have the small beginnings of an inspiration wall.  Now, off to put it to use!

Tutorial || Tiered Moss/Copper Hanging Planter

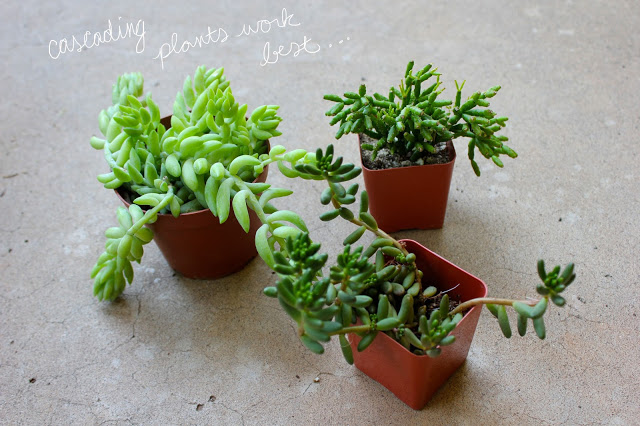
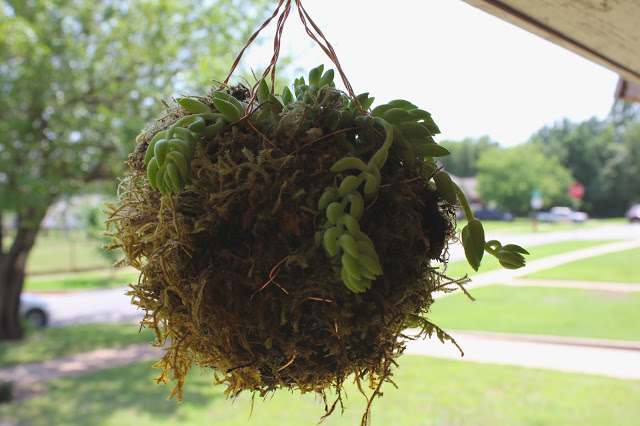
I'm all about a great way to display plants, and this planter idea has been floating around in my head for a while.  I'll try to keep it from making me want to buy ALL OF THE SUCCULENTS, but that's no guarantee.  This project only took a couple of hours and it's perfect for cascading succulents that like to dry out a little bit in between waterings.  The moss holds in moisture after you water it, however.  You can either hose it down gently (this is what I've been doing when I water my other containerized porch plants) or soak it in the sink or a bucket.  If you put this indoors, make sure that you hang it over the bathtub or something after watering to let it drain out completely... unless you just like having water all over the floor.  Just sayin'.


Materials needed:

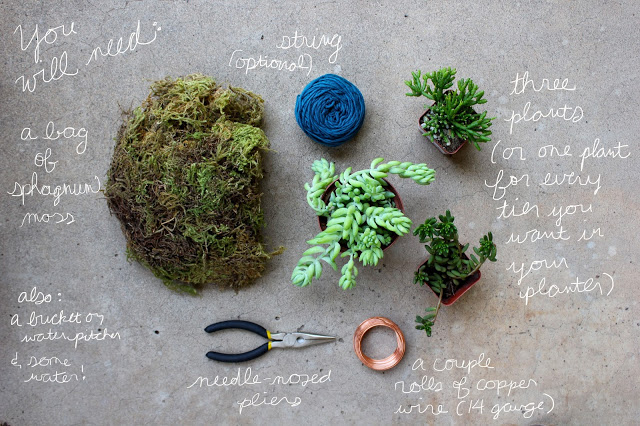
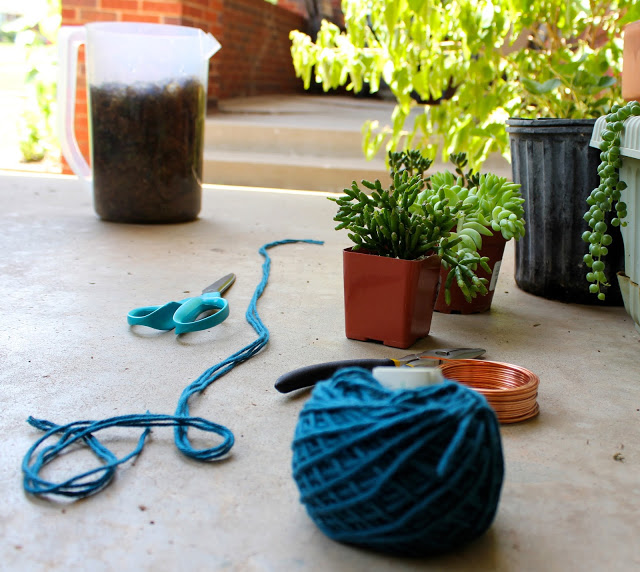
A bag of sphagnum moss Needle-nosed pliers Approx. 50 feet of 14 gauge copper wire Three plants (cascading types that can handle drying out will work best) A bucket for soaking the moss, filled halfway with water Yarn/twine is optional if you would like to tie up the moss ball while you wrap your wire.


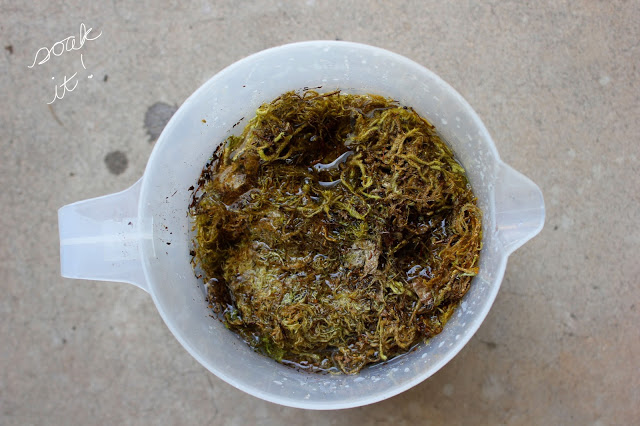
1.  Begin by cutting the copper wire into lengths of about 36 inches.  You will need five pieces of wire for each tier of the planter.  Meanwhile, soak the moss in a bucket.


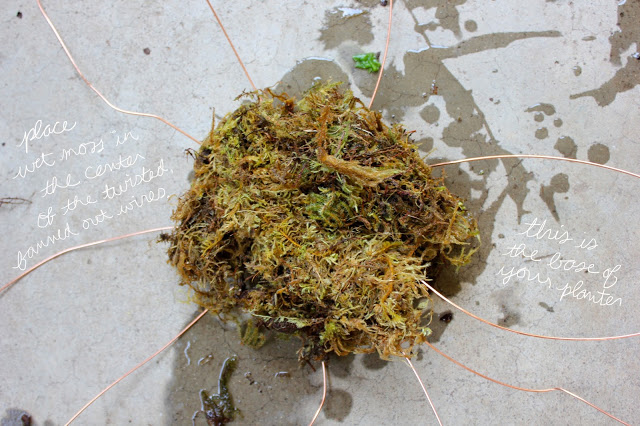
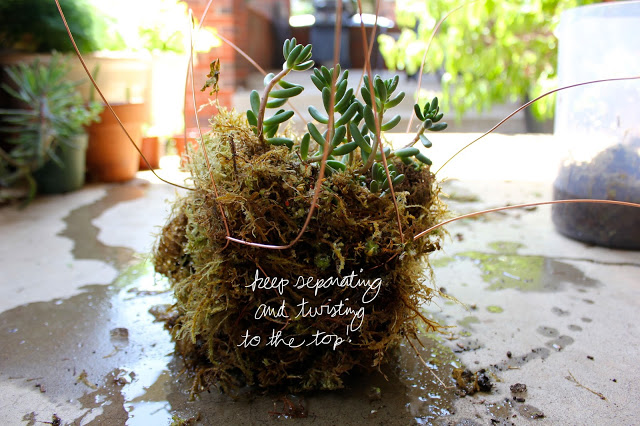
2.  Take five pieces of cut wire in a bundle and find the center of the length of wires.  Using the pliers, twist the wires around each other to form the center of the bottom of your planter.  Spread the wires apart in a circular/sunburst fashion.  You now have ten wires around the circumference of the center twist.


3.  Place a handful of wet moss in the center of the wires to form the foundation for your plant.
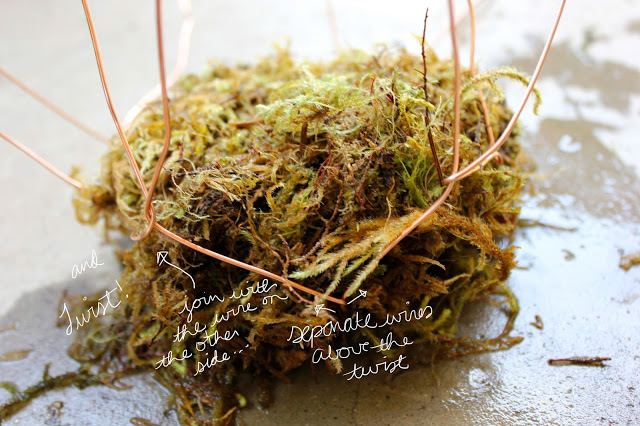
4.  Take two adjacent wires and twist them at the edge of the bottom of the planter.  They should still be spread apart from each other on the bottom to provide more support - just bend them toward each other at the corner to twist.
5.  Go all around the edge of the planter twisting sets of two wires to begin the side supports of the planter.
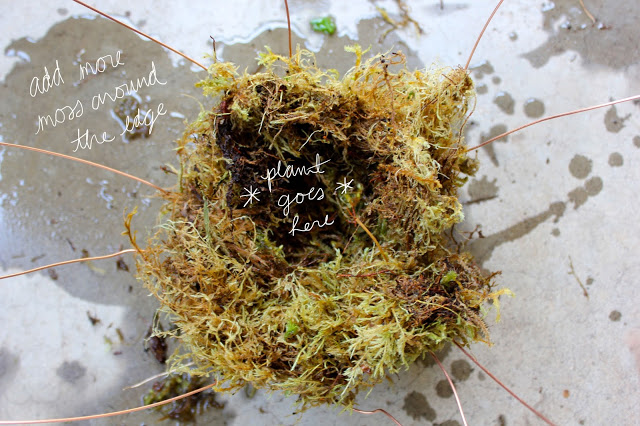
6.  Next, bend each wire in a set away from the other toward the wire on the other side.  Now twist these two wires together forming five new sets of wires.  Continue to repeat steps 5 and 6, adding moss around the edge as you go and leaving a pocket in the center where your plant will be inserted.
7.  Place the plant in the center pocket, and add more potting soil if needed.  Cover the top and sides with more moss.
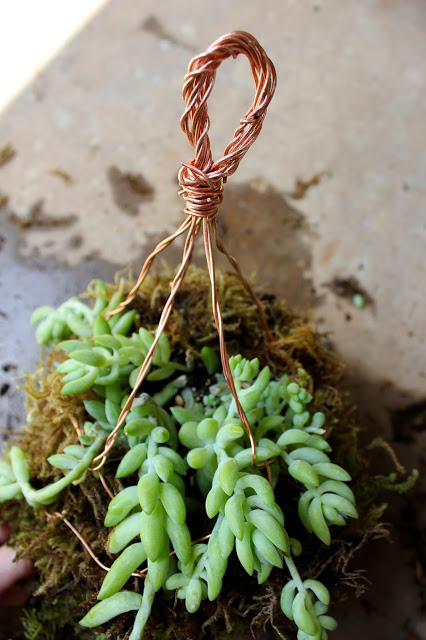
8.  Continue twisting the wire at the sides until you have reached the top.  Gather all the wires, centered above the plant about 4 inches and join them together.  Using the pliers, twist the wires into one coiled wire.  For the top tier of the planter, make a loop with the coil and then twist the ends around the coil below the loop.  You can then hang it from a plant hook.  For the lower tiers, you can join them to the tier above by wrapping the ends of the coil around the wire twist on the bottom of the planter tier, and then securing it by wrapping the ends around the coil.


That's it!  Water once you notice the moss going dry.  What do you think?  Anyone want to make a guess at how many of these will be hanging on my porch by the end of the summer?!  :)
IMG_3456

Solar Dyeing || #2

Before I get into this - Seed Stitch Fine Yarn recently asked to interview me about the Decomposition series and 52 Forms of Fungi, and they posted this nice article last night.  I've had a couple of other interviews that I just realized were never linked on the blog - I'll compile those to share soon.  Moving on to the subject at hand.....
You may expect that this will become a regular inclusion in forthcoming blog posts.  I am in love with solar dyeing, and I don't care who knows it!  More than anything, I'm excited to experiment with different plants and mordants to learn as much about natural dyeing as possible... so here we go.
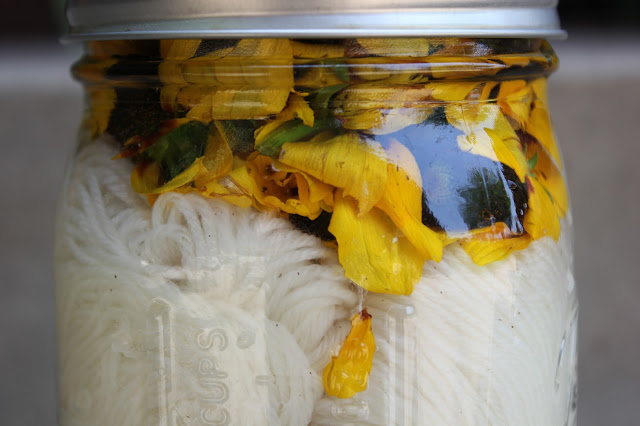
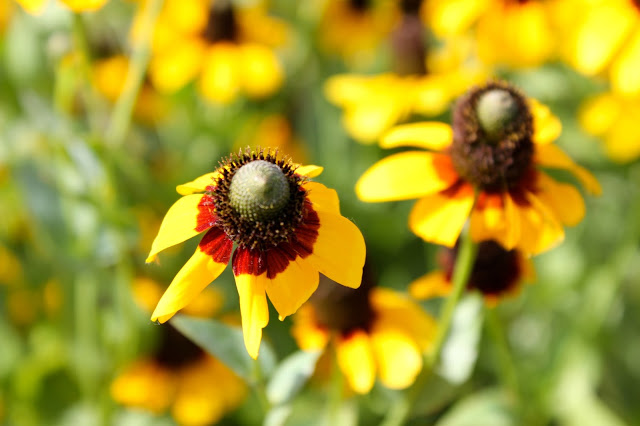
This is my second attempt at solar dyeing (you can read about the first project here and here), but it's my first attempt using actual plants that I harvested.  The first experiment incorporated some dye extracts processed by Earthhues.  This recipe includes prairie coneflower or Ratibida columnifera (thanks to Misti for confirming the plant ID - and by the way, if you're the type who is interested in natural observation and gardening, or you just like looking at beautiful photos of nature in general, you should really check out her blog. I enjoy it very much.)  I used alum and vinegar in the dye jar as well, and the fiber is Knit Picks bare Stroll sock yarn (100 g).
After just the first afternoon I noticed that the water was taking on a purplish hue, although I read that coneflower results in green.  We shall see!
Another jar with logwood purple extract, alum and vinegar is sitting out on the porch as well, although I did not get to take any photos of it.

Weekend Workspace || 6-22-13

Since the bulk of what I do related to artwork and this blog occurs on the weekend, I thought it might be nice to share some snippets of what I'm working on since sometimes I don't get to show the finished product for a while afterward.  Here are some of the scenes I've surrounded myself with so far today.

52 Forms of Fungi || #15

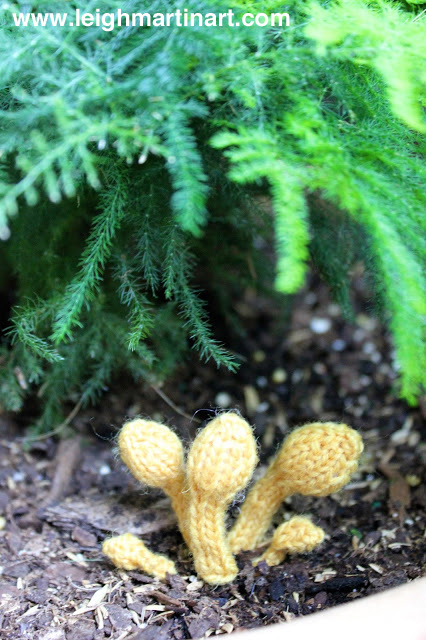
What happens when a friend emails me a photo of an unusual fungus found in one of your houseplants?  They can expect to see it shortly thereafter in knitted form, of course!  This is the yellow house plant fungus (yes, let's be descriptive as possible, shall we, taxonomists?) and it will often grow in inoculated potting soil that stays moist... which a lot of indoor plants don't like anyway... so maybe let it dry out a little bit and see what happens.  They are not harmful to the plant itself though; just don't make a stir fry with them as they are toxic.
This structure was knitted as part of my 52 Forms of Fungi project, through which I will knit a different type of fungi for every week of 2013. Check out more of the forms from this project.
IMG_3339
IMG_3360
IMG_3348

Solar Dyeing Results

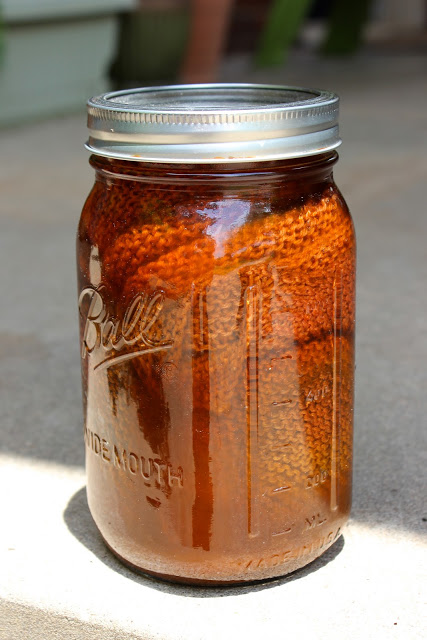
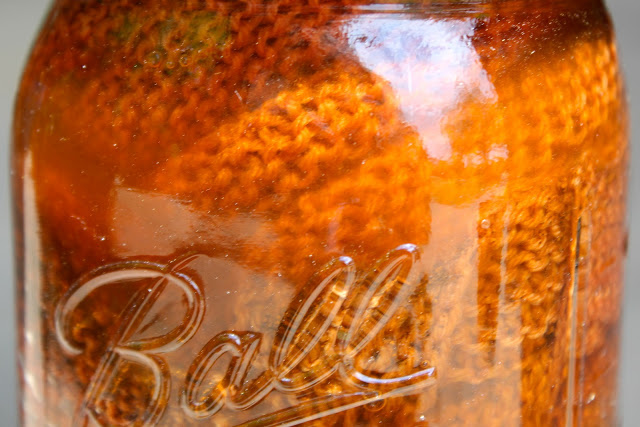
It's been about a month now since I started my mason jar of madder, alum and a Hitch Hiker scarf knitted in bare yarn.  This weekend, I decided that I could not wait any longer and liberated my scarf into the kitchen sink where I rinsed and rinsed until I could roll out the excess, clear running water and hang it up to dry.
Keeping an eye on the jar during this process is like watching gifts appear under the Christmas tree.  Just about every day I would get home from work, lean in for a good look and then grab it and give it a good shake to mix up the undissolved dye sediment.  The water wasn't quite clear when I made the decision that it was done, but I think I may have used too much dye to begin with and it was definitely soaking up into the outer layer of yarn.
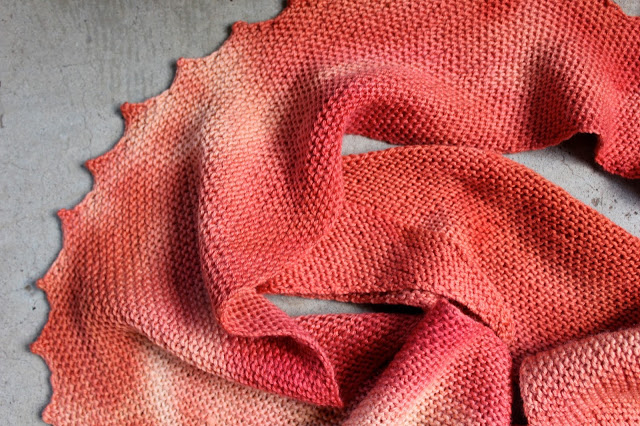
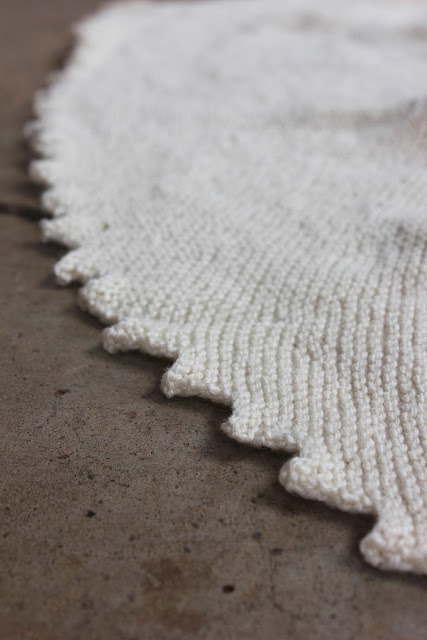
As I mentioned in my original post when I started this project, the garment was a little large for the jar that it was in so I was expecting a somewhat splotchy outcome.  The resulting pattern of color is quite beautiful, with a dark rusty hue in the most saturated parts and a light gold on the parts that were obviously in the center of the scarf when it was rolled up in the jar.
I must say, I am so addicted to this new hobby!  New bare yarn is on the way, so I'm going to try this process with skeins and THEN knit with it!  I would also like to try using materials that I foraged or at least something that I collected/bought and prepared myself.
Have you tried any solar dyeing or even natural dyeing?  How did it turn out?


52 Forms of Fungi || #14

When we had just arrived at the cabin for our weekend in southeast Oklahoma several weeks back, I was poking around in the woods with my camera and happened upon this really unusual, leathery, cup shaped fungus.  After a little research I came to find out that this fungus is called devil's urn, and it is one of the very first species to appear in springtime as the forest comes out of dormancy.  They really are a sight to see, with the brownish exterior and smooth, black interior.  The blend in very closely with their environment and are often found on downed tree limbs.
This structure was knitted as part of my 52 Forms of Fungi project, through which I will knit a different type of fungi for every week of 2013. Check out more of the forms from this project.
IMG_3227
IMG_3224

52 Forms of Fungi || #13

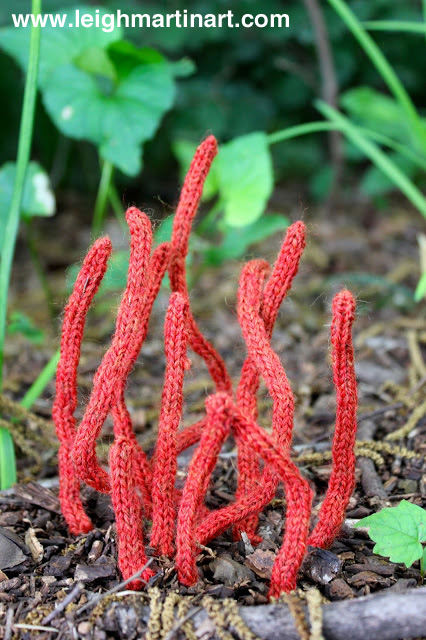
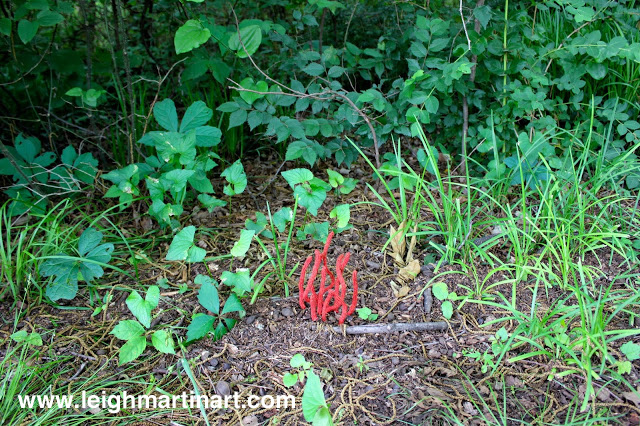
There are many types of coral fungi that are incredibly eye catching, so I doubt this will be the first species you see here.  This one in particular is known as Clavulinopsis corallinorosacea, and it is found in Australia.  I haven't been able to find much about this specific type of Clavulinopsis other than photos of it, so if anyone has information please send it my way!  But regardless, those colors!  Does this not look like some delicate sea life form that you would see on a snorkling excursion?  Lovely.
This structure was knitted as part of my 52 Forms of Fungi project, through which I will knit a different type of fungi for every week of 2013. Check out more of the forms from this project.
IMG_3219
IMG_3216
IMG_3213

Tutorial || Ombre Jersey Rug

A few months back, I made a rug as a going away/housewarming gift for a couple of friends moving to Seattle.  The good thing about an ombre or variegated accent piece is that it brings out all shades of a main color and ties in other similarly hued accessories.  In the words of The Dude, "That rug really tied the room together!"  And it's true.


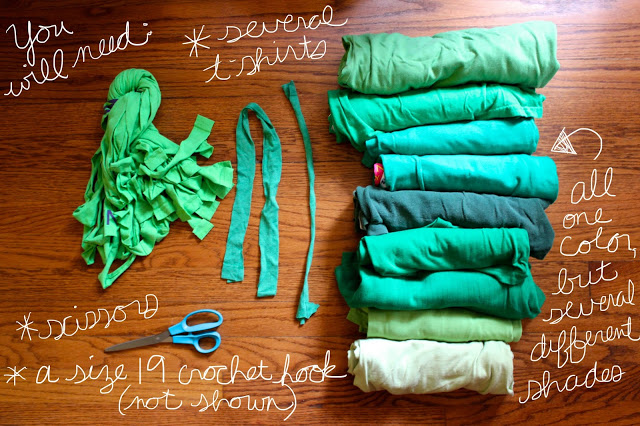
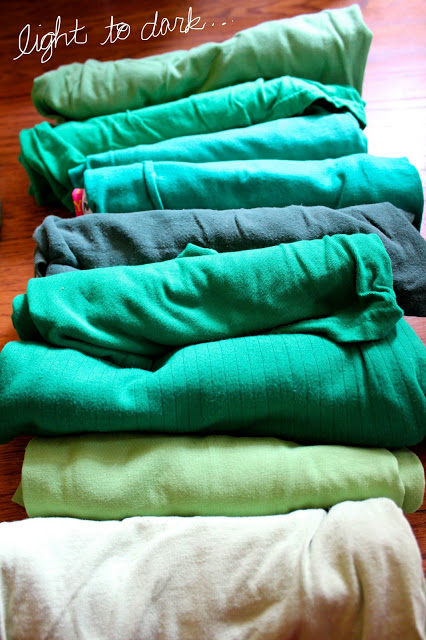
All you need for this DIY is a minimal knowledge of crochet stitches, a pair of scissors, a giant crochet hook (I used size 19, the largest I could find at the time) and a ton of t-shirts.  Buy all the same color (such as green, or red) and then get as many different shades as you can - light, dark, dull, bright, just as many shades as you can find of the particular color you are going to use.  Larger t-shirts are better, since you get more material out of them also.  Once you get all of your t-shirts, I would recommend stacking them or laying them side by side in the order that they will be used.  Line them up from light to dark, to light to dark, etc.  Since some of the shirts will be similar shades you can fade in and out a couple of times and probably get to use all of them.  As far as where to purchase your shirts, I got all of mine at Goodwill.  It's true that this can get expensive quickly, but if you're making a humungous rug is it going to cost more than you would pay to buy one?  Probably not.


Start out by cutting your shirts into long strips, about 1 inch wide.  I typically just cut down the shirt length-wise, from the neck to the bottom edge.  Next, you will attach these strips to each other to make t-shirt yarn.  Here's how:
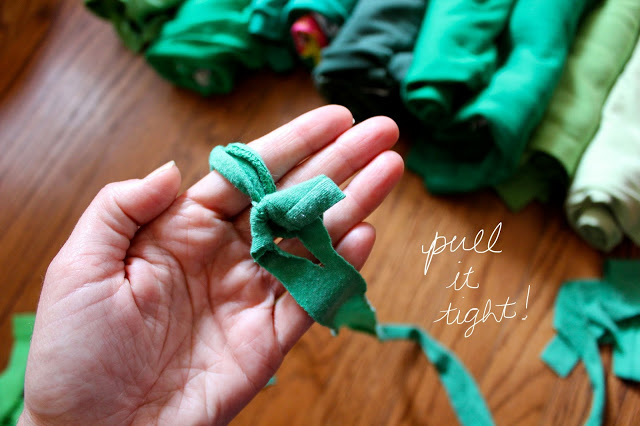
1. Cut a slit in the end of your first strip.  Take a second strip, and slip the end of it through that slit.  Now you have to secure the second strip so that it does not come out of the first one.
2. Cut a slit in one end of the second strip (while it is still through the first strip).  Take the opposite end of this second strip and place it through the slit on its first end.  Pull to tighten at the joining end.


Repeat steps 1 and 2 until you have enough yarn to make a rug the size of your choice.  I usually just add strips as I go, making yarn for one shirt for instance and balling it up, then making more when I get to the end of the ball.  Now you're ready to start crocheting your rug!
Start out by crocheting a chain that is as wide as you would like for the rug to be (or as long, just depending on which direction you want your stripes to go).  Here is a video tutorial on how to make a chain.
This chain is your first row.  Turn and continue down the chain making a single crochet stitch into each stitch of the chain.  Here is a great video tutorial on how to make a row using single crochet.  Once you get to the end of the row, you will need to chain one more stitch as you turn, then begin to single crochet into your previous row of crocheted stitches.

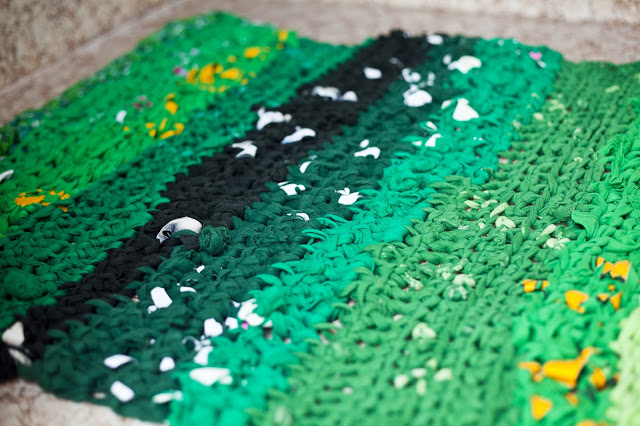
When you get to the end of your second row, turn and stitch back down the row again as established.  You will keep doing this until the rug reaches your desired length.  It's fun to watch the fade in color unfold!  Here's what it will look like when you're done...


This last photo is by courtesy of Sharalee, one of the owners of the rug.  They had a rectangular space, which is why I made it in rows.  However, I've made one in the past that was circular and it looks amazing in that shape!  Unfortunately I have no good photos of that one and it is no longer in my possession because my cat.. ahem.. became a little too fond of it... But to make a circular rug, all you really need to do is chain about 6 stitches, and then begin your single crochet stitch from there in the very first stitch of the chain to join it in a loop.  You will crochet once into each stitch for the most part, but will need to crochet twice into every 3rd - 5th stitch or so to make it lay flat.  As you go along it's easy to gauge if you need to do that more often or less often, as the rug will curl if the outer round has too few stitches or it will bunch up if you have too many stitches.
This is a pretty easy and affordable project that will add some color into your home!

52 Forms of Fungi || #12

How amazing would it be to see one of these in the wild?  Lion's mane or bearded tooth mushroom (Hericium erinaceus) is quite rare, and will grow on dead/dying wood as well as parasitically on living trees.  It is also apparently edible with a slightly fishy taste and has medicinal properties such as the potential to heal nerve damage.
As you can see, this took a LOT of i-cord.  I've been working on it for weeks!  I would love to make a huge one at some point, but don't I say that about every form that I make?  Once this project is finished I will probably pick out a few to focus on in more detail and at a larger scale.  Thank you for your patience while I cranked this one out... more fungi is to come for this week!
This structure was knitted as part of my 52 Forms of Fungi project, through which I will knit a different type of fungi for every week of 2013. Check out more of the forms from this project.
IMG_3181
bearded-tooth-3
IMG_3194

Fiber Is... || #2

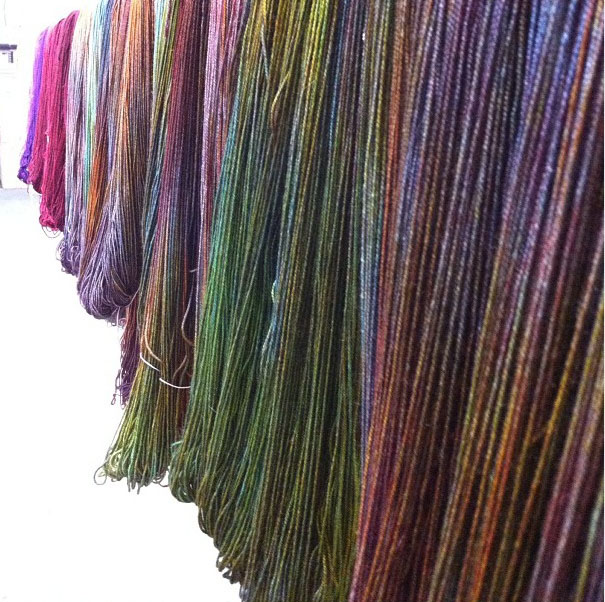
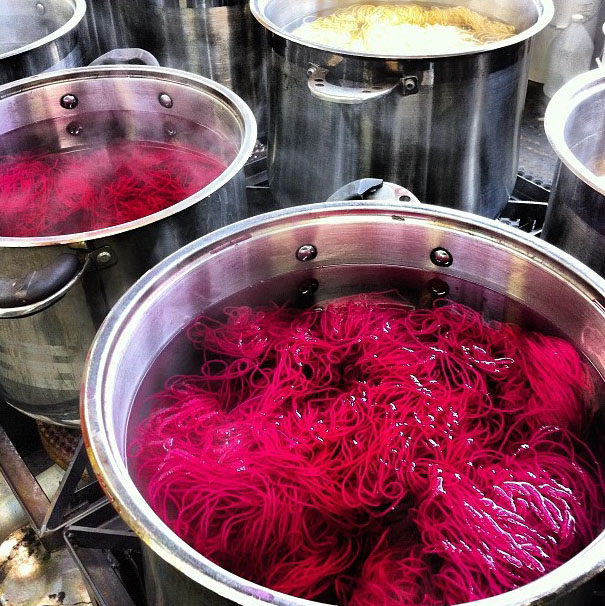
I found Sarah Eyre within the last couple of years on Instagram, when it was still possible to search a general hashtag (i.e. #knitting) and view photos that were posted more than an hour or two ago.  I was intrigued by this beautiful, courageous lady, partly because she just happens to have my dream job.... she co-owns a yarn company called Cephalopod Yarns!  Based out of Baltimore, her IG feed often includes skeins of lusciously hued  yarns in dye pots or drying racks, fun mirror art in the studio, and images and words that just remind you to remain present.  I'm hoping to splurge on some of her yarn later this summer---there's some camel fiber that I'm dying to make a shawl out of.  It's supposedly incredibly soft!  Here's what fiber means to Sarah Eyre..

About Sarah

Oh no, the dreaded introductory paragraph! I’m so awkward at this part. I’m your average cat- herding thirty-something fiber artist, living in Baltimore with my husband and daughter. I cook pretty well and play banjo very, very badly. I take endless photographs of absolutely everything. I love comic books, Victorian literature, yoga and running, and I believe every single one of us is a superhero. I teach yoga and meditation when I’m not on the road, with a focus on working with the disabled. I believe in the power of small and simple things.

Ways Sarah works with fiber, including her favorite craft:

I’m a dyer, spinner, knitter, felter, knitwear designer, embroiderer and shamefully awful crocheter. Improving my crochet skills is on my list of goals for 2013; there are just too many amazing crochet projects and patterns! In truth, I’d say I’m primarily a spinner and dyer; while I do knit, and love to knit, my primary passions are color and form.

There’s a real pleasure and peace in expressing thoughts, feelings, and experiences through color. Dyeing is a very playful form of self- expression that utilizes the both visual and the tactile. It is joyful, creative, messy, physical work. When dyeing yarn and spinning fiber specifically, we have these finished objects that are the working materials for other artisans, and that’s the most exciting part of the work for me. Seeing our yarn “in the wild”, whether on Ravelry or at a fiber show, is one of the biggest pleasures of this job! I love seeing what other people create with the things we have made.I love, love, love spinning, too. It’s my second great fiber love. I don’t actually knit with my own handspun; I really prefer handspun from someone else. I always see my handspun as a finished object in its own right, I think! I do adore handspun yarn- there’s something almost sacred about someone else’s handspun to me!- and I purchase and trade for it regularly. Knitting handspun has to be one of the sweetest things in the world- there’s just nothing quite like it.

And now for the big open-ended question.  To Sarah, fiber is...

Fiber is so, so much fun! It’s earthy and light and fluffy and sensual and amazing. Whether I’m spinning or dyeing, knitting or felting, there’s this wonderful sense of both being a part of these traditional crafts and being part of a new arts and craft movement.

Fiber is grounding and uplifting: it reminds me slow down and to pay attention to the small things, like stitches or plying, but it also brings people together into common efforts, like Afghans for Afghans, where fiber artists work to create warm handmade items for people they’ve never met. My life is infinitely warmer, happier, and, well, fuzzier with fiber in it. :)

Sarah (shown below with her husband, who she works with!) blogs at On My Tiptoes and you can shop for (and lust after) some of the beautiful yarns her company creates at Cephalopod Yarns.  Thanks, Sarah!

All photos courtesy of Sarah Eyre, some via her Instagram feed.


Lately

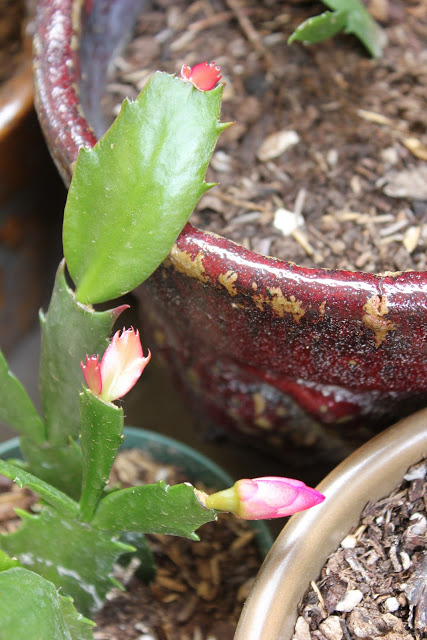
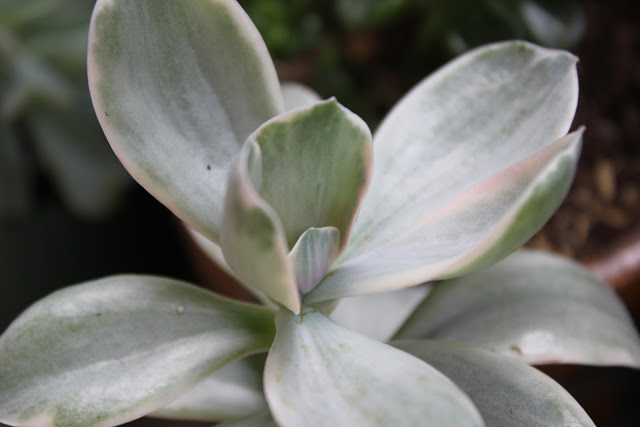
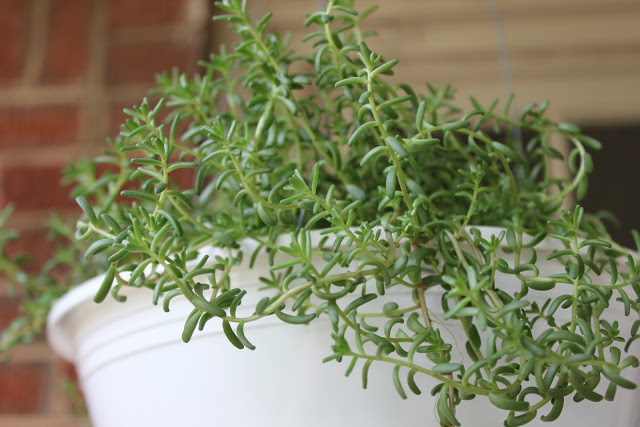
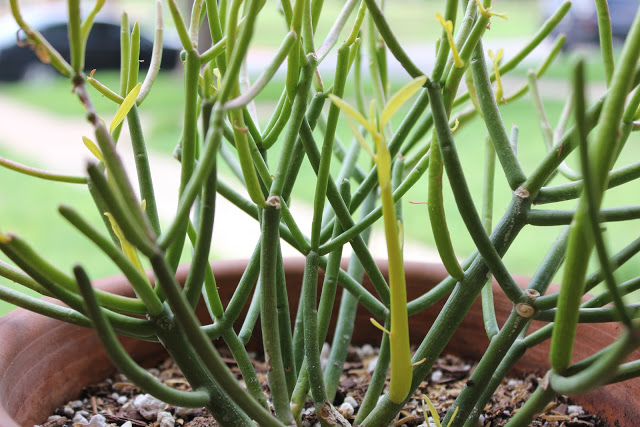
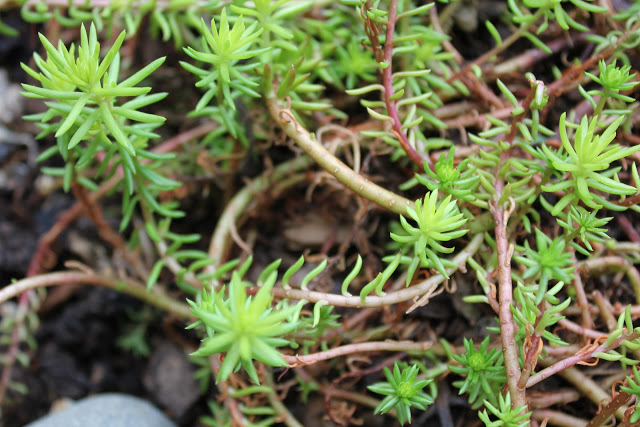
My little porch container garden has really been taking off lately, which makes me happy every time I go out front.  I enjoy noticing a new little leaf enlarging or an elongating shoot each day.
Lately things have been busy but also not.  We've spent a lot of time in the last month looking at homes in search of our first one to buy.  This is not as fun as I expected it to be; instead it's probably the most anxiety inducing experience I've had in the past five years (including planning my wedding).  I'm hoping that we will find "the one" really soon.
I've taken a little break from my constant knitting, with the exception of working on fungi.  The one that's in progress now requires a lot of i-cord, so it's taking a while to complete.  I'm hoping to post about it sometime next week.
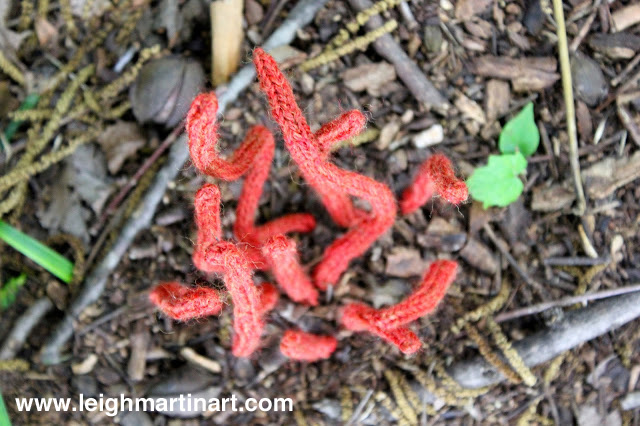
Part of my break is just to relax and regroup, and also to work on some samples for a couple of patterns I've been developing and would like to release this summer.  It's a fun and exciting process!  I'm glad it's Friday so I can get started on it again tomorrow and hopefully be ready to move to the next step for one of the pieces.
Finally, I cast on my first pair of two at a time, toe up socks yesterday using the Magic Loop method.  It seemed like a good way to relieve some stress, and while I had wanted to set a sock knitting goal this year this is actually my first pair.... so I'll just be happy to make it through one project using this method and then take it from there.
I hope you have a great Friday and a wonderful weekend!

Solar Dyeing + Off the Needles || Hitch Hiker Shawl

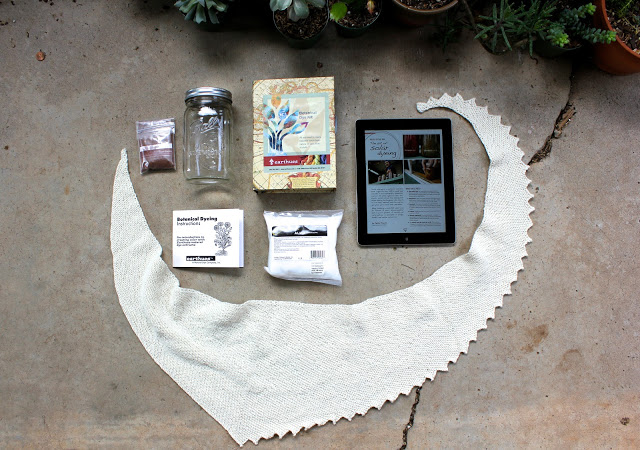
Since I had a few other projects going on concurrently, it took me a while to finish this hitch hiker shawl that was part of a knit-along with the Instagram-along-ers Ravelry group.  Normally I take "off the needles" photos of a finished object styled and worn, but I did not do that with this one... because it's not finished yet!
Recently, I featured Caitlin Ffrench for the first post of the "Fiber Is..." column, and she just happened to have an article on solar dyeing in this summer's issue of Knit Scene.  When I started the shawl it was a last minute thing and I wanted to use some yarn from my stash.  For whatever reason I had some bare merino that would work perfectly.  Earlier in the year I made the herringbone cowl in a natural hue though, and didn't really want another scarf of the same color.  The solar dyeing tutorial seemed like a great way to try out something new and also add some color to my finished shawl.
For Christmas I received the Earthhues natural dyeing kit from my parents, which is available through Knit Picks.  Stovetop dyeing has been high on my list of things to learn for a while, but my kitchen isn't exactly ideal for large projects like that and it just seems really daunting.  Once I read through Caitlin's solar dyeing tutorial, I felt that this seemed a little more manageable for my first attempt at natural dyeing.  If you don't have a copy of the magazine yet, I really encourage you to pick it up.  There are some really cute patterns in it as well!
I used alum and madder for my shawl, which should come out to be a deep gold/orange color when it's finished.  Even after a couple of days it looks like some of the color has soaked up into the fiber.  Since it's a finished garment rather than a skein of yarn, I'm not sure exactly how it will look when it's done.  However, I like imperfections and variegation in solids, so it won't bother me a bit if it comes out a little splotchy.  Note to self: get some bigger jars for next time.
Have you tried any solar dyeing?  I'm really addicted now and fully intend to start several more jars as soon as I can get my hands on some skeins of natural yarn.  What are your favorite natural dye combinations?


52 Forms of Fungi || #11

Fly agaric!  This is probably one of the most recognizable fungi out there.  They're just so bright and captivating (and toxic) and they always make me think of Mario Brothers.  These were really pretty fun to make.  Oh!  Here is some interesting cultural information/ethnobotany facts about the species.

This structure was knitted as part of my 52 Forms of Fungi project, through which I will knit a different type of fungi for every week of 2013. Check out more of the forms from this project

IMG_3138

IMG_3140

IMG_3135

Dyed-in-the-Wool

"Dyed-in-the-wool"
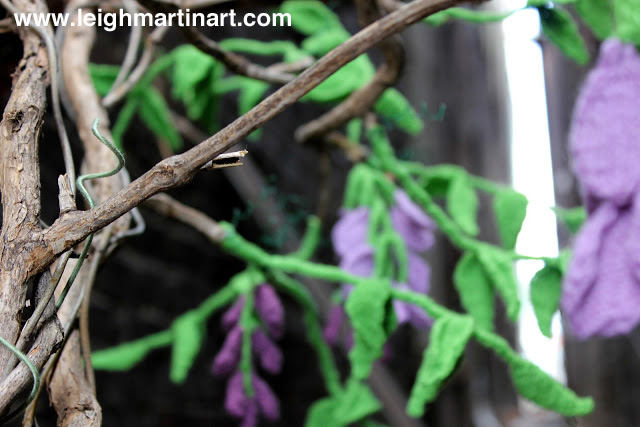
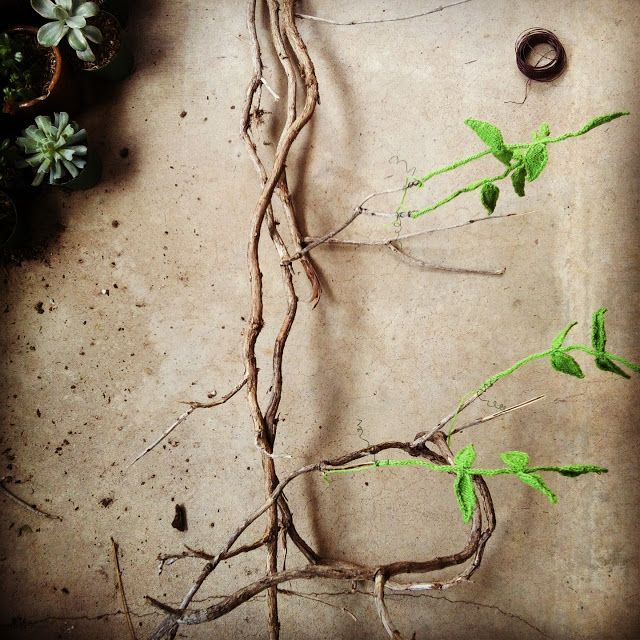
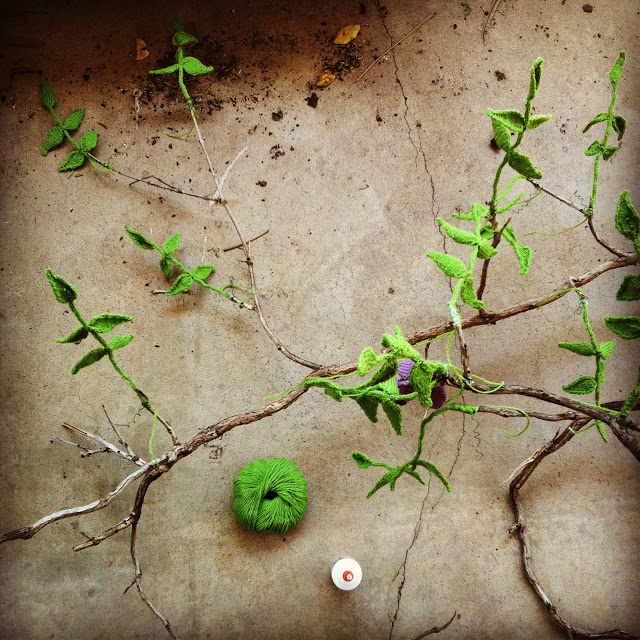
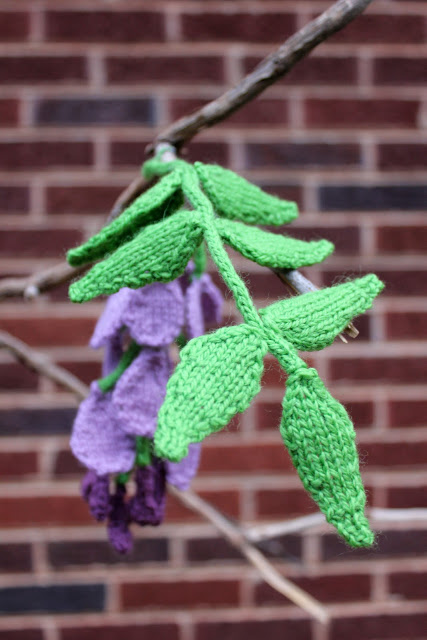
Materials: yarn, dried vine, wire
Dyed-in-the-wool is an installation that I recently created for Rare Earth, an exhibition at Plug Projects in Kansas City.  Rare Earth "features work that borrows materials and figures from the natural world to reevaluate the nature of nature and examine the many landscapes we all inhabit. Geodes, lichen, wind and water, fungi and fauna explore the possibilities of symbiosis, the interventions of pollution, and imaginatively refigure the terrestrial through painting, photography and sculpture. Considering human mediation into all of the ecologies we encounter, Rare Earth offers viewers new modes of seeing the world around them."
It is said that there are three ways in which to add pigment to a garment - after it is woven into its finished form, after it is spun into thread, and before it is spun - when it is still a mass of raw fiber.  The phrase "dyed-in-the-wool" refers to fiber that has been subjected to pigment - raw fiber - wool that has not yet been manipulated into something else.  Applying this idiom to human existence ties it to our foundational beliefs and ways of our nature.  What we were melded into before we dumped experience on top.  How our upbringing shaped us.
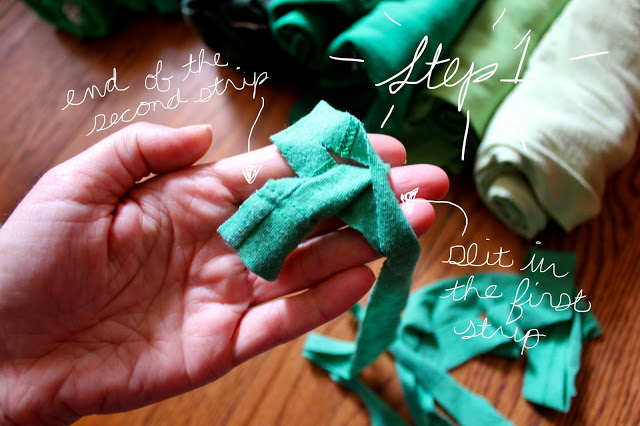
When I was considering a title for this installation, the idiom "dyed-in-the-wool" struck a chord with me not just because of the obvious literal connection of a fiber sculpture that was quite literally knitted with wool, but because it conveys exactly my perception of vegetation in an urban environment.
Do you ever walk by an abandoned lot or an alleyway and notice the vines and herbs that have sprouted through the cracks in the pavement, clung to the brick of an adjacent building, and in a way seem to have reclaimed the space?  It's remarkable that despite the extremely harsh environment we see in our urban areas, this flora still perseveres.  They are, after all, engineered for survival.  We eliminate the growing conditions conducive to coexistence with plant life, and yet they still find a way.  They are "dyed-in-the-wool" growing machines and will continue to thrive in very little soil volume with poor soil fertility, little water, an abundance of contaminants and air pollution.  Yet, how often do we walk on by without giving it a second thought?
I do want to note that I am in no way discrediting the huge problem that invasive plants have become in natural areas surrounding our communities.  Native plants and wildlife have been displaced due to this issue and I recognize that it's a very serious matter.
This piece is my effort to point out the wonders that we are surrounded by, how remarkable they are and that this beauty can exist despite the challenge of urban conditions.  It can be so moving to take a moment to just observe the growth and life around us.  A moment of encouragement, replenishment and hope.
IMG_3099
IMG_3084
IMG_3086
IMG_3105
IMG_3103
IMG_3082
IMG_3114
IMG_3116

Kansas City

Left side: images from my installation.  Right Side: images from around KC

This weekend was a great experience, and I can't wait to share some photos from my finished installation at Plug Projects.  The Plug crew was incredibly hospitable and kind, and they were great to work with.  I was blown away by the talent of the other artists in the exhibition, and feel honored to show alongside them.  Not to mention, we had a lot of fun while we were hanging out - great people!

If you are in the Kansas City area over the next 6 weeks, I encourage you to stop by the Plug Projects gallery to see all of the artwork in Rare Earth.  I will work on processing my installation images and post them on Wednesday.

What I've Been Working On

I've felt really disconnected lately - normally I'm working on several different projects at once and am planning blog posts and staying active here... but for the past month or so one big project has had all of my attention, and next week will see it finally come to completion.
Plug Projects, the artist collective who curated Momentum in Oklahoma City this year recently asked me to be a part of their upcoming exhibition, "Rare Earth".  This exhibition deals with nature and our relationship to it, which is a concept that my work revolves around.
The opening is next Friday, May 17th at the Plug Projects gallery in Kansas City and will be up for 6 weeks after that.  If you live in or will be visiting the Kansas City area, I hope you will stop by and see it!
After the install I will post photos of the installation with a little more background information.