Saprobia || Introduction

The biota of a forest ecosystem continuously adapts in a self sustaining cycle ofgrowth, reproduction, decline, and renewal. Trees originate from tiny, energy packed seeds - an acorn, a legume. As it grows, a tree is consistently supported by rich mineral soil and moisture retained by organic matter. While debris falls due to conditions surrounding an individual plant, it takes on new life on the floor to impact all other organisms extending their roots to that locale. Broken down by saprobic organisms, trees that lose vitality become the insulation that provides security for water uptake by other trees’ roots. They become the minerals that nourish plants for generations forward. Life feeds life, and all parts of the ecosystem support each other in the continuity of ecology, perhaps in a different form but always present.

Off the Needles || Ines

Ines!  After holding on to the Manos Del Uruguay Serena collection booklet for a couple of years, I finally put this short sleeved top first on my knitwear queue earlier this summer.  With reverse stockinette and US 6 (and later US 9) needles, it knits up pretty fast and is perfect for your mindless movie watching knitting.  The  yoke is shaped with short rows that are also simple enough to breeze through without much concentration.  My numbers did come up a little off with the last section of short rows, but it was consistent on both sides, front and back, so I decided it wasn't really something to worry about.  The fit overall turned out great and I might even consider making one in another color someday.
The pattern calls for Manos Del Uruguay Serena yarn, which has quite a bit of alpaca in it.  Since I wanted to make a summer top out of this, I went with a strictly plant fiber yarn for my project since me in alpaca garments and Oklahoma's summers don't really get along.  The humidity here is insulation enough without adding the magical warmth of alpaca (soft and enticing though it may be).  As an alternative, I used Knit Picks Shine Sport in Macaw.  My smaller gauge didn't end up causing any problems, and the top still fits comfortably loose despite the difference.

 Top - Manos Del Uruguay Ines top knitted with Knit Picks Shine Sport; Shorts - Ruche; Tights - Hansel From Basel; Shoes - Shoemint

Weekend Workspace || 8-18-13

Pine needles.  That's pretty much the extent of my weekend-- lots and lots of pine needles.  Tweaking my methods of working with this material has taken a lot of trial and error, but I've gotten it down to a pretty comfortable (and effective) rhythm.  It's interesting to see how different the pieces look when they're just finished and still damp, as opposed to after a day or so once they've dried.  I'm looking forward to observing the change continue as the needles completely dry out and turn brown.
The piece you see above will form the cap of a mushroom constructed from materials harvested from loblolly pine trees.  This tree species will make up the first segment of Saprobia, an installation for Momentum Tulsa this October.


Prairie Coneflower Naturally Dyed Yarn

It's been nearly two months since I visited this field of gold, sunny prairie coneflowers.  It felt like the field of poppies in the Wizard of Oz... except... they weren't poppies.  And I didn't feel compelled to take a nap.  So maybe it wasn't anything like that, except for my overwhelming awe at the seemingly solid blanket of color.  After collecting a huge bouquet I started a solar dye jar that afternoon, as you may have read about here.  The dye stuff included seed heads and petals, with mordants of alum and vinegar.  One of the best parts about the solar dyeing process is watching the transformation take place, first of the water's hue and then of the yarn itself.  I half expected a yellow shade to develop, or at least a yellow-green.  Instead, after a week or two it became apparent that the dye stuff exuded more of a bluish-green, sagey tone.  Here is the result:
Faint, but lovely.  The gold splotches, I believe, came from dyestuff residue on the sides of the jar where the yarn was pressed up against it.  I may have been able to remove the yarn a couple of weeks earlier than I did, which could have prevented this.  It adds character though, which I am all about.  So... in case you ever thought about dyeing with coneflower, this is what you might get!  What should I make with it?

Rain Does Wonderful Things

August in Oklahoma normally means everything is dry, brown and on its way into dormancy.  We've had way more rain this summer than in the past couple of years (really, that's an understatement), and warm temperatures with a lot of moisture equals fungi!  Here are some little scenes I got really giggly geeking out over last weekend when I was foraging for my Momentum Tulsa installation.  I need to look up the red ones from the second to last photo.  Some knitting might be in order for those...


Stitches for Pixels

The Art of Bits: Bits of Art show opened yesterday, and I must say I am thoroughly impressed with Istvan Gallery.  It's a beautiful, interesting space that connects to the Blue Sage glass studio with a lovely courtyard in the back.  From a Mortal Kombat tournament to character themed drinks and a DJ sampling from classic games, the event was a blast through and through.
My piece for this classic video game themed show is an homage to the iconic toadstool of the early Nintendo Mario Brothers games.  I knitted this piece with US 19 knitting needles and five strands of yarn held together, so the stitch pattern in the colorwork is very apparent.  It reminded me of the highly pixelated images of the early Mario games, which is how I arrived at the title.
I must admit that I've lost most of my interest in gaming, but put me in front of a Sega Genesis with Toejam and Earl and I won't complain.  Those early games hold just enough nostalgia that I won't let go.  I can't quit you, nerd herd and 80's/early 90's exclamations in the elevator.  Crazy dentist and level 0, you'll always hold a special place in my heart.  Finally, toadstool of Mario, do I even need to express the extent of my love?
If you are local to Oklahoma and have interest in purchasing Stitches for Pixels, you may contact the gallery directly or feel free to inquire with me at bromeleighad(at)gmail(dot)com.
Here is an earlier post with a couple of additional photos of the piece.

Weekend Workspace || 8-11-13

In additional to loblolly pine, I've also started working with materials from honeylocust trees.  The forms created from honeylocust are reminiscent of the pieces I knitted for my Decomposition: Colony installations.  Since smaller scale forms have a greater impact in large numbers, this particular "species" will likely encompass one of the largest groupings of the installation.
Acquiring these lovely thorns and branches required a hike in the forest, which I haven't experienced enough of lately in my disdain of summertime heat.  I, of course, took a million photos of fungi and stopped to look at every rotting log.  The rain this summer has resulted in an impressive amount of mycological activity, so I've resolved that a "just for fun" hike is in order in the very near future.  I hope you got to enjoy the outdoors this weekend too.

Momentum Tulsa Spotlight Artist

I've been hinting around enough, but haven't actually officially announced my recent big news... Earlier this summer I submitted a proposal and was selected to be one of three Spotlight Artists for the Momentum Tulsa exhibition that will open in October!  This is a huge honor and I am so thankful to Oklahoma Visual Arts Coalition and the curators, Emily Kern and Krystle Brewer, for this amazing opportunity!

You will find out more about my project, an installation entitled "Saprobia", as the weeks go on.  I plan to continue posting workspace snippets and progress photos.  This project has already pushed me to try out new techniques and media that I have not worked with before, which has been both enlightening and inspiring.

I'm excited to share more about  my installation, the individual pieces that will be a part of it, and the greater concept that it embodies.  For now, here are a couple of images from recent stages.

Wall Hangings || Riot II

IMG_3697
IMG_3699
Typically, my work is very setting based, and most often it is impermanent (or really always... until now).  Aside from showing installations that will be removed or immortalizing them with photographs, I had not explored other avenues to make my work accessible for people to view in person until recently.  I currently have two wall hangings up in Coffee Slingers, my favorite coffee shop/roaster in Oklahoma City, in addition to several framed photographs of past installations.  The piece shown above is "Riot II", an extension of the "Decomposition: Riot" installation from April of this year in southeastern Oklahoma.  I used Jack-O-Lantern fungi forms for the piece, as well as bark shed from an elm tree.  The bark is a story in and of itself.  I love how the wall hangings turned out, and will most likely be making more of these.
If you are in the Oklahoma City area and would like to stop by and see my show, it's up for the full month of August.  Coffee Slingers is located at 1015 N Broadway in Downtown Oklahoma City.  Another post is to come with images of the second wall hanging.

52 Forms of Fungi || #19

I've been working diligently on these for several weeks now to incorporate into a wall hanging (more on the finished product soon).  These are one variation on turkey tail fungus.  I'd like to make more using a different color palette - when you look up photos of this species there are so many different shades and patterns.  I love the contrast!
This structure was knitted as part of my 52 Forms of Fungi project, through which I will knit a different type of fungi for every week of 2013. Check out more of the forms from this project.
IMG_3685

Weekend Workspace || 7-28-13

One of the projects I've been hard at work at (instead of posting on the blog) is this giant Mario Brothers toadstool.  I just dropped it off this afternoon at Istvan Gallery in Oklahoma City for a show called "Art of Bits/Bits of Art", celebrating classic video games.  If you're in the area, the show sounds like it will be a lot of fun.  It's an all day event starting at noon on Saturday, August 10th with live music and video game demos.
I will post some photos of the piece in the gallery later on, but here's a little peek at it.  Strange going from tiny mushrooms to huge ones, but it was a nice change.  I'm finishing up a couple of other pieces as well for another showing at Coffee Slingers in Oklahoma City for the month of August.  More on those later...


Unleashing Your Creativity

Following patterns, templates and tutorials can fulfill a creative need while helping you to hone an artistic skill.  There's only so much you can take from it mentally, however.  Skill-wise it can be great practice, but when relying on another person's instruction you lose the innovation, spontaneity and scale of creativity that comes from improvisation or original construction.  Even if you've always been a paint by numbers kind of person, you can find a way to create something that was conceptualized and developed all on your own.  Here are some tips for "unleashing your creativity" that are related to my own experience.

1. Identify your skill

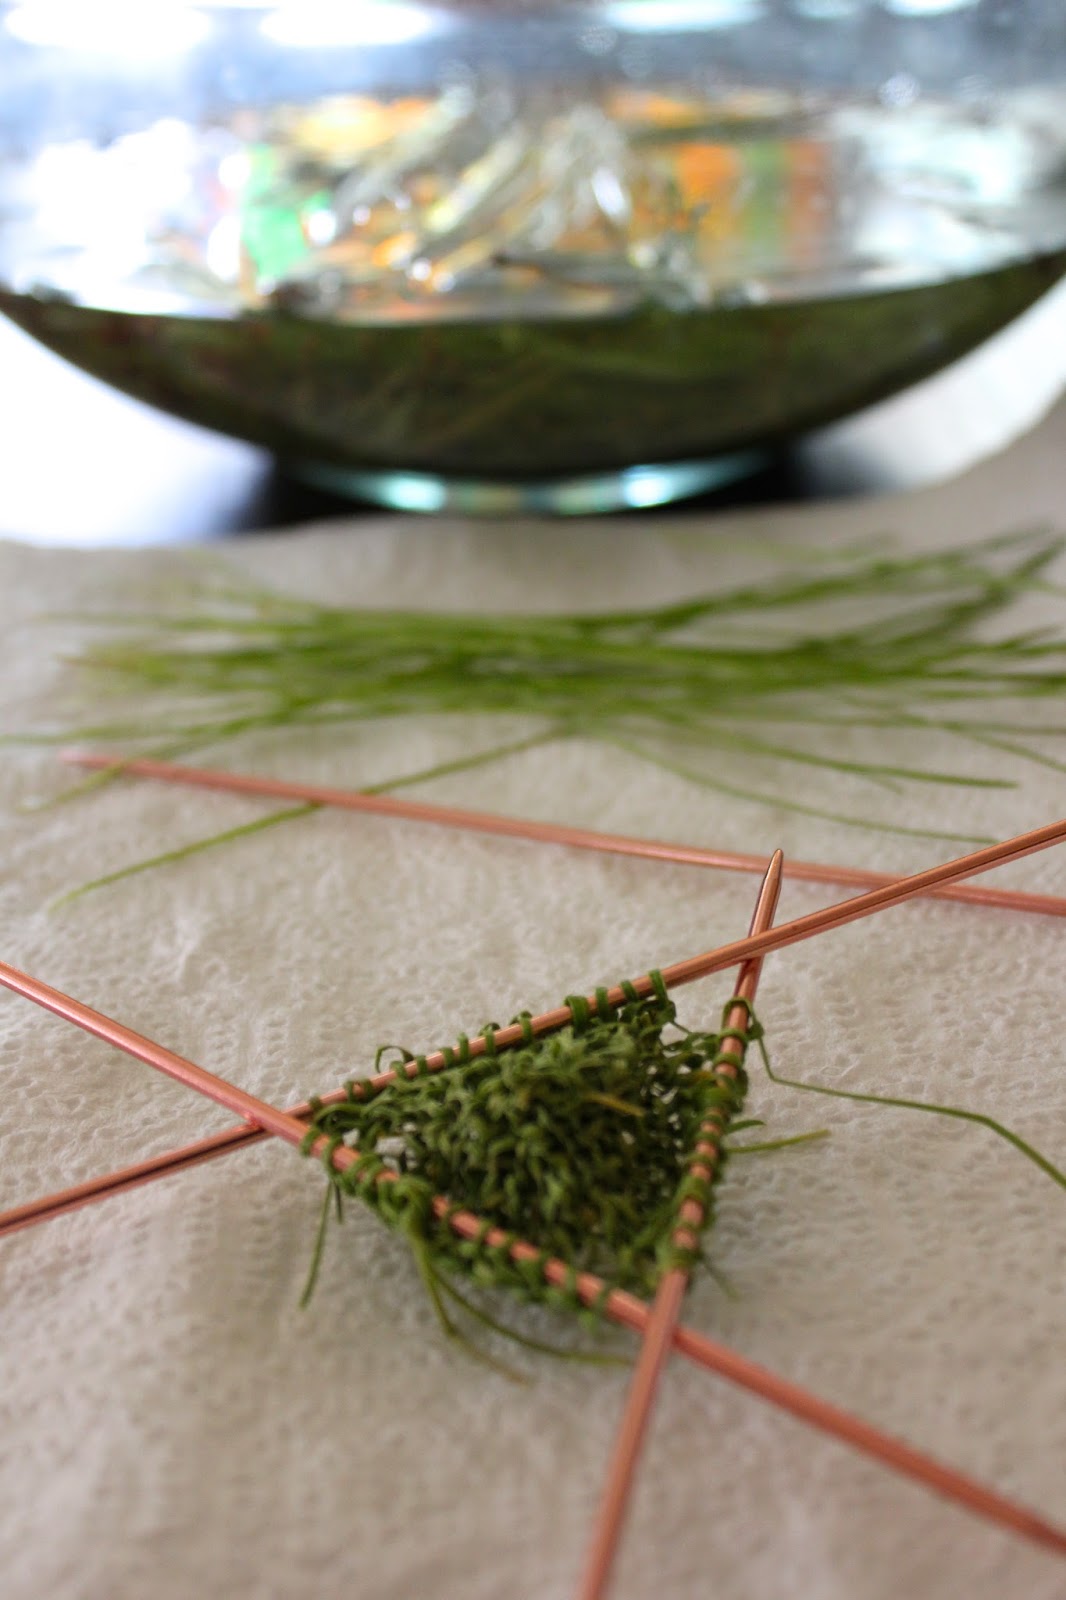
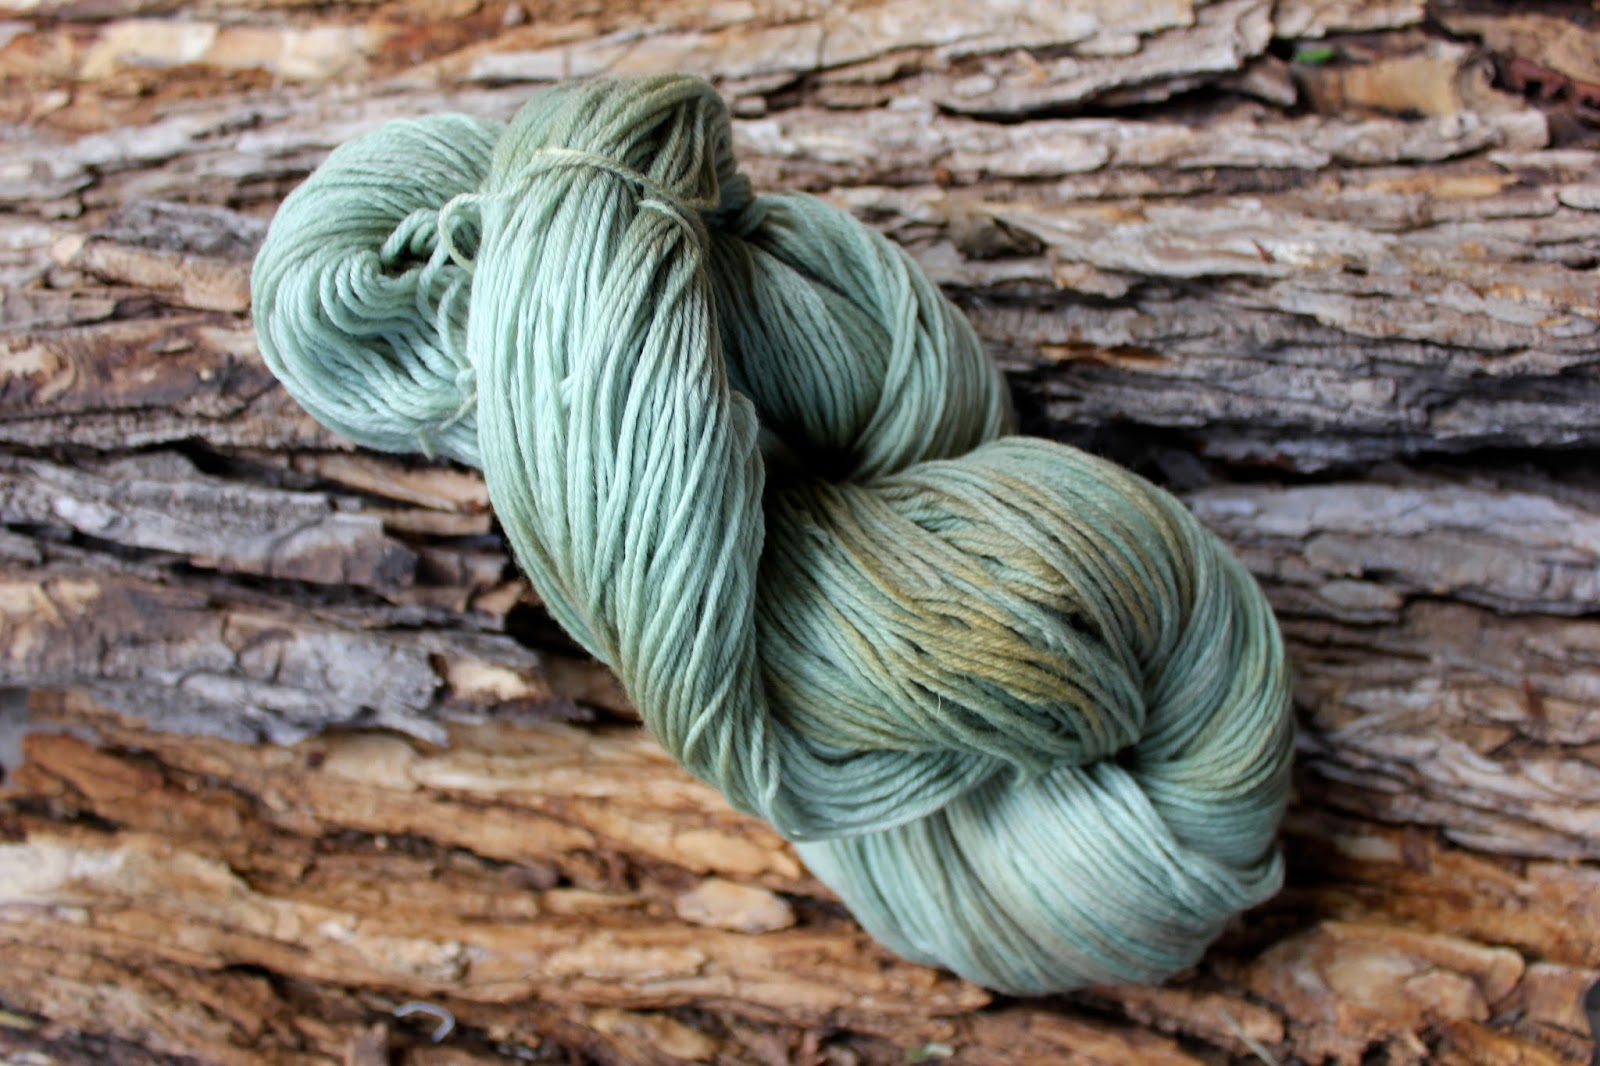
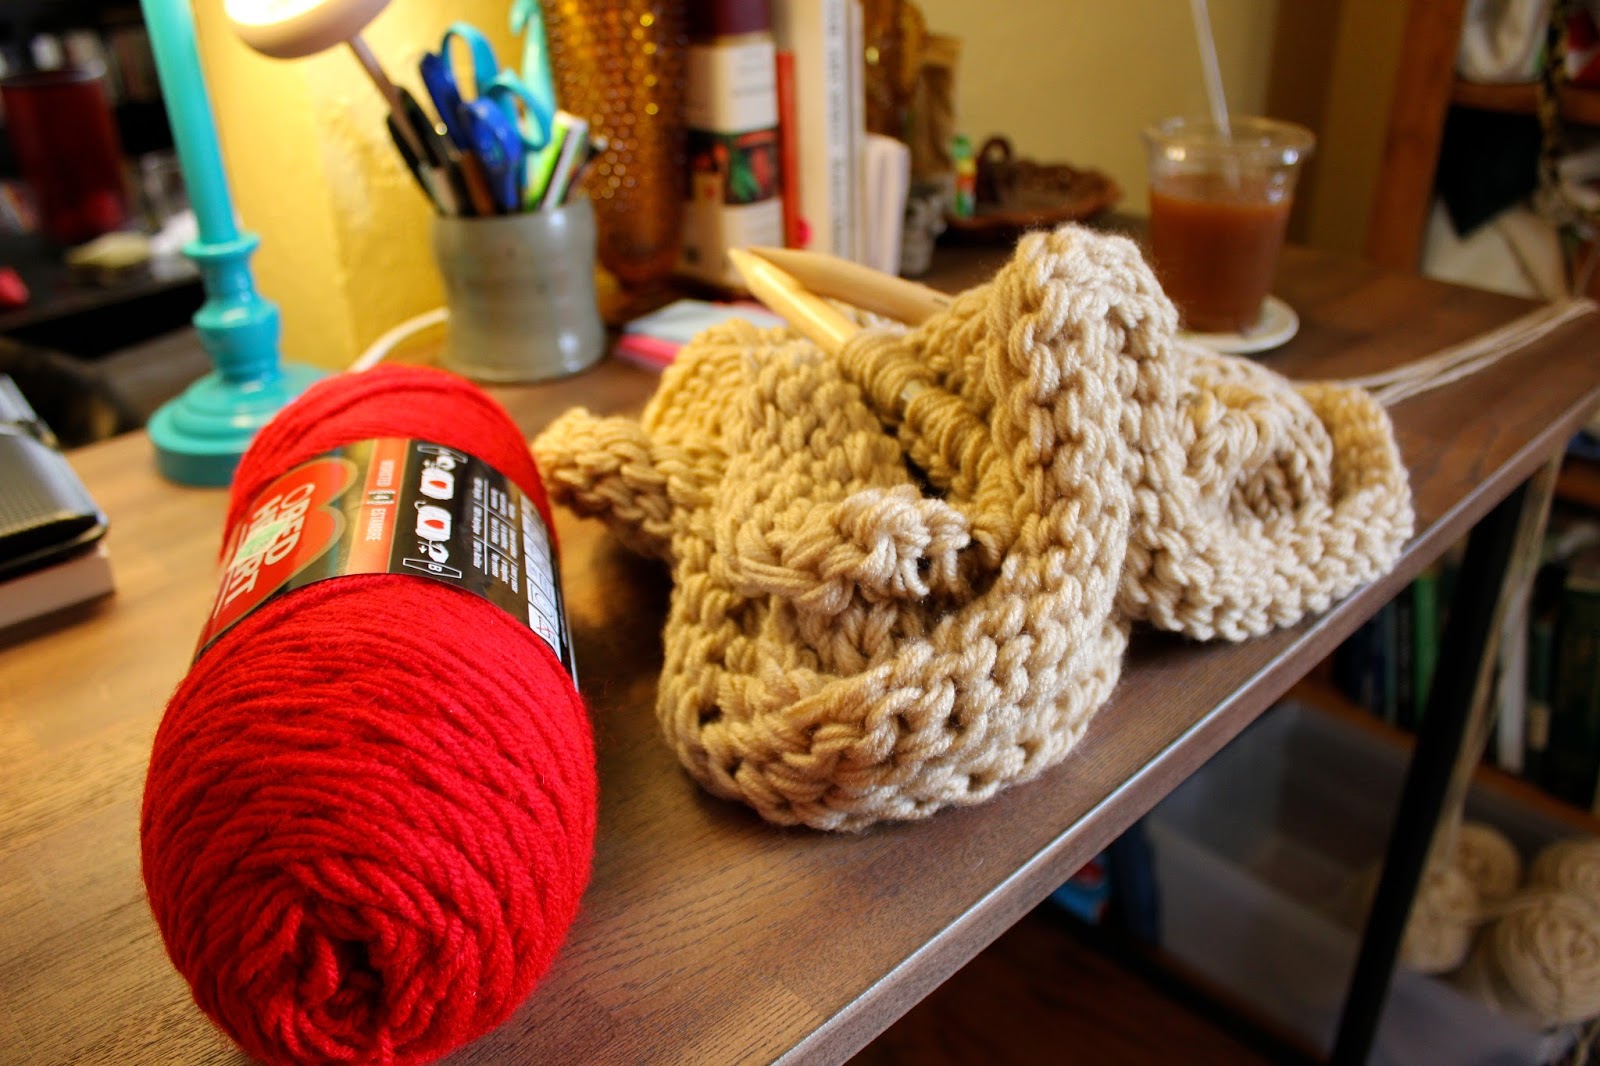
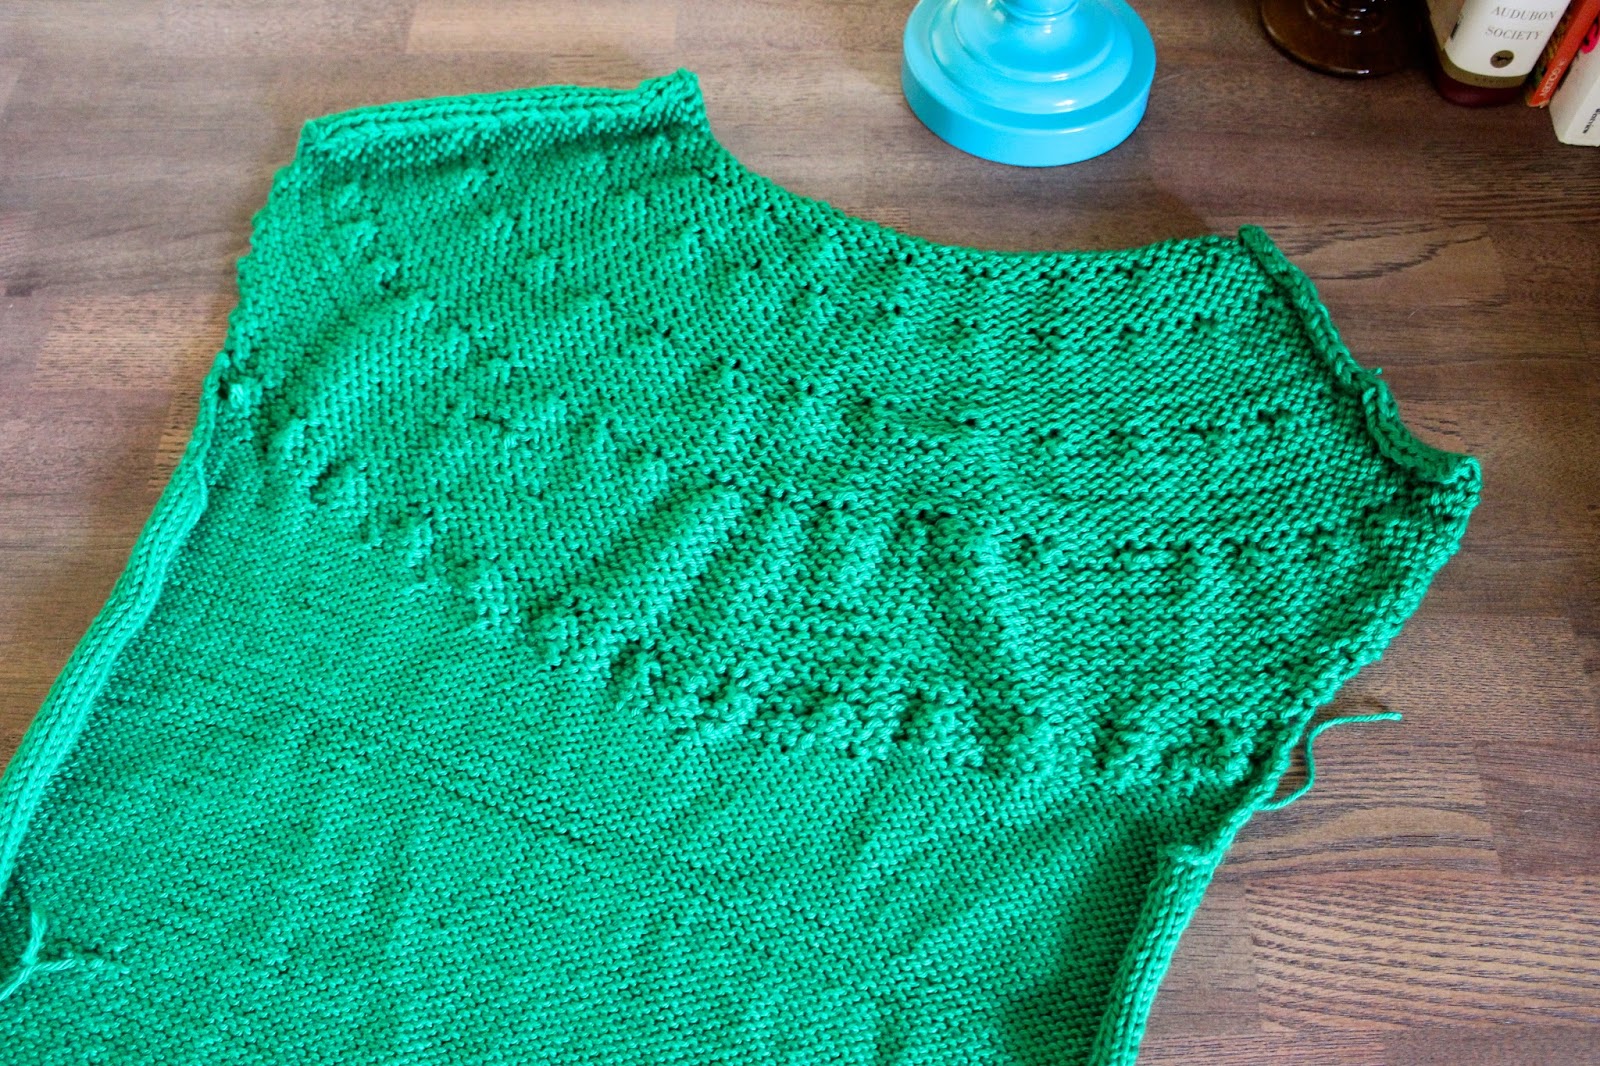
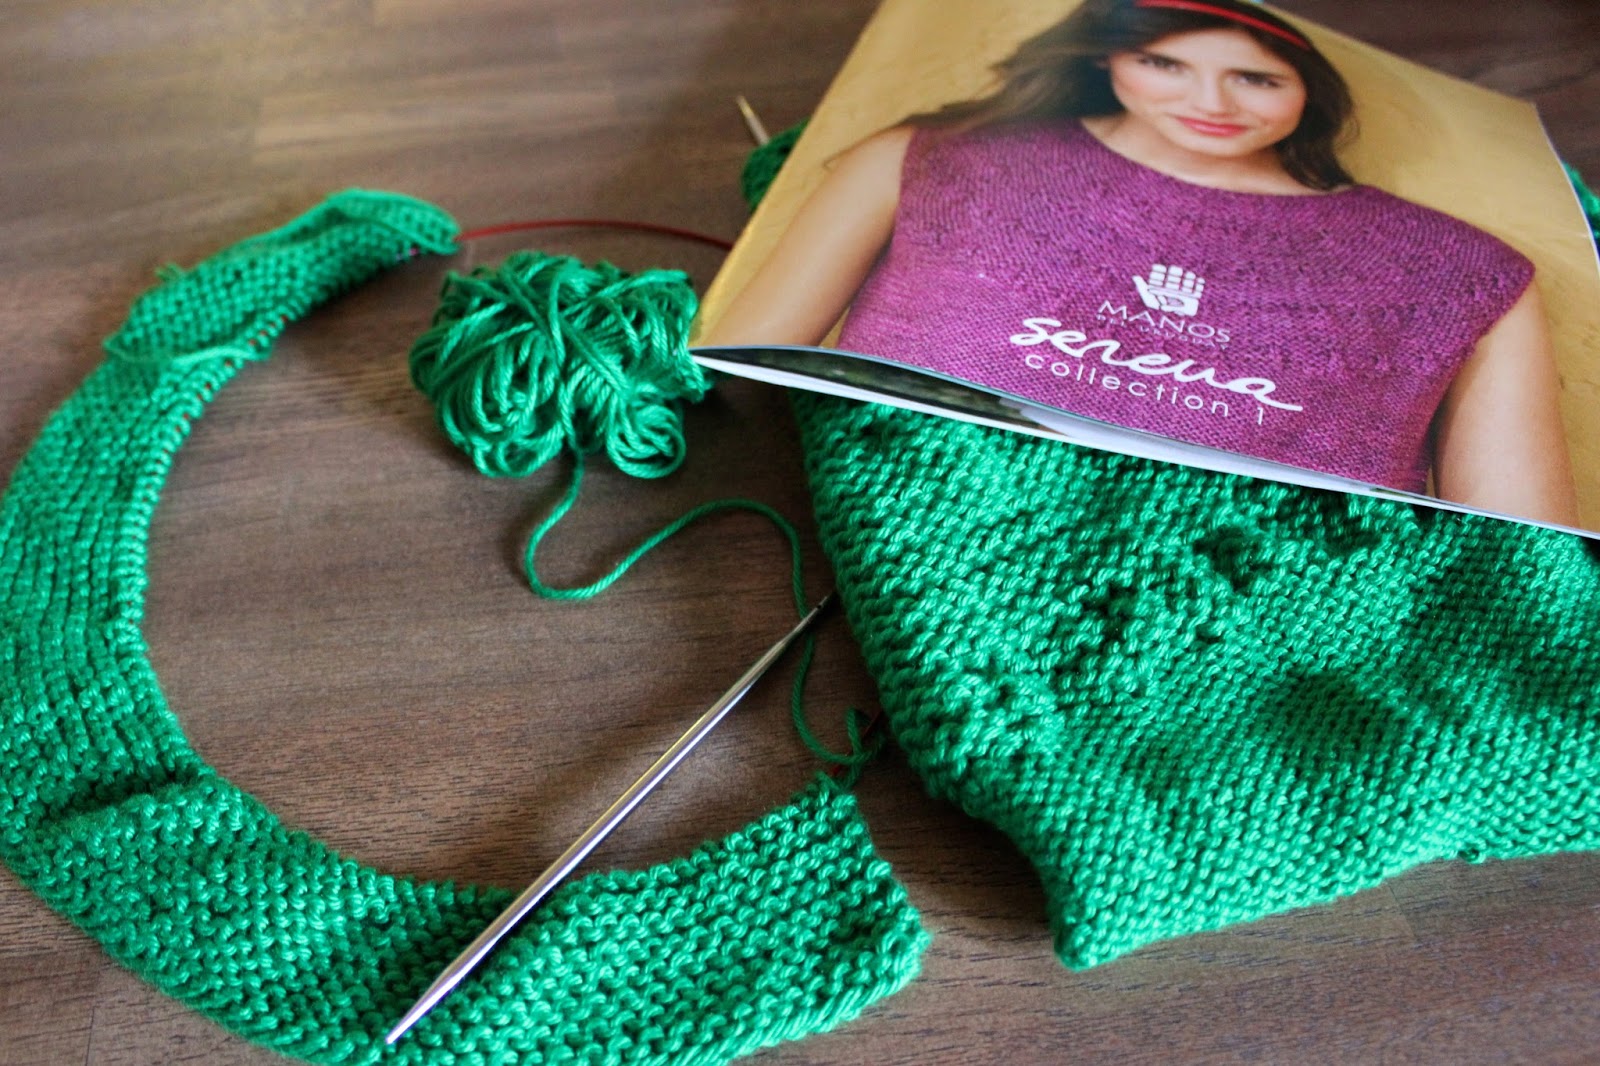
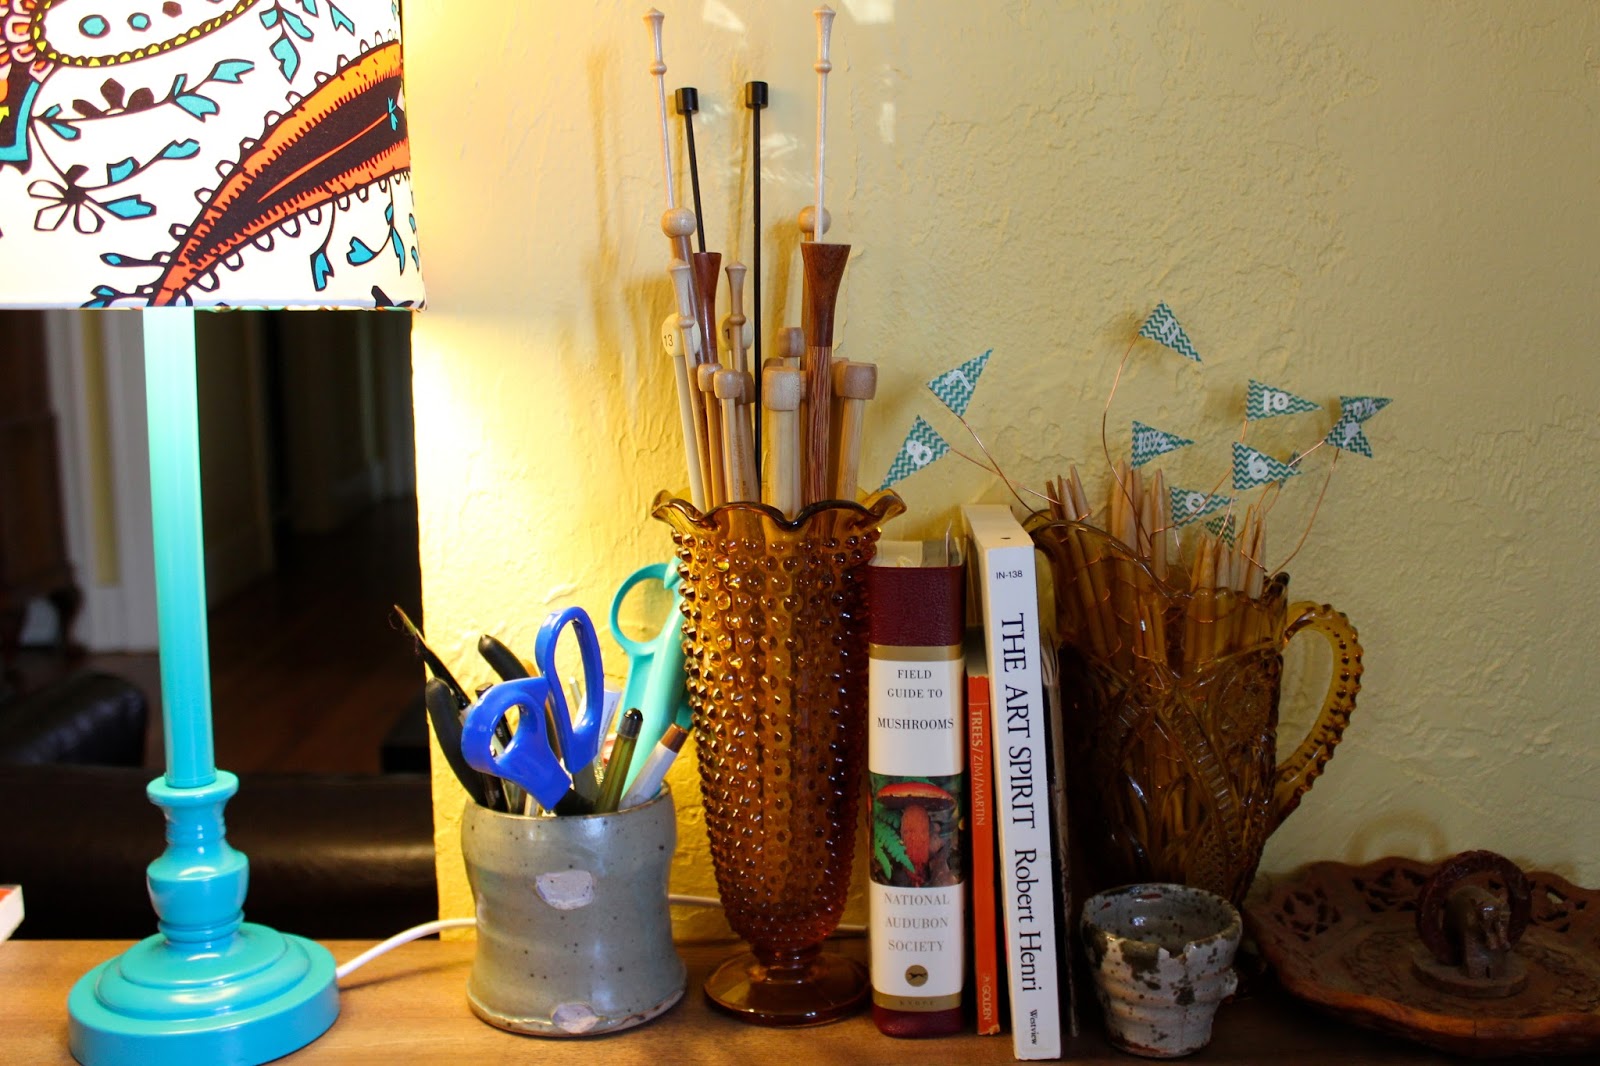
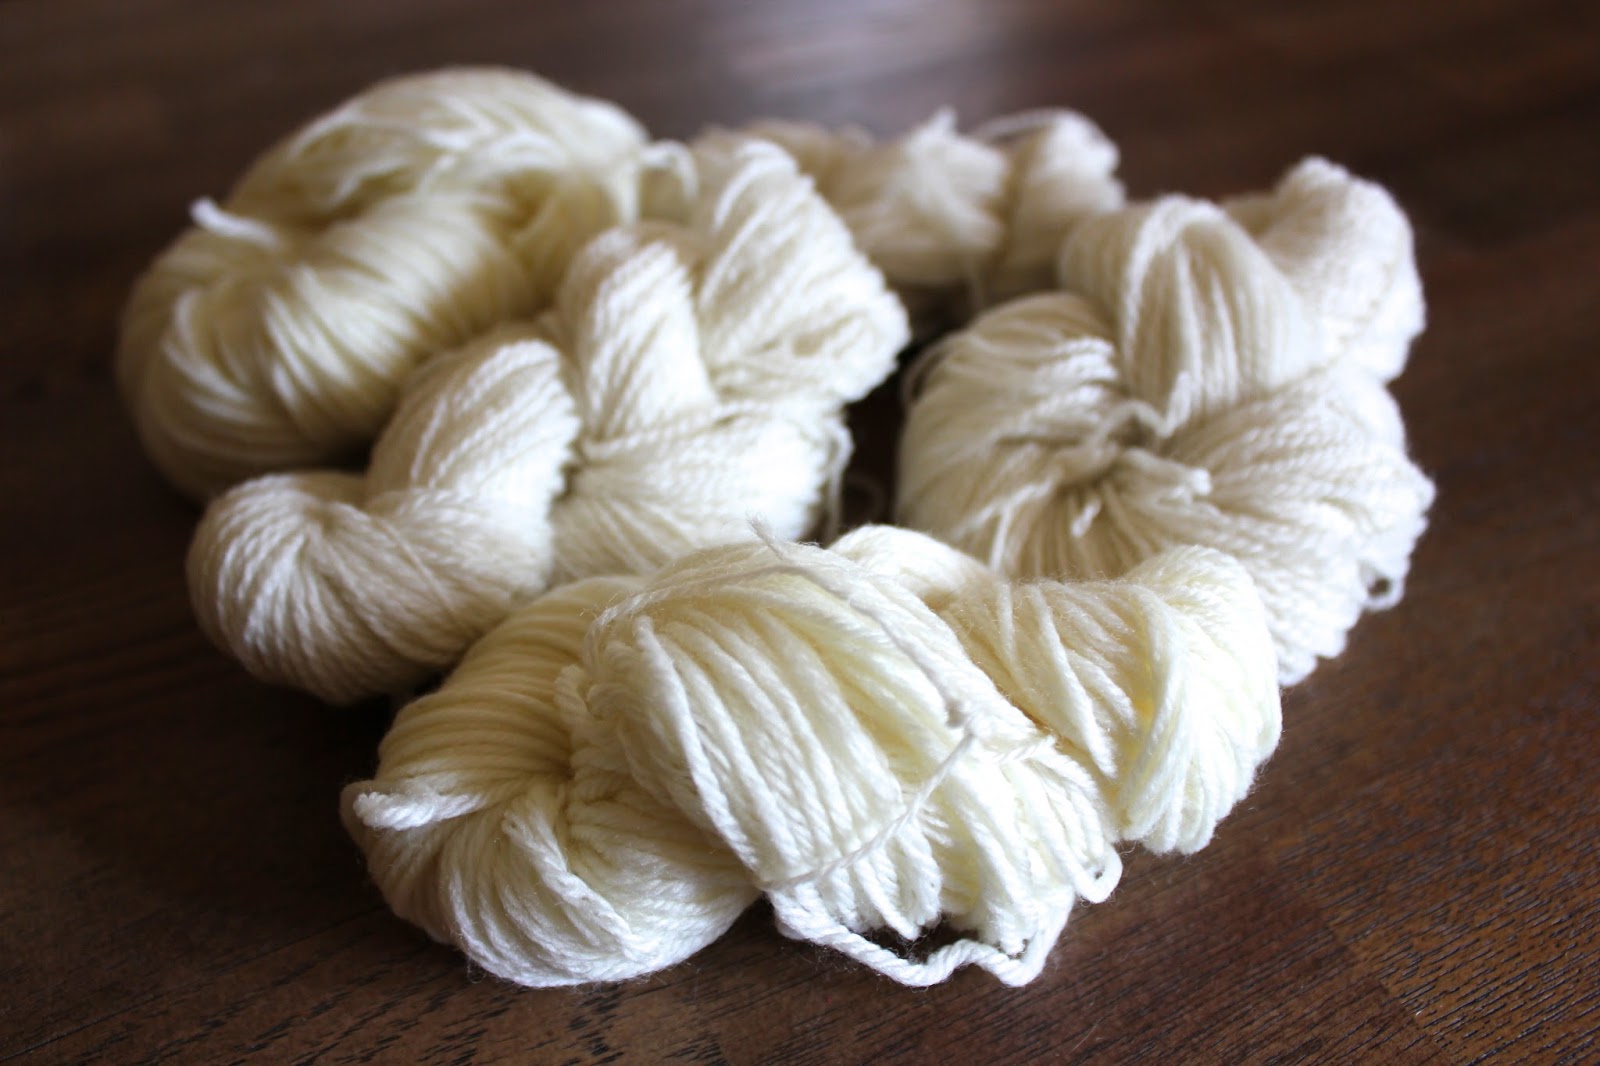
I've always been interested in art/craft, but have to admit that I'm not that great at drawing and painting. Knitting became my strongest creative skill in my 20's, but I had never done anything beyond knitting accessories and garments from patterns in books with step by step instructions.  It hadn't occurred to me until a few years ago that I could do more with my skill than just follow a pattern.  Even if you don't know how to use your skill for something larger creatively, just open your mind to the possibilities.  An idea may come.

2. Develop a concept that you are passionate about.

Once you identify your medium, you have to figure out what to do with it!  It's easy to mimic the trends out there (and there are a lot of them), but the best work comes from developing a concept that you're passionate about - something that means something to you.  Even if you want your piece to be simply aesthetic, go with an idea that you think is great... not one that you only chose because you thought others would like it.  If you're passionate about the subject/concept of your work, you will be more likely to finish and to produce something of high quality.

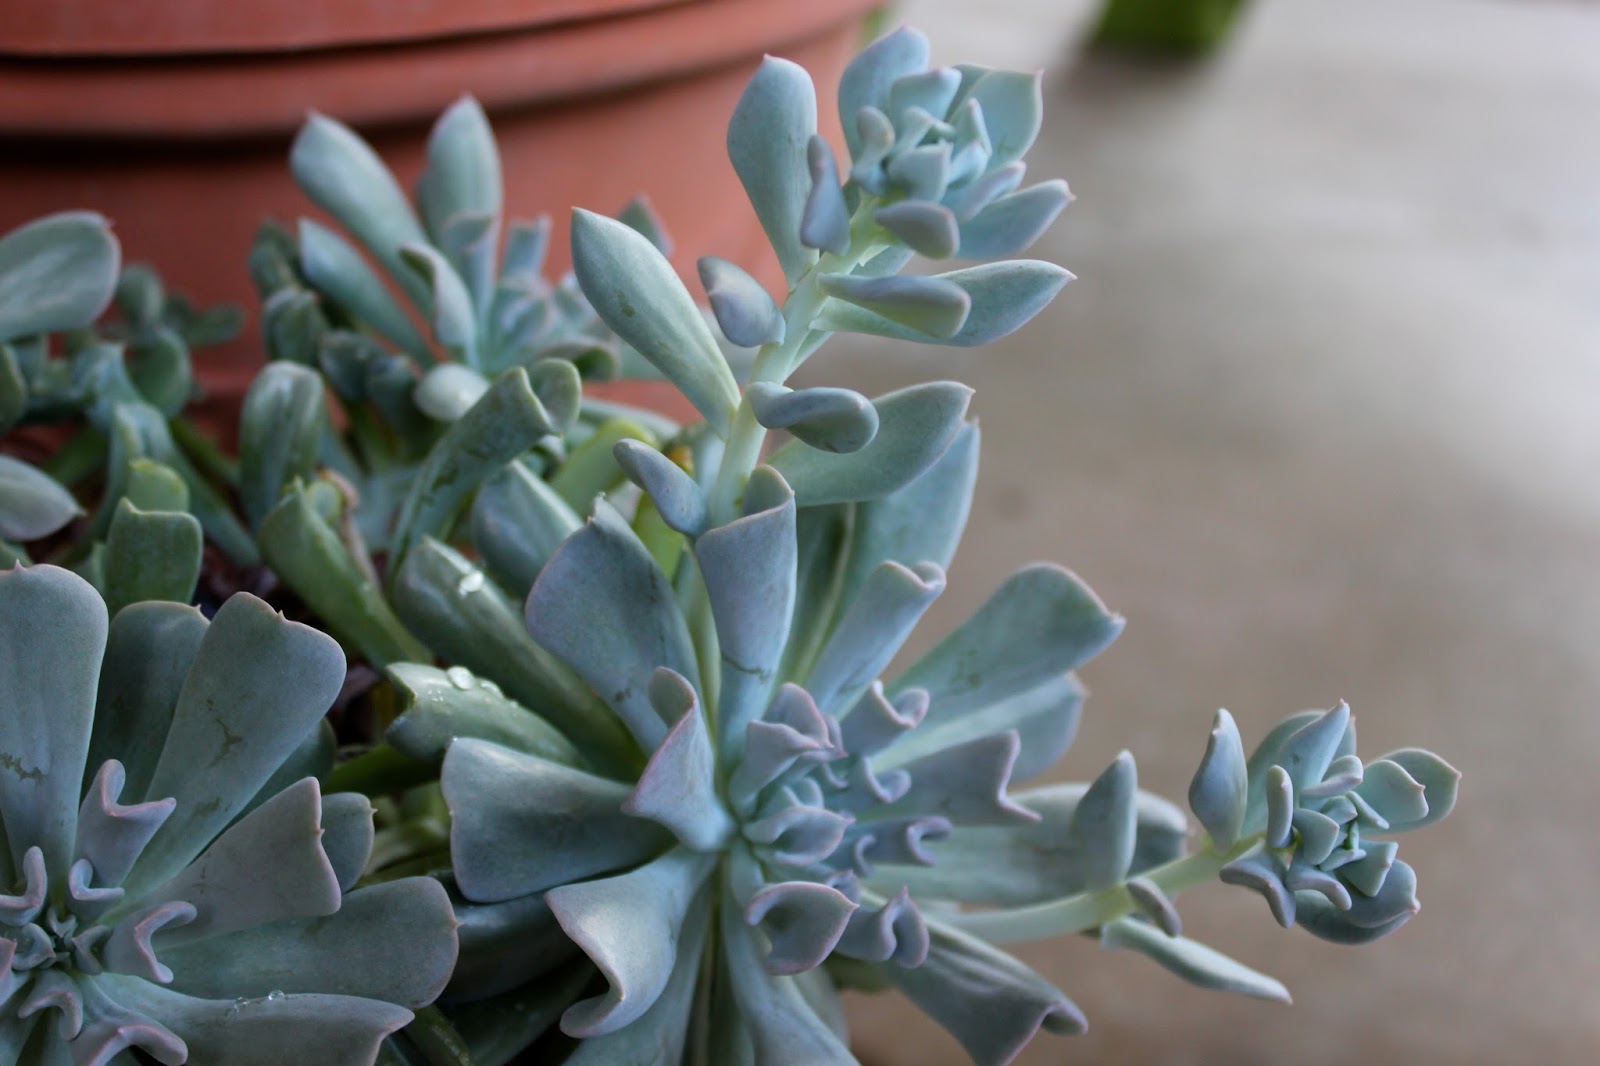
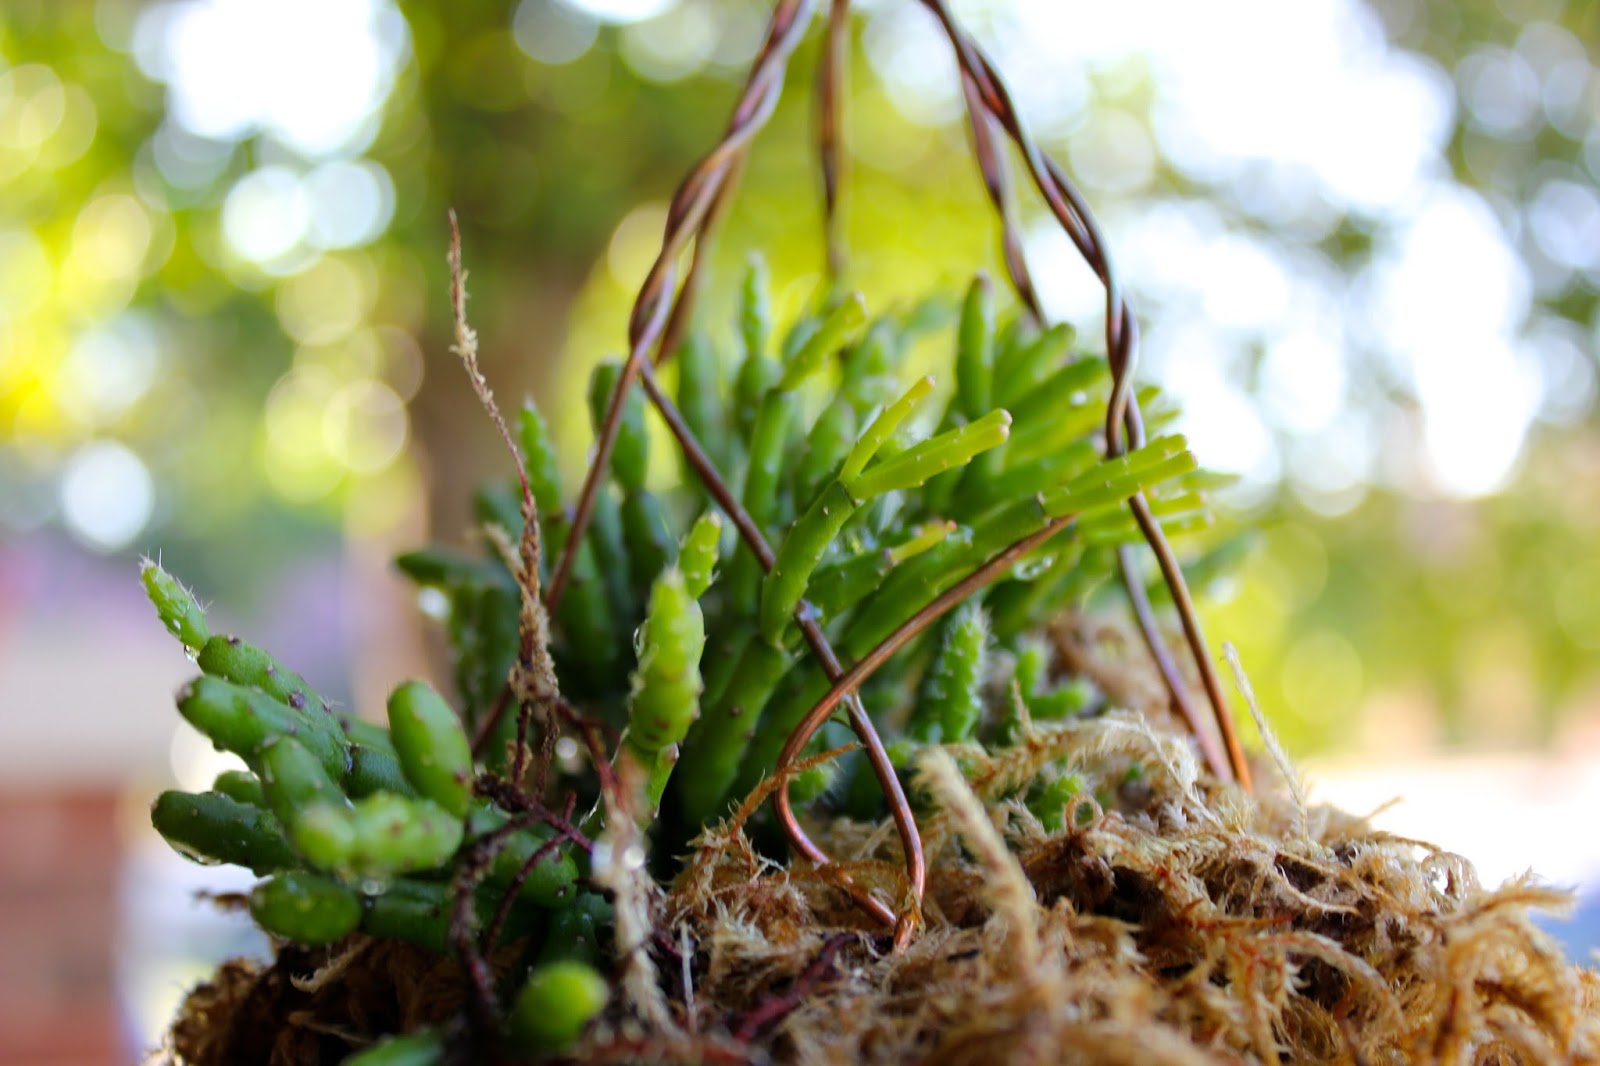
3. Open your eyes to inspiration.

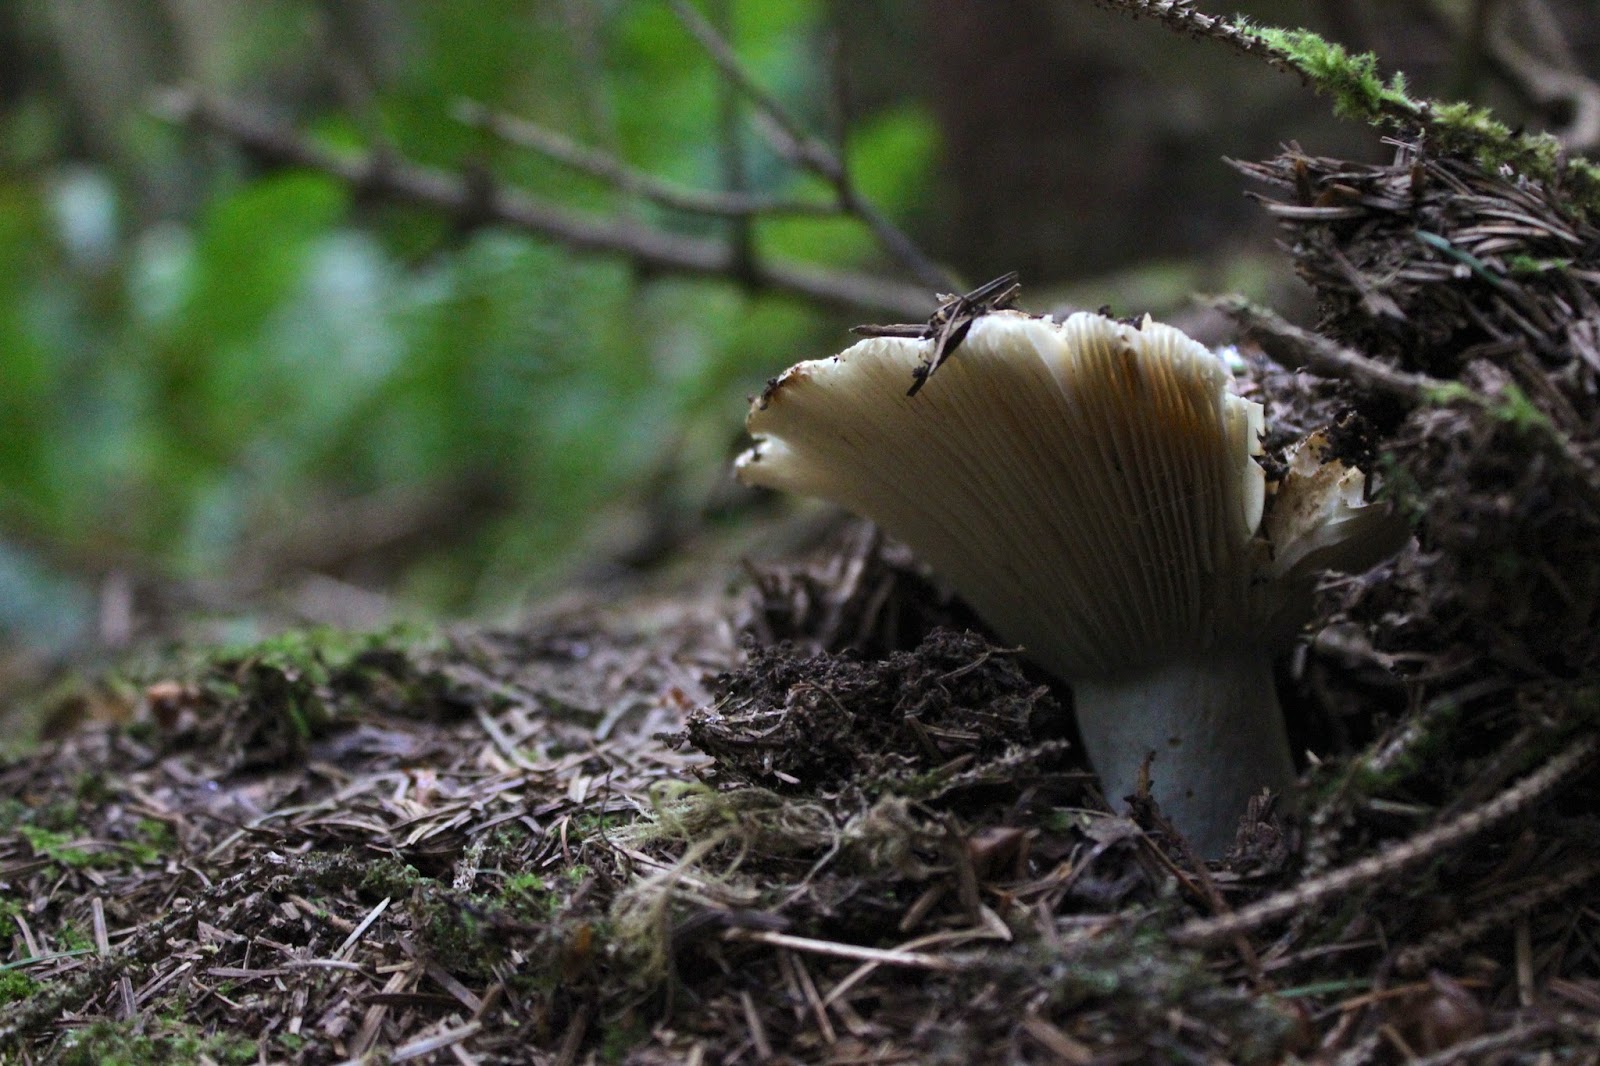
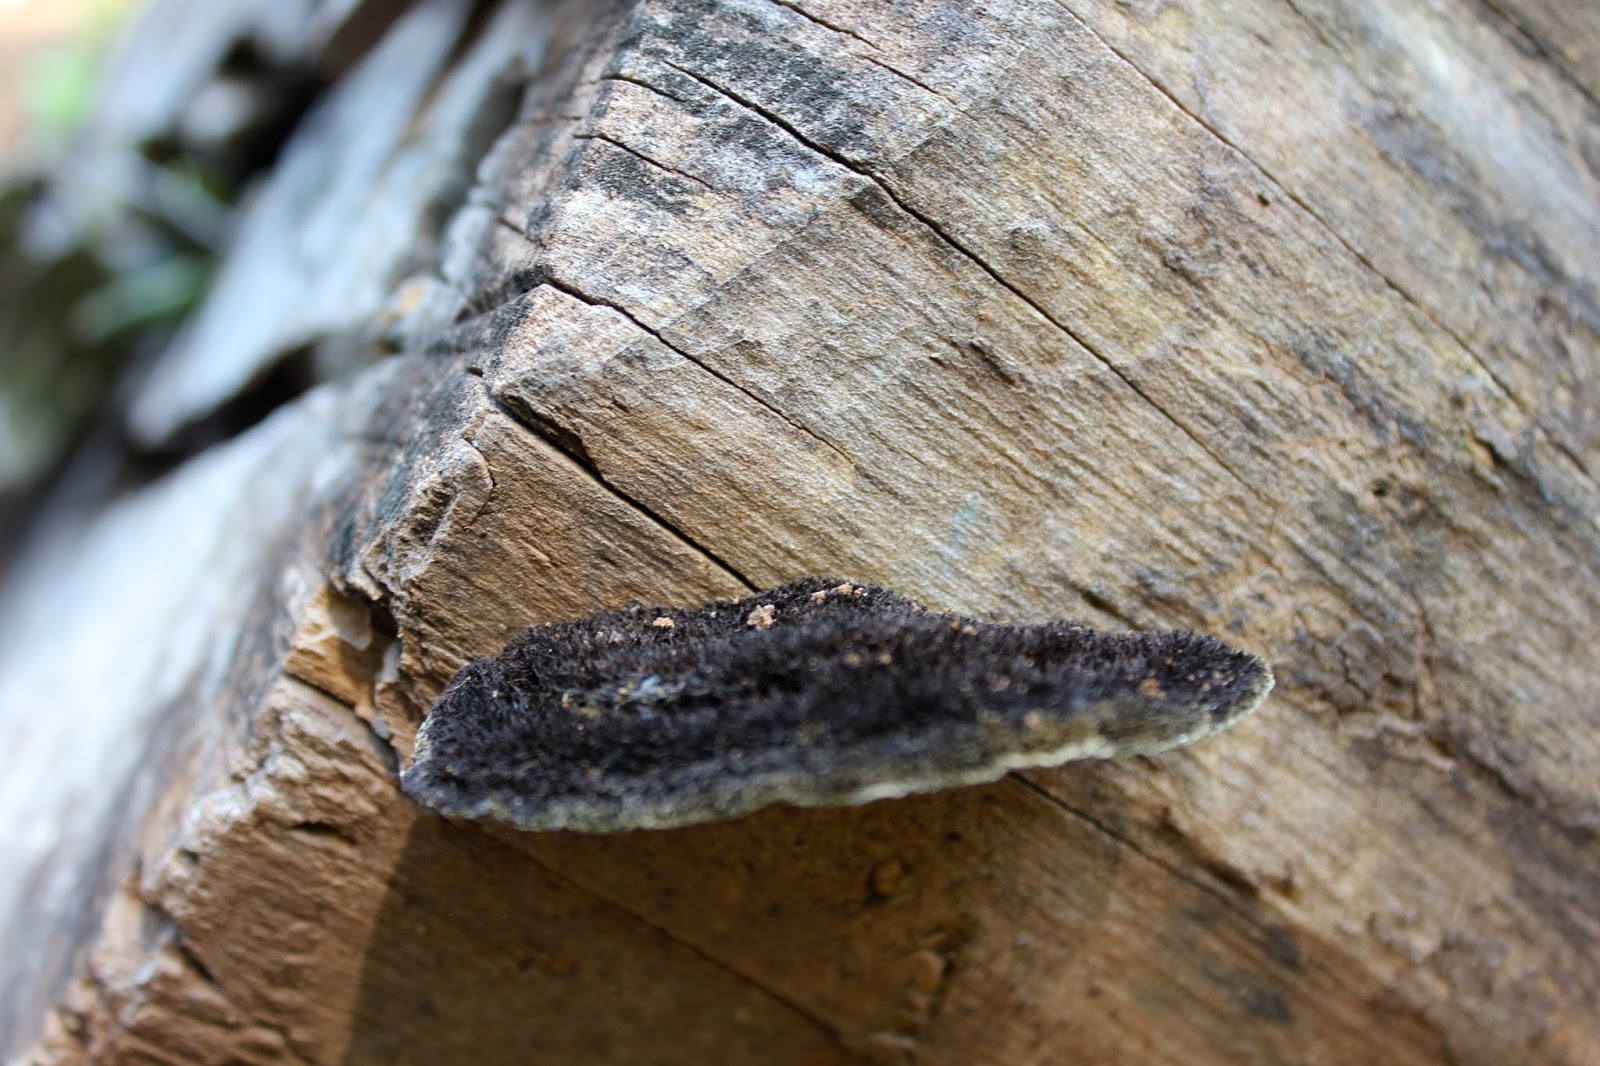
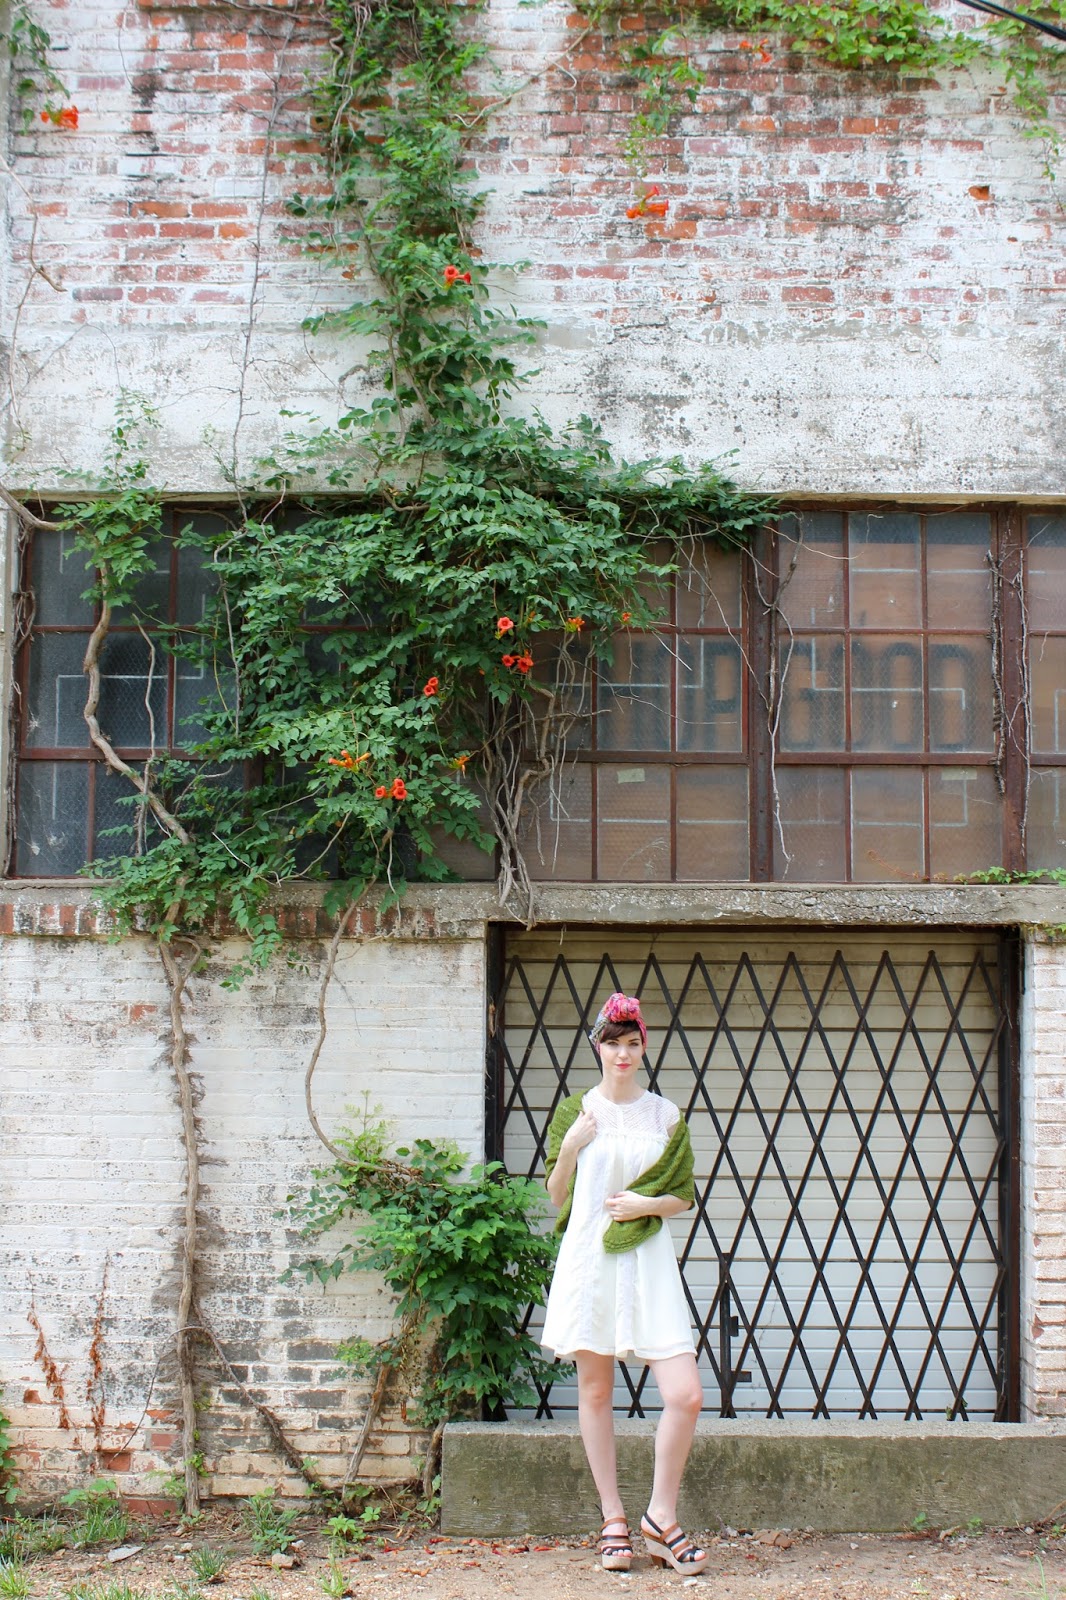
Inspiration is all around us.  As I really like to communicate through my work, even the tiniest details in nature hold inspiration if we stop to contemplate them.  Stop to observe a leaf that was skeletonized by an insect, or the patterns of decay in a fallen limb.  Pay attention to your surroundings, things in the urban environment and the creativity around you.  There are inspirational muses all around us if we take the time to notice them.

4. Surpass your perceived limitations.

Creativity is a mind-expanding experience.  I used to make things because they were functional.  I also used to have wild ideas that would have been amazing to see created, but I would think "nah..." and let the slip away.  Now I embrace my ideas.  I keep a journal on hand just to write them down for later.  The good thing about indulging your imagination is that ideas keep coming!  You start to get inspired and pretty soon you have more ideas than you have time to execute.  Don't let your own personal reservations keep you from pursuing a great concept.  Try to think outside the box, and on a regular basis, do something "just because".  Let your reason be, "why not?"
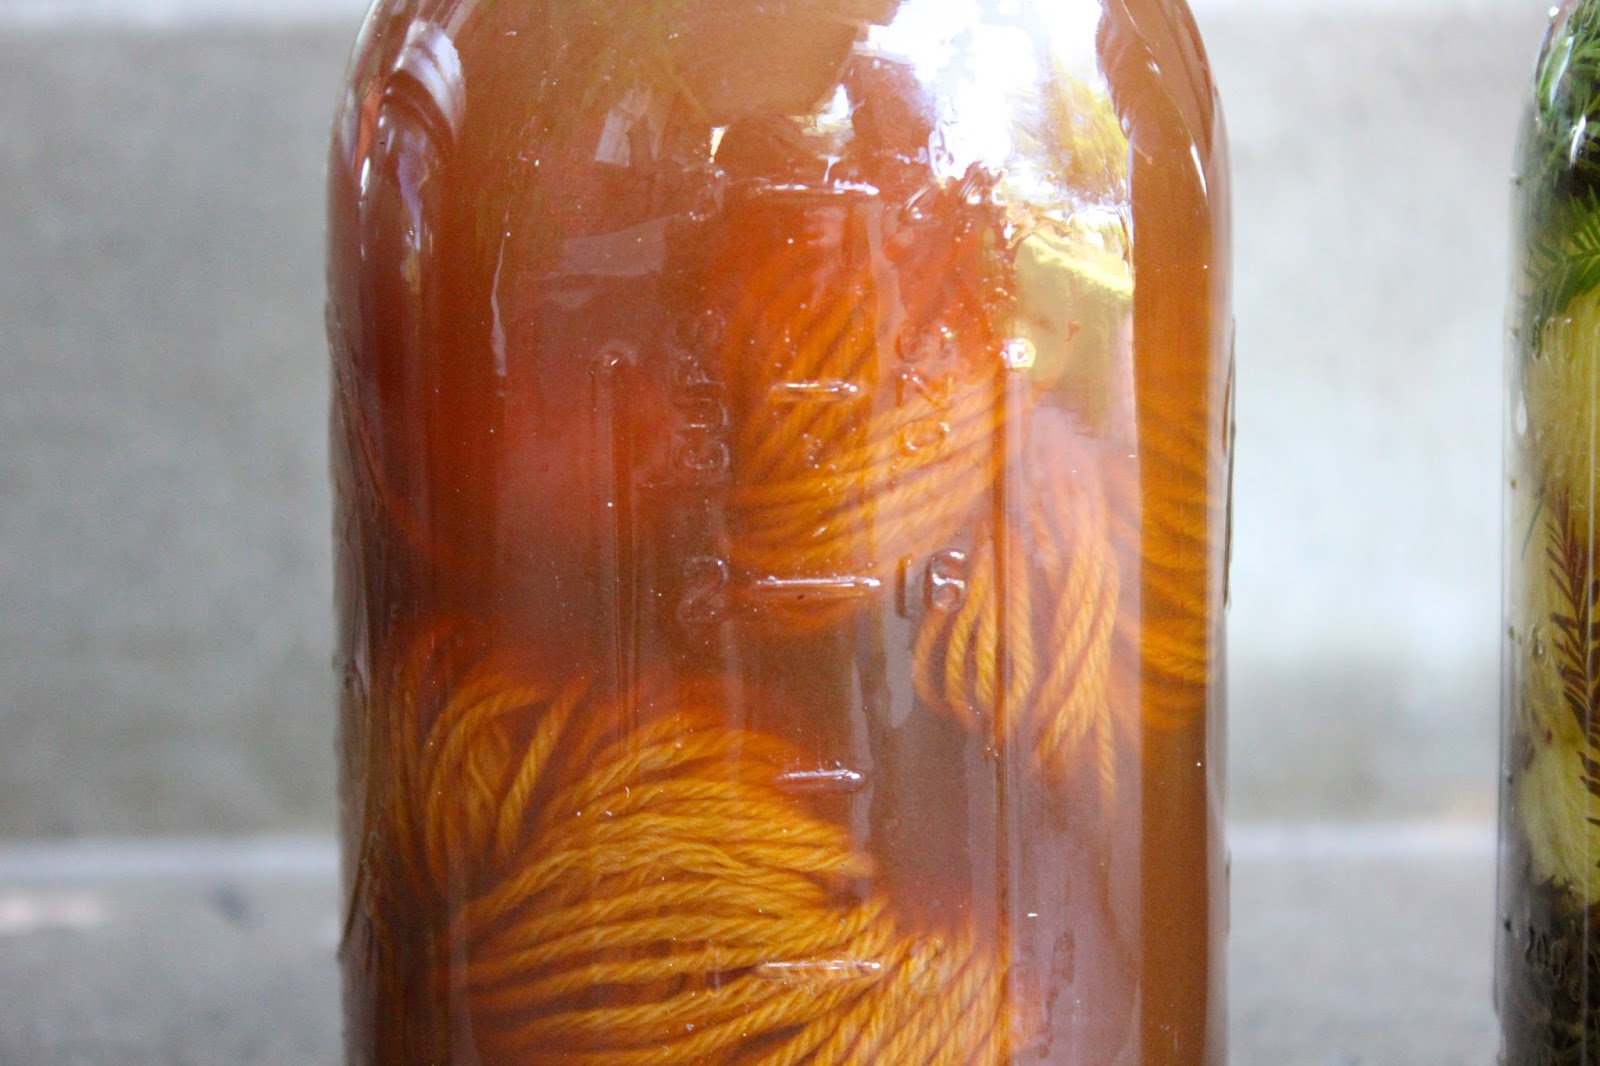
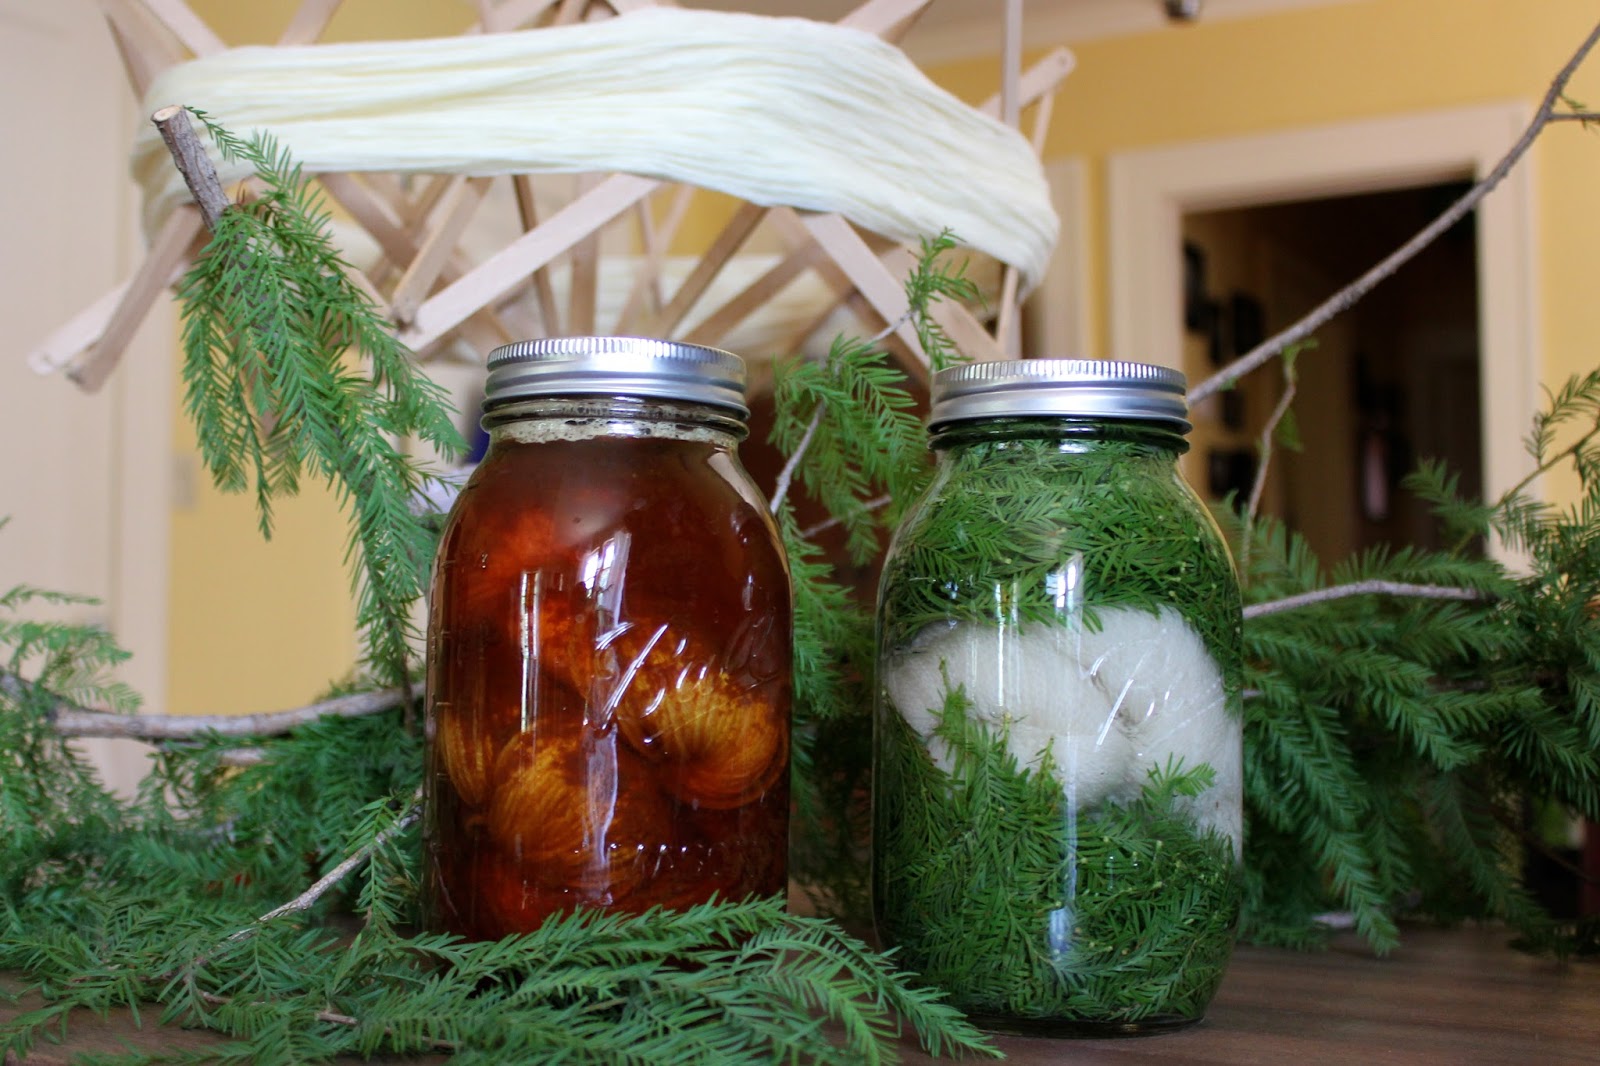
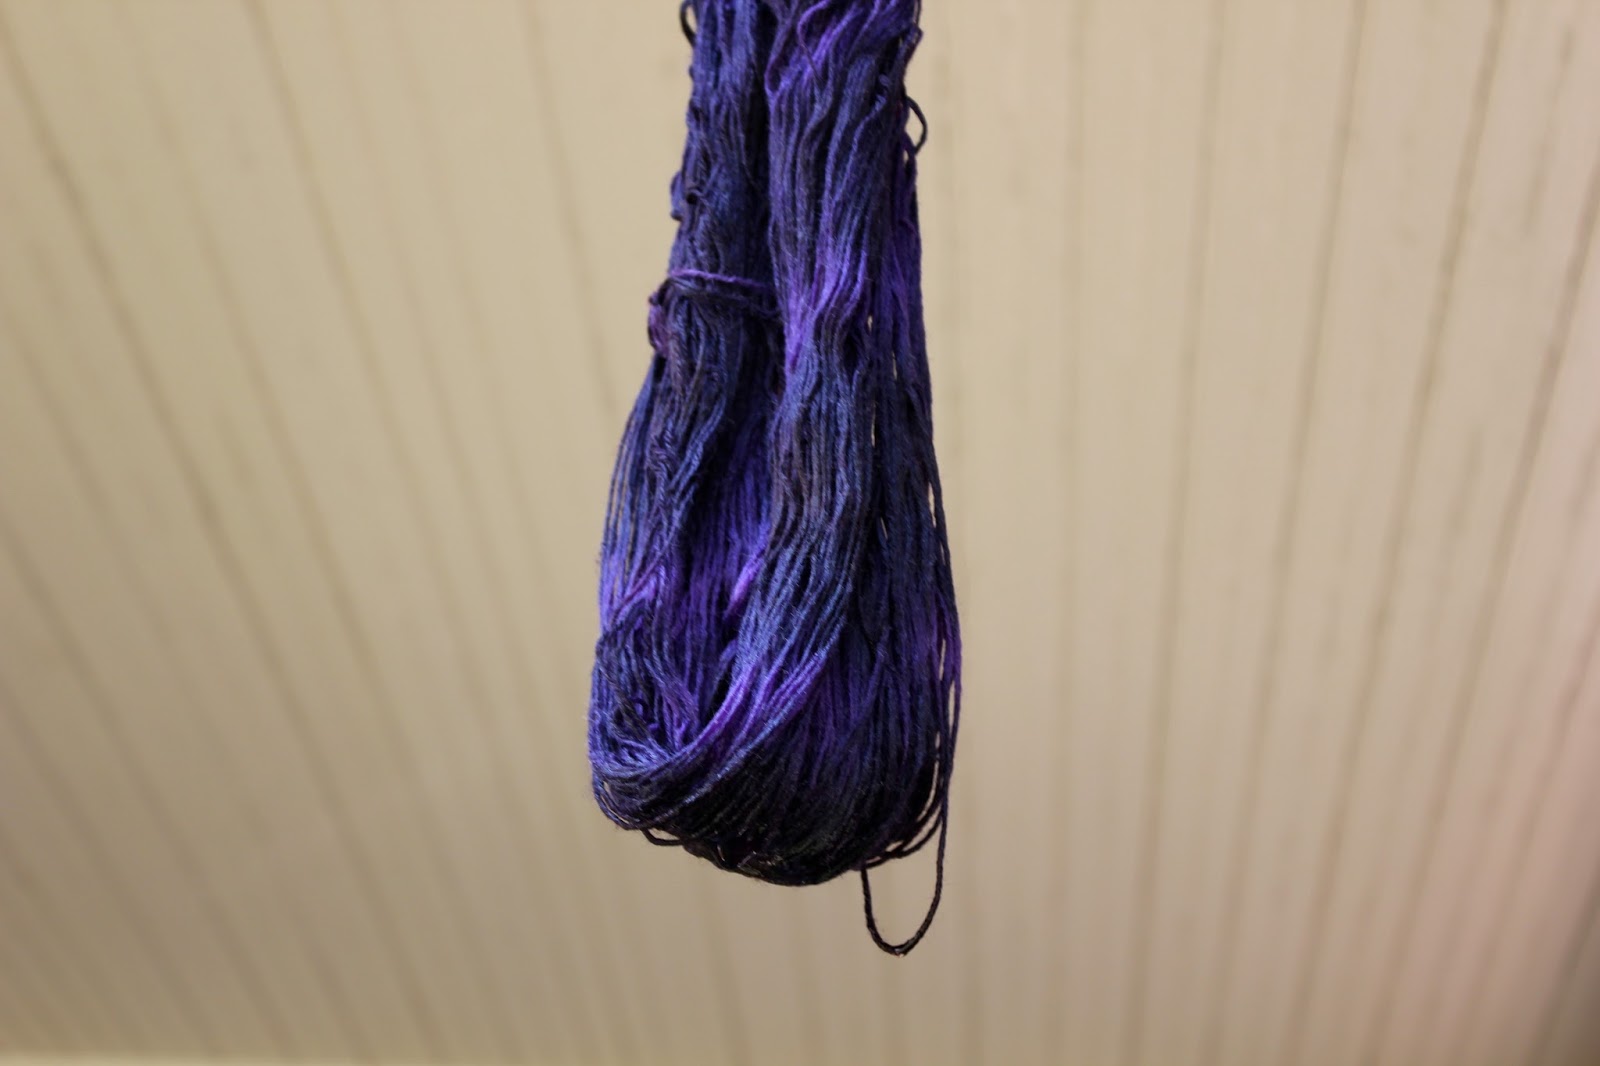
5. Experiment!

Interested in trying a technique but you're not sure how it will turn out?  Try it!  You might be surprised, and if it doesn't turn out at least you know what doesn't work.  By removing your reservations toward not meeting your expectations, or better yet, removing your expectations altogether, you open yourself to compromise and flexibility.  If you're a Type A personality like me, this will be difficult but all the more rewarding.  This brings us to the next point... following your instincts mentally and creatively.

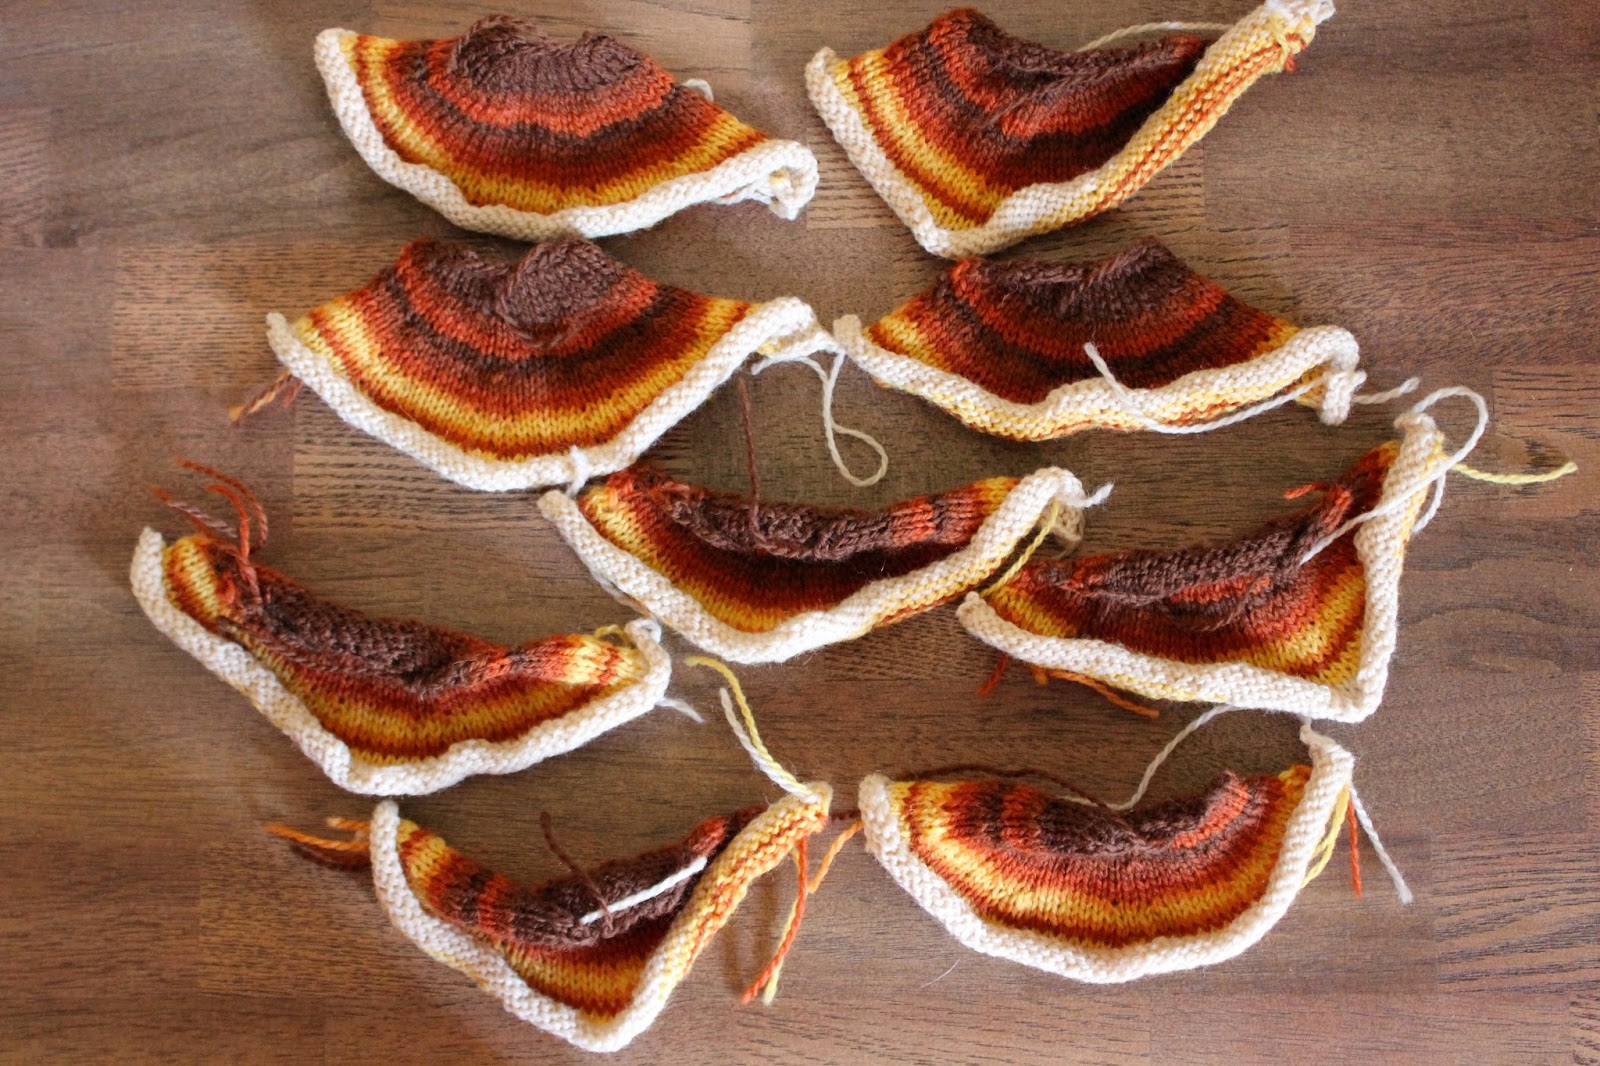
6. Go with your gut!  Not everything has to be planned.

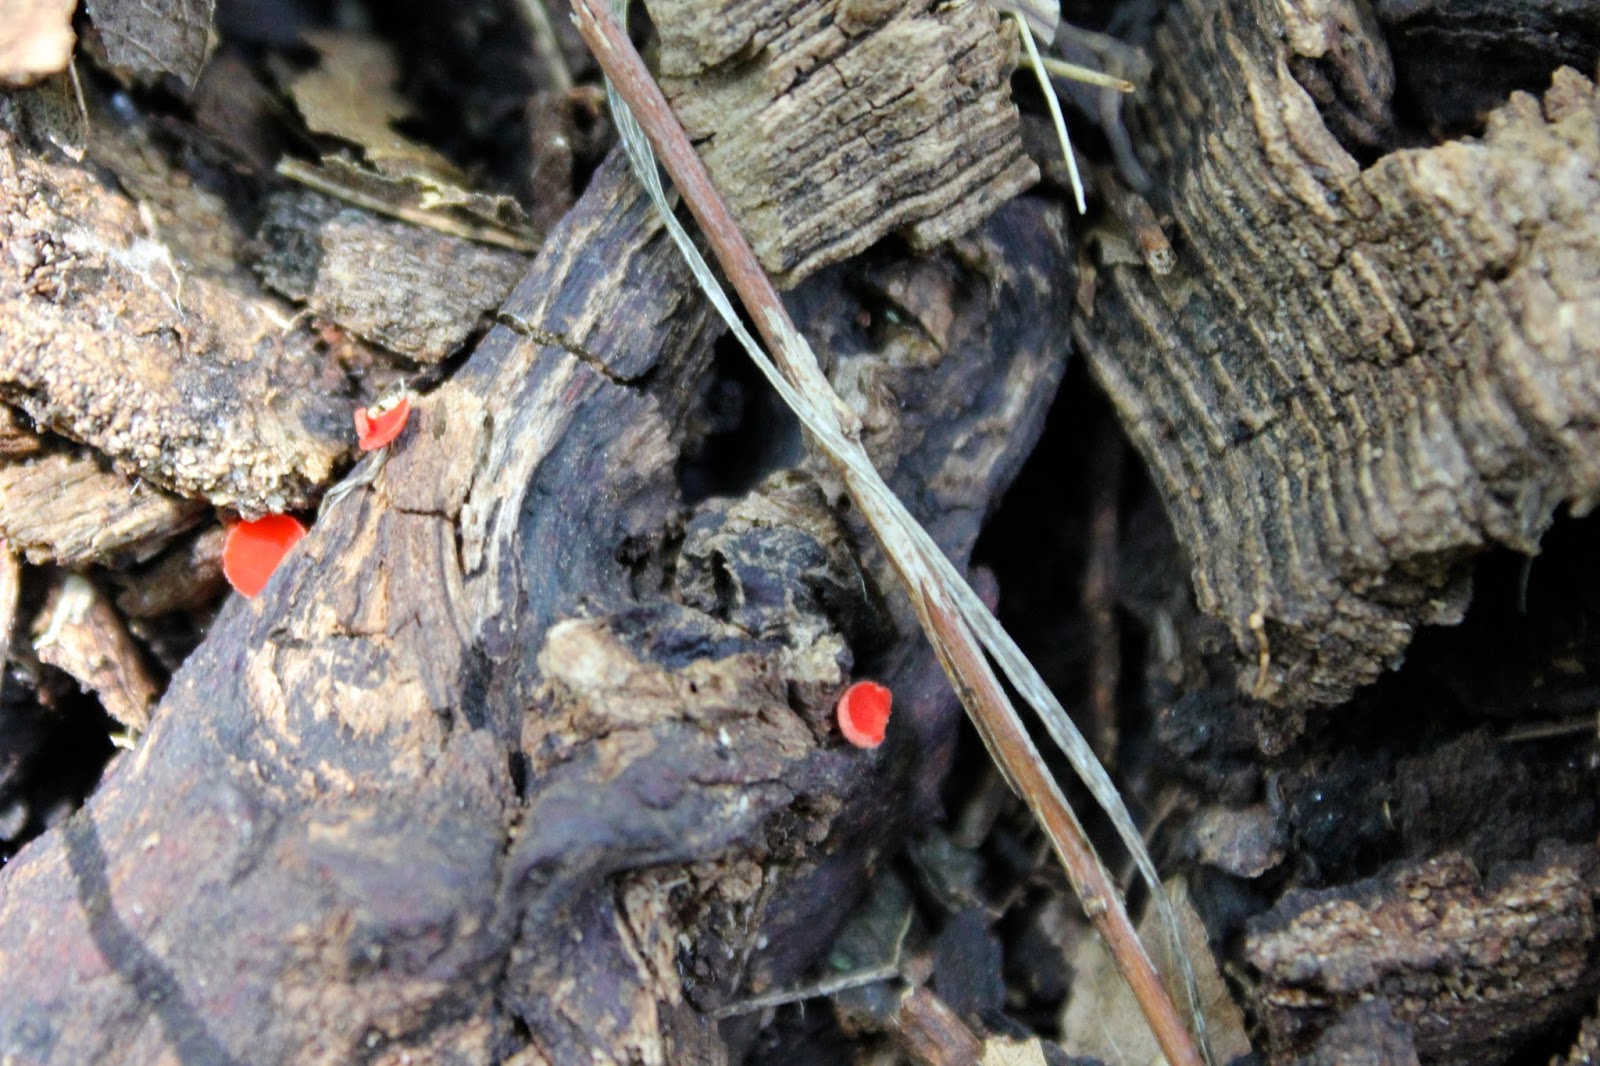
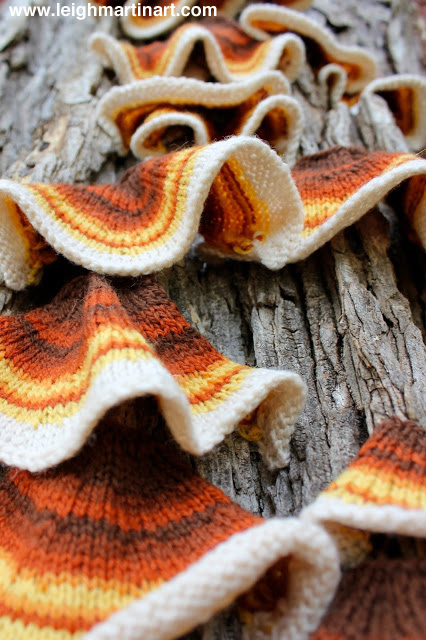
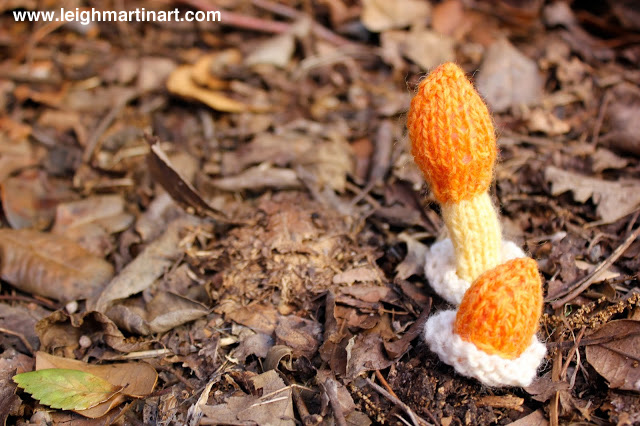
When I was preparing for my Decomposition: Colony installations, I obviously knew what the pieces of my installation looked like, but I had NO idea how the overall installations would turn out.  I didn't know what the site would look like, what I would install the pieces into or if I would find something that would work at all.  Finally on that day as I climbed up the fern enclosed trail to what would become Colony I, a lot was left to chance.  I took a deep breath, took my time, and just went to work.  It was almost like a stream of consciousness as I put each little mushroom in place.  I didn't second guess myself, and just continued on it with purpose.  It wasn't planned.  I just did it.  I did what felt right.  In the end I couldn't have been happier with the result.

7. Do the work.

Sometimes it's unfortunate, but I know from time to time I will get into a funk and it's hard to find the motivation to start on anything.  As Steven Pressfield talks about in The War of Art, the best way to get inspired to keep working is to just start doing the work.  Even if you don't feel like it, make yourself get going.  Chances are that you will find inspiration along the way and that initial work (even if you're not crazy about the result) will lead to more work.

8. Not a trained artist?  Don't worry about it!

If you don't have a degree in art it's easy to waste energy worrying about whether you belong in the art world.  Maybe you haven't taken an art class in a very long time.  Maybe you don't have formal training or experience with art critique.  Perhaps the word "artist" makes you feel self conscious.  Rather than allow yourself to be constantly riddled with anxiety, just don't worry about it.  As far as labels go, just leave them alone.  Just be you, and just do what you do.  If you have a strong concept and produce high quality work, people may like.  You may be surprised by the response you get - I was.  Art is a very subjective thing.  Just worry about your work and whether or not you're satisfied with it, and let everyone else worry about their own opinions.

It's scary to get started in creative endeavors when you are out of practice, but I hope these lessons that I picked up can encourage you on your journey.  So remember...


  1. Identify the skill that can most effectively and naturally help you to communicate your creative vision.
  2. Develop and pursue a concept or idea that you're passionate about or that means something to you, in order to produce the most satisfying, high quality work.
  3. Open your eyes to the inspiration that is all around you.
  4. Surpass your limitations and don't restrict your creativity with perceptions about what you can do or how your skill should be done.  Pursue ideas, because "why not?".
  5. Experiment, and don't let expectations hinder a potentially surprising good outcome.
  6. Go with your gut and stop trying to plan everything.  Sometimes the best outcome results from just doing, and not over analyzing.
  7. Do the work, even if you feel uninspired.  With effort, inspiration will come.
  8. Don't fret over your lack of formal training or experience in the creative world.  Trust your skill and your intuition, and instead focus on producing high quality work that you are passionate about.

Weekend Workspace || 7-21-13

As you will know if you've been following my blog for a little while, I've been working on a couple of knitwear designs and am preparing to make the patterns available.  This morning my lovely friend Jenna was nice enough to model the samples for me to get some photographs for the patterns!  I will show more in detail as I'm closer to releasing them, but here is a glimpse.  The top photo is for a headband called "Urbanite Garland", and the second one is my "Exoskeleton Shawl".


The rest of today will be spent on a huge piece that I'm working on for a group show this coming month.  More to come on that...

On My Needles || Ines

It feels like an eternity since the last On My Needles post, but to be honest there just hasn't been much time for any "just for fun" garment knitting this summer.  I picked up the Manos del Uruguay Design Team's Serena - Collection 1 booklet at my local yarn store a few years back, around the time that I was drooling over a lot of knits but not really making many of them.  The top on the cover, Ines, has been on my wish list since that time - there are several eye catching knits in the booklet, but this one grabbed my attention as soon as I glanced at it and was pretty much my reason for the purchase.
In looking for a summery piece of knitwear, I decided to seize the opportunity and cast this one on.  The thing is, however, that Oklahoma summers are ridiculously hot.  The yarn this pattern calls for is mostly alpaca, and that just wouldn't do at all.  While alpaca is one of my favorite fibers to work with it's just not suitable for a short sleeved top in the Lower Midwest.  I decided to go with Knit Picks Swish worsted, in Macaw, an EXTREMELY summery color, in all its glory.  It reminds me of cool grass.  Cool grass distracts me from gross, humid heat.  As does the cotton/Modal fiber it's made of - oh, beautiful, breathable, drapey yarn!  Plus, it's soft.  And... let's be honest.  I'm a tree hugger.  A tree hugger's favorite color is almost always green.  My gauge is slightly smaller than what the pattern calls for, but with the amount of ease provided in the pattern I'm thinking it will be okay- just a little more fitted.
Thus far, I've finished the front piece and am working on the bottom edge of the back.  If I dedicated this week to it, I could probably finish.  There are other projects that require my attention, however, so that daydream has to go on the shelf for a bit.  Just like stitching in the elastic for my Lanesplitter skirt, another knitwear project that's been collecting cobwebs.  Just because I haven't been working on things for myself, however, does not mean that all knitwear has been pushed to the side.  Part of that time has been dedicated to finalizing some original patterns that will hopefully be released in a few weeks!  Linger nearby, my dear knitters.  More on this soon.


Tutorial || Washi Tape Pennants - Knitting Needle Organization

When setting up my new studio space, one thing of importance to me was making my knitting needles easily accessible.  Up until now, my double pointed needles have been stored in their original packaging, and grouped together with all the other double pointed needles in an inconvenient pouch.  Every time I go to look for a certain size of needles, I have to sort through this pouch and then put it away in the organizer on top of my bookshelf. Now that I have a desk to work at, it makes sense to display these in the open, which also makes each size easier to find!  I organized my different double pointed needles by their US size, although you could easily organize them by millimeter size if that's easier for you.
Materials:
A roll of washi tape,
A paint pen (I used white, but a metallic one would look really great too!)
1+ sets of double pointed knitting needles
Copper wire
Wire cutters
Scissors
Not shown: a mug or vase to display them in


To begin, take a set of double pointed needles and wrap them with the copper wire, enough to hold the needles in place without any slipping out.  At the top, leave a "flag pole" of a few inches and cut with wire cutters.
Take the washi tape, and wrap the top of the "flag pole" with it.  Wrap about 1.5" around one side, and stick the back of it to the other side of the tape, lining up the edges so the front side of the tape is showing on both sides forming a rectangular "flag".


Cut at an angle twice to make a triangular pennant shape out of the washi tape rectangle.


With the paint pen, write your needle size on the pennant and place it in the storage container!


Done!  A nice and easy way to display your double pointed needles while still knowing what the heck the size is when you need to use them!

Dye Jar Progress

Since summer is now in full swing here in Central Oklahoma and we've been hitting heat indexes of over 100 degrees, my solar dyeing projects are coming along nicely.  The one on the far left, I started about three weeks ago using prairie coneflower bloom heads and petals.  The center one is osage orange extract, and the one on the right is bald cypress leaves.  These two on the right are for a big project I'm working on to show this fall.  All are mordanted with alum and vinegar.


As you'll notice at the bottom of the jar, after a day or two in the sun (or submerged, one or the other), the leaves start to lose their green hue and take on more of the copper color that you see in the fall.  I just removed the dye stuff from the top of the jar this morning and added some fresh leaves to get some additional pigment.  It seems to be coming out a bright yellow color.


While I would love to try dyeing with actual osage orange root, I had this extract and for the sake of getting some of these jars going I decided to go ahead and use it.  The shade is a beautiful, burnt orange.  Less red than the madder that I used last month.  It's going to add a lot of brightness to the project I'm using it for.


I've really loved watching the evolution of this jar.  After the first week in the sun, the water took on a deep purple hue.  When I started noticing the yarn taking on color, however, it looked more green.  Now, it almost looks like the coneflower heads have produced a blue-green color in the yarn.  I removed the dye stuff from the top of the jar and topped it off with water this morning.  It was a little cramped in there so the yarn was stuffed into the center... Hopefully this will allow it to spread out some and absorb more color in the center section.  This yarn has no project slated for it yet, so I will likely let it sit until the water looks clear and there is no more pigment to be absorbed.


On a side note, check out these stalks that one of my succulents is putting out!  I love watching these guys grow...


And finally, I'm happy to report that the bottom tier of the copper/moss tiered planter that I made last month is putting on new growth!  This dude will be cascading down the sides of the moss ball in no time!
I've got family visiting for the next few days (hello, three day weekend!) and am looking forward to some quality time and doing some fun things.  I hope you have a lovely weekend as well and I'll be back on Monday with a DIY!

52 Forms of Fungi || #17

I remember that as a kid I was always enchanted by fairy ring mushrooms.  Aside from the folklore, how did they manage to grow near one another in a perfect circle like that?  Something mysterious was at work.  Turns out, that something mysterious is just a common "root system", or mycelium, that the entire group sprouts from.  I still find them enchanting, despite my soon approaching cross-over into my 30's.  We need magic at every age...  Fairy rings are your mycological whimsy.
This structure was knitted as part of my 52 Forms of Fungi project, through which I will knit a different type of fungi for every week of 2013.
IMG_3492
IMG_3497
IMG_3501
IMG_3496

Weekend Workspace || 7-6-13

I'm working on many different things at once today, aided by my jitters-inducing, home-brewed ice coffee, which makes one ten times more productive than usual (or at least puts one in a better mood while they are doing it).  These are exciting times because I am starting to work on and plan out a really huge project for a show this fall!  I need to formally introduce it, but not today.  Just know that it's a concept I've been honing in my head for months now and thanks to the wonderful people at OVAC, it's going to happen.  More on this soon...
The logwood purple dye jar looked pretty effective about a week after I started it, but I just this afternoon opened it and rinsed the fiber.  The yarn is a deep purple jewel tone, with some patches of lighter hues where it was twisted for the skein.  I've got it drying on the porch now, and am fairly certain that it will make a beautiful shawl later in the year.
These little polypores above are for a new piece I'm working on to show next month.  It's another new execution for me, and so far I'm happy with the progress.
Well, back to it!  I hope you're having a relaxing and/or highly productive Saturday as well.

52 Forms of Fungi || #16

Aseroe rubra, or anemone stinkhorn, is one of those organisms where what appears to be land borne and sea borne collides.  Truly one of the wonders of nature, this beauty grows in the tropics as well as South Carolina (your confusion is as great as mine) where it has apparently been introduced.  The unique construction was a challenge but fun to create!
This structure was knitted as part of my 52 Forms of Fungi project, through which I will knit a different type of fungi for every week of 2013. Check out more of the forms from this project.
IMG_3476
IMG_3477
IMG_3473